Embarking on the journey of solar system astrophotography requires a comprehensive understanding of various aspects, from basic astronomy to advanced image processing techniques. This guide will provide a step-by-step approach to mastering the necessary skills and equipment, helping you capture stunning images of celestial objects and immerse yourself in the fascinating world of astrophotography.
Basic Astronomy and Sky Orientation
Title: Basic Astronomy and Sky Orientation for Solar System Astrophotography
Introduction:
Astrophotography is a rewarding hobby that allows you to capture stunning images of celestial objects and events. One of the key aspects to successfully practice astrophotography is developing a basic understanding of astronomy and learning to navigate the night sky. In this guide, you will learn about celestial objects and their movements, how to identify constellations and use star charts, and how to utilize a planisphere for sky orientation.
1. Understanding Celestial Objects and Their Movements:
- Celestial Sphere: The celestial sphere is an imaginary sphere around Earth where celestial objects appear to be fixed. It helps us visualize the positions and movements of these objects.
- Celestial Equator and Poles: The celestial equator is an imaginary line that extends Earth’s equator onto the celestial sphere. The celestial poles are the two points where Earth’s rotation axis intersects the celestial sphere.
- Rotation and Revolution: Rotation refers to the spinning of Earth on its axis, while Revolution refers to Earth’s orbit around the sun. These movements cause the apparent daily motion of celestial objects and affect the positioning of objects in the sky over the course of a year.
- Ecliptic: The ecliptic is the path the sun appears to take across the celestial sphere as Earth orbits around it. Many solar system objects like planets and the moon lie close to the ecliptic.
2. Identifying Constellations and Using Star Charts:
- Constellations: A constellation is a group of stars that form imaginary patterns in the sky. They are useful for sky orientation as they serve as recognizable landmarks. There are 88 official constellations recognized by the International Astronomical Union.
- Star Charts: Star charts are maps of the sky that show the positions of stars, constellations, and other celestial objects. They help locate and identify these objects in the sky. Star charts are available both in printed form and as digital apps.
- Using Star Charts: To use a star chart, orient yourself so that the direction you are facing is at the bottom of the chart. Hold the chart up and try to match the visible stars and constellations to the chart. As you become more familiar with the night sky, you will be able to identify more constellations and navigate the sky more easily.
3. Using a Planisphere for Sky Orientation:
- What is a Planisphere: A planisphere is a rotating star chart consisting of two disks with one representing the celestial sphere and the other a window to display a portion of the celestial sphere. Planispheres are adjusted according to date and time, and they show the constellations and stars visible at the specified time and location.
- How to Use a Planisphere:
- Set the date and time: Rotate the outer disk to align the date with the corresponding time on the inner disk.
- Determine the cardinal directions: Face North and hold the planisphere with the “North” label at the bottom. The planisphere will now show the stars and constellations visible in the northern sky.
- Adjust for other directions: Turn your body and rotate the planisphere to match the direction you’re facing, always keeping the bottom of the planisphere aligned with the direction you’re facing.
Conclusion:
Becoming familiar with basic astronomy and sky orientation is essential for successful solar system astrophotography. By understanding celestial objects and their movements, learning to identify constellations and use star charts, and mastering the use of a planisphere, you will be better prepared to locate and capture stunning images of celestial events and objects in the night sky. Practice these skills regularly, and you’ll soon become a proficient astrophotographer.”
Understanding Telescope Types and Mounts
Telescopes and their mounts are essential tools for solar system astrophotographers. To capture the beauty of celestial objects like planets, moons, and the sun, it’s crucial to understand the different types of telescopes and mounts available and their ideal use cases. This guide will help familiarize you with refractors, reflectors, and catadioptric telescopes as well as alt-azimuth and equatorial mounts.
Telescope Types:
- Refractor Telescopes:
Refractor telescopes use lenses to gather and focus light. They have a long, narrow tube with an objective lens at one end and an eyepiece at the other. Refractors are known for their high-quality, sharp, and high-contrast images. They are ideal for observing planets, the moon, and double stars.Pros:
- Sharp, high-contrast images
- Low maintenance
- Good for astrophotography due to a stable optical system
Cons:
- Chromatic aberration (color fringing) in some models
- Can be expensive for larger apertures
- Bulky for larger sizes
- Reflector Telescopes:
Reflector telescopes use mirrors to gather and focus light. They have an open tube with a primary mirror at the bottom and a secondary mirror near the top. Light reflects off the two mirrors to create an image. Reflectors provide more aperture per dollar, allowing for better light-gathering capabilities and better views of deep-sky objects like galaxies and nebulae.Pros:
- Affordable for large apertures
- Excellent for deep-sky objects
- Little to no chromatic aberration
Cons:
- Requires regular maintenance and cleaning
- Can be more challenging to use for beginners
- Not as compact or portable as refractors
- Catadioptric Telescopes:
Catadioptric telescopes combine the features of refractors and reflectors, utilizing both lenses and mirrors. They offer a compact design with good image quality and are ideal for all types of celestial objects.Pros:
- Compact and portable
- Versatile for various celestial objects
- Good image quality
Cons:
- More expensive than reflectors
- Requires regular maintenance and alignment
Telescope Mounts:
- Alt-Azimuth Mounts:
Alt-azimuth (altitude-azimuth) mounts move in two directions: up and down (altitude) and side to side (azimuth). These mounts are simple, intuitive, and easy to use, making them a popular choice for beginners.Pros:
- Easy to use and set up
- Suitable for visual observation
- Affordable
Cons:
- Not ideal for astrophotography due to field rotation
- Requires manual tracking for objects in the sky
- Limited precision for higher magnification
- Equatorial Mounts:
Equatorial mounts align with the Earth’s rotation axis and rotate along with the sky, allowing for more precise tracking of celestial objects. They overcome the field rotation issue faced by alt-azimuth mounts, making them ideal for astrophotography.Pros:
- Allows for long-exposure astrophotography
- Precise tracking of celestial objects
- Can be motorized for automatic tracking
Cons:
- More challenging to set up and use
- Heavier and more expensive than alt-azimuth mounts
Final Thoughts:
Choosing the right telescope and mount depends on your goals, budget, and preferred type of astrophotography. Refractors are excellent for sharp, high-contrast images of planets and the moon, while reflectors excel at deep-sky objects. Catadioptric telescopes offer versatility and portability. Alt-azimuth mounts are user-friendly for beginners but limited for astrophotography, while equatorial mounts enable precise tracking and long-exposure images. Take time to explore each option and find the combination that best fits your needs and passion for solar system astrophotography.
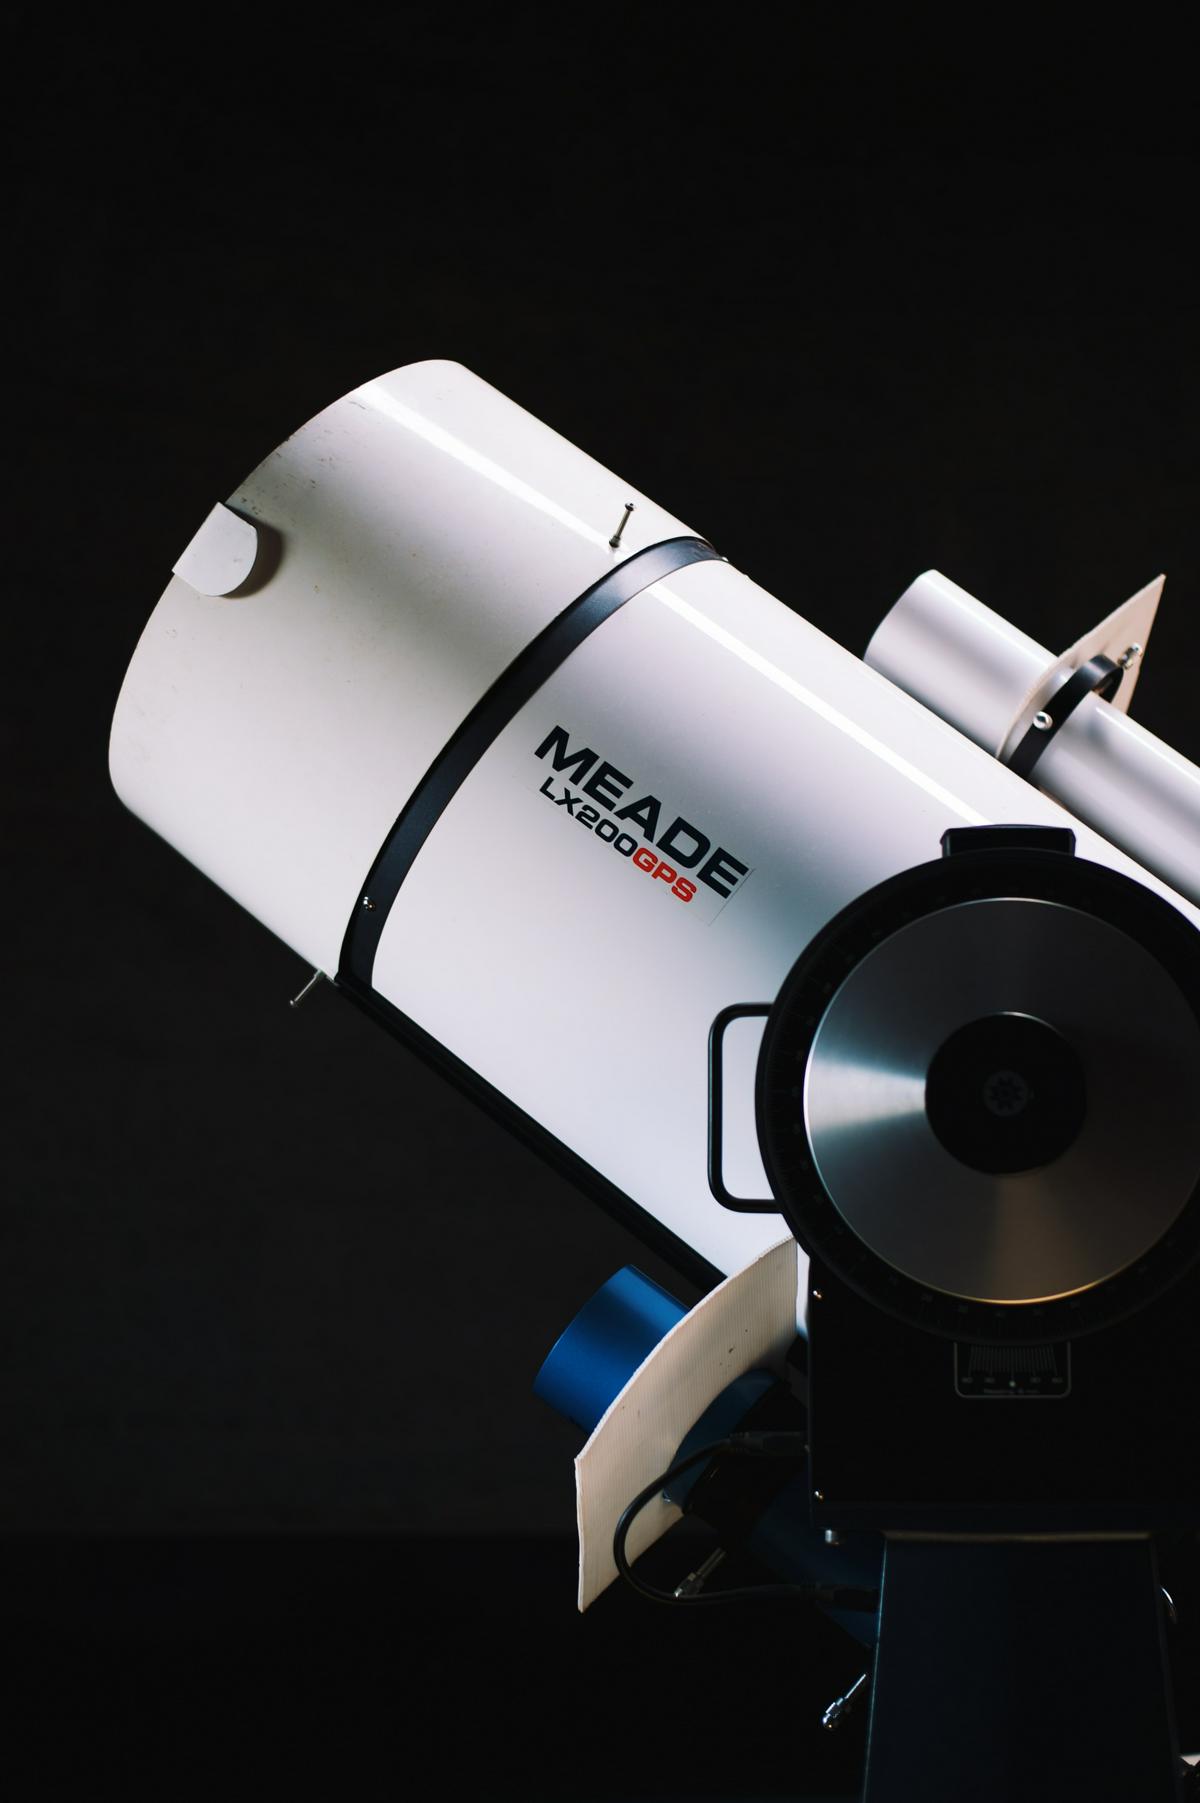
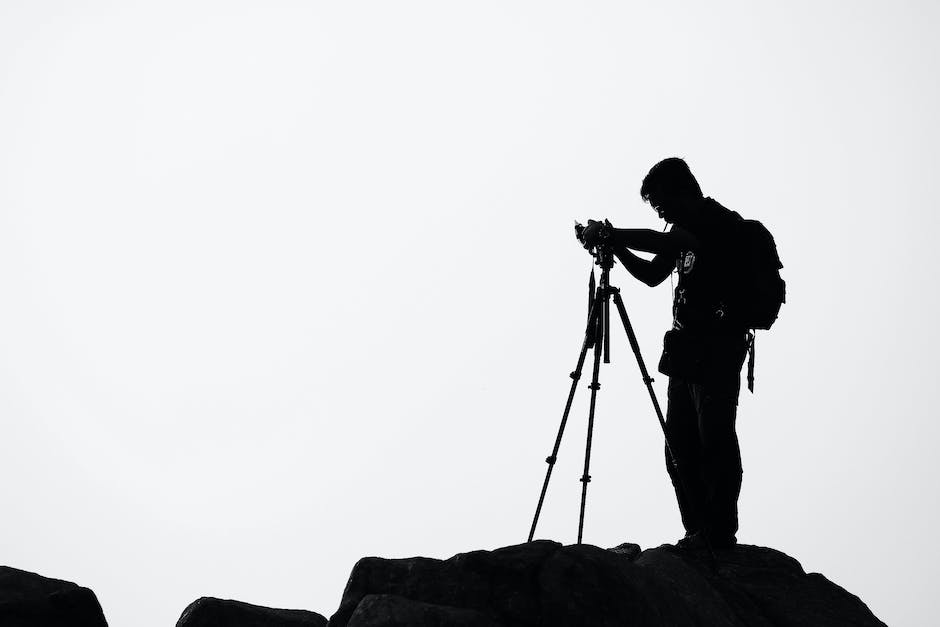
Photo by anniespratt on Unsplash
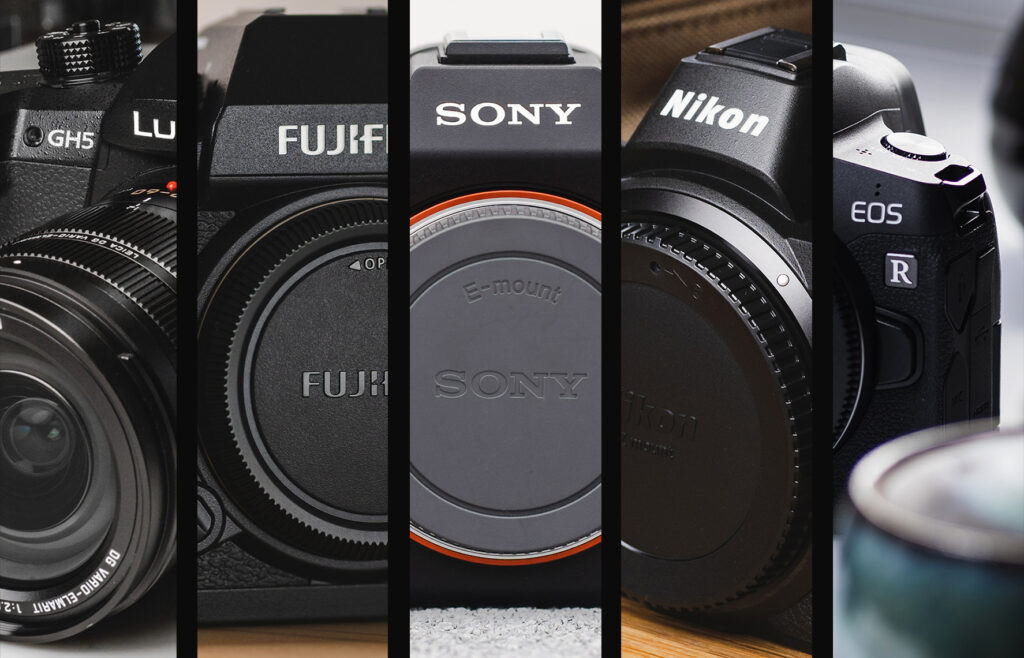
Camera Equipment and Accessories
Solar System Astrophotography: Camera Equipment and Accessories
Astrophotography is the art of capturing images of celestial objects like planets, stars, and galaxies. To achieve great results, it is important to choose the right equipment and learn how to correctly use it. In this guide, we will explore different camera types and essential accessories for solar system astrophotography.
Camera Types
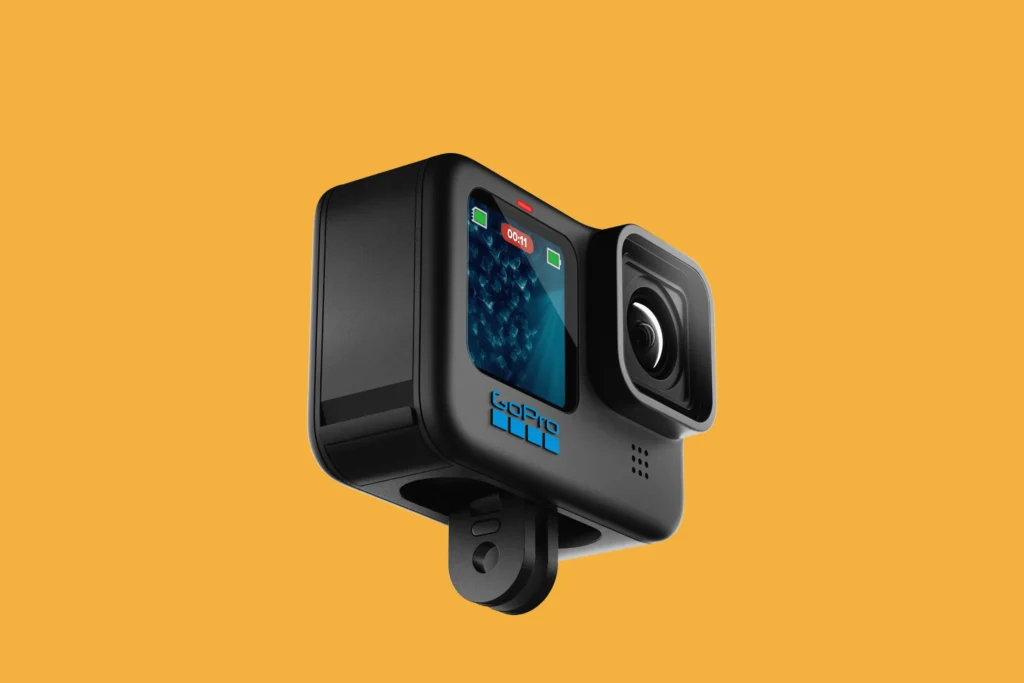
- DSLR Cameras (Digital Single Lens Reflex)
Digital SLR cameras are popular for astrophotography because they offer large sensors, interchangeable lenses, and manual control. They have a mirror that enables you to see through the lens directly before you shoot, reducing the chance of image distortion. - Mirrorless Cameras
Mirrorless cameras are similar to DSLRs but without the reflex mirror system. They are smaller, lighter, and use an electronic viewfinder or LCD screen to show the preview. Mirrorless cameras are becoming popular for astrophotography due to their improved sensors and faster processing speeds. - CCD Cameras (Charge-Coupled Device)
CCD cameras are specialized astro-imaging cameras. They are more sensitive and have higher signal-to-noise ratios than DSLRs, which is beneficial for capturing faint celestial objects. However, they are more expensive and require additional accessories like a dedicated cooling system, making them better suited for advanced astrophotographers. - CMOS Cameras (Complementary Metal-Oxide-Semiconductor)
CMOS cameras have become prevalent in astrophotography due to their higher sensitivity and lower cost compared to CCD cameras. They also consume less power and have faster readout speeds. Similar to CCD cameras, CMOS cameras often need additional accessories like cooling systems for noise reduction.
Monochrome vs. Color Sensors
Monochrome sensors capture images in black and white, while color sensors capture images in full color. Monochrome sensors are more sensitive to light because they don’t have a color filter array, which can block certain wavelengths. As a result, they are ideal for capturing faint objects, higher resolution, and more detailed images. However, they require additional filters for creating color images, making them more suitable for advanced astrophotographers. Color sensors have a built-in array of red, green, and blue filters to create color images. They are more user-friendly and cost-effective, especially for beginners. However, they might produce less-precise and less-detailed images compared to monochrome sensors.
Essential Accessories
- Focal Reducers
A focal reducer is an optical device that reduces the focal length of a telescope, resulting in a wider field of view and faster exposure times. Focal reducers are useful for imaging larger celestial objects like nebulae and galaxies. - Field Flatteners
Field flatteners are used to correct field curvature effects in refractor telescopes. They ensure the image appears flat and sharp, particularly at the edges. Field flatteners are essential for producing high-quality astro-images. - Filters
Filters enhance the images by blocking certain wavelengths of light, increasing contrast, and reducing light pollution. There are various types of filters available, including narrowband filters for specific wavelengths, broadband filters for general light pollution reduction, and color filters for monochrome cameras.
Conclusion
The choice of camera and accessories for solar system astrophotography depends on your skills, budget, and specific imaging goals. Research and understand the differences between various cameras and their sensors. Invest in essential accessories like focal reducers, field flatteners, and filters to improve your results. With the right tools, you can capture stunning images of celestial objects and enjoy solar system astrophotography.
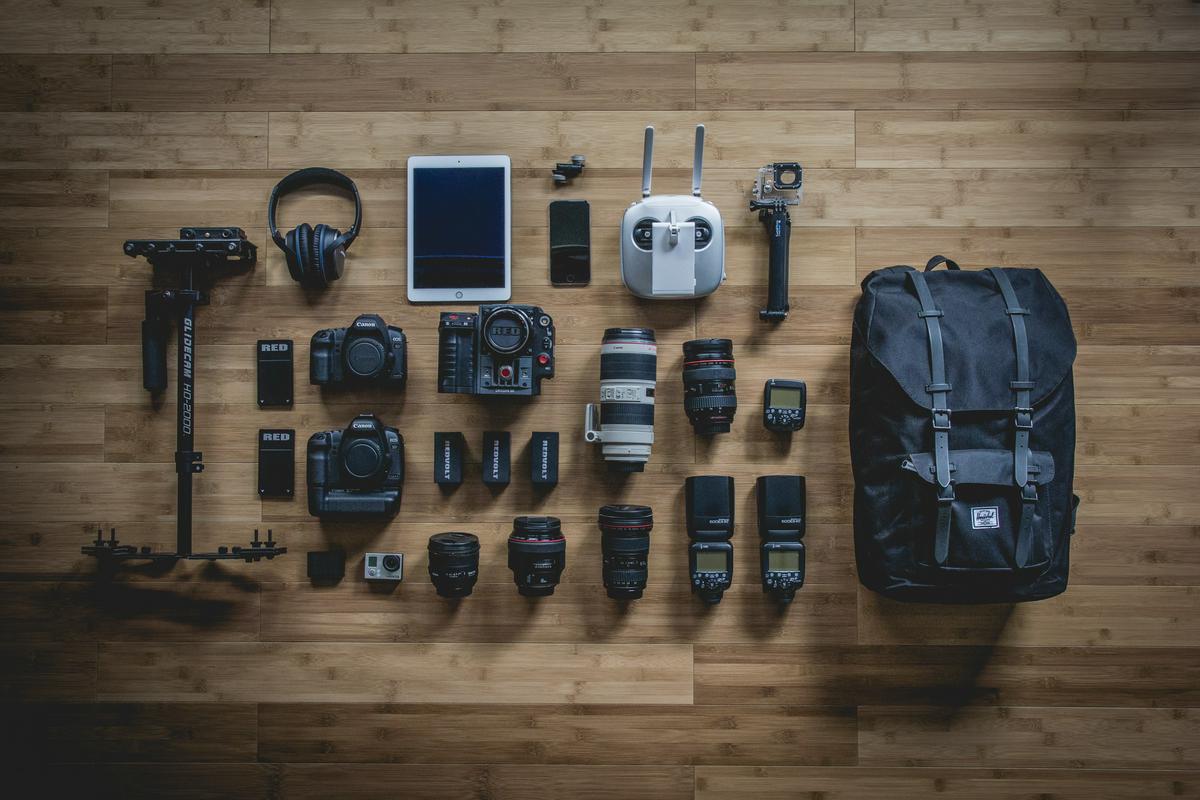
Photo by jeffhopper on Unsplash
Capturing Techniques and Camera Settings
Title: Capturing Techniques and Camera Settings for Solar System Astrophotography
Introduction:
Astrophotography is a fascinating hobby that allows you to capture celestial objects in the night sky. Whether you want to take stunning images of planets, stars, or other heavenly bodies in our solar system, understanding the basic techniques and camera settings is essential. This guide will provide you with some of the best practices for capturing images of solar system objects, including focusing on stars, using live view, setting exposure time, ISO, and white balance, as well as understanding dark frames, bias frames, and flat fields.
1. Focusing on Stars
- Manual focus is best for astrophotography since autofocus can struggle in low light conditions.
- Find a bright star or planet to focus on – use the live view feature on your camera (described below) to assist with this.
- Slowly and carefully adjust the focus ring on your lens until the star appears sharp and as small as possible.
- Lock the focus ring (if possible) to avoid any accidental changes during the capture process.
2. Using Live View
- Live view allows you to see your target object in real-time and makes focusing much easier.
- Point your camera at the target object in the sky, and enable live view.
- Zoom in on the live view screen to magnify the image, making focusing on a star or planet easier.
- Adjust the focus ring slowly until you see the star or planet appear as sharp as possible.
3. Setting Exposure Time
- The exposure time is how long your camera’s sensor collects light for each image.
- For solar system objects, shorter exposure times (1-5 seconds) are often sufficient due to their brightness.
- Experiment with different exposure times to find the best balance of light and noise for your specific target object and location.
4. Adjusting ISO
- ISO determines the sensitivity of your camera sensor to light.
- A higher ISO value increases sensitivity, but it also adds more noise to your images.
- Start with a lower ISO value (e.g., 800 or 1600) and gradually increase if needed to capture enough detail without introducing excessive noise.
5. Setting White Balance
- White balance is used to correct color casts caused by varying light sources.
- For astrophotography, setting your white balance to daylight or manually choosing a color temperature around 4000K usually provides accurate colors for celestial objects.
- Some cameras offer specific astrophotography settings that adjust the white balance – consult your camera’s manual for details.
6. Understanding Dark Frames, Bias Frames, and Flat Fields
- Dark frames are images taken with the same exposure time and ISO as your light frames (actual images of celestial objects) but with the lens cap on. The purpose of dark frames is to capture sensor noise and “hot pixels.”
- Bias frames are images taken with the shortest possible exposure time (e.g., 1/4000 sec) and at the same ISO as your light frames, with the lens cap on. Bias frames show the electronic readout noise of your camera sensor.
- Flat fields are images taken of an evenly lit surface with the same focus and aperture settings as your light frames. These images help correct for uneven illumination and sensor dust spots.
- Use dedicated astrophotography software to subtract dark, bias, and flat frames from your light frames in post-processing to improve image quality.
Conclusion:
Capturing high-quality solar system astrophotography images requires patience, practice, and knowledge of the basic techniques and camera settings. Experiment with different exposure times, ISO settings, and white balance options while also leveraging live view for precise focus. Don’t forget the importance of dark frames, bias frames, and flat fields in post-processing to achieve stunning results. With dedication and practice, capturing the mesmerizing beauty of our solar system will become an incredibly rewarding experience.
Guiding and Polar Alignment
Introduction
Accurate polar alignment and autoguiding are crucial for successful long-exposure astrophotography. In this guide, we will discuss the importance of both polar alignment and autoguiding and provide instructions on how to achieve accurate alignment using built-in polar scopes, drift alignment method, and software tools like SharpCap or PHD2.
1. The Importance of Accurate Polar Alignment and Autoguiding
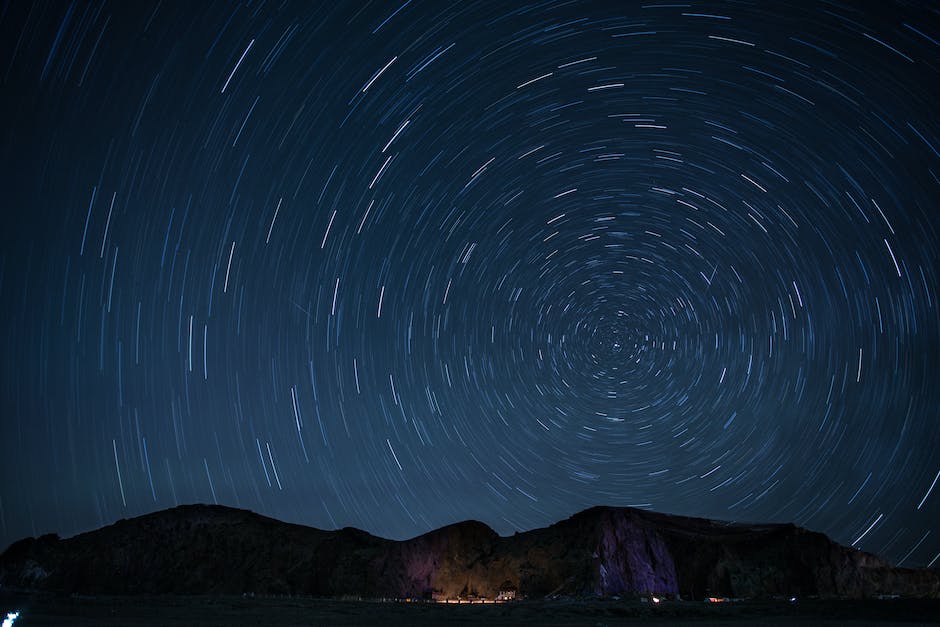
Polar alignment is the process of precisely aligning your telescope mount’s axis of rotation with the Earth’s axis. This alignment is essential because it allows the telescope to seamlessly track celestial objects as they move across the sky. Accurate polar alignment minimizes star trails and other unwanted artifacts in your astrophotographs.
Autoguiding is an additional technique used to improve tracking accuracy. An autoguider is a small camera that monitors the position of a guide star and sends corrections to the telescope mount. This ensures that your astrophotography gear stays locked onto target objects, providing crisp, clear images.
2. Using Built-In Polar Scopes for Polar Alignment
Many equatorial mounts come with built-in polar scopes. Follow these steps to align your telescope using a built-in polar scope:
- Set up your telescope mount at your observing site and make sure it is level.
- Point the mount’s polar axis toward Polaris (the North Star) by adjusting the mount’s azimuth and altitude.
- Look through your polar scope and locate Polaris. Adjust the mount to center Polaris in the reticle of the polar scope.
- Perform a three-star alignment using your telescope’s computerized control system to enhance tracking accuracy.
3. Drift Alignment Method
Drift alignment is a manual method of polar alignment that involves observing the apparent motion of stars in the eyepiece or camera.
- Set up your telescope and mount, roughly align with the celestial pole.
- Choose a bright star near the eastern or western horizon and center it in your eyepiece or camera.
- Observe the star’s drift for a few minutes. If it drifts north, adjust the mount’s azimuth; if it drifts south, adjust the altitude.
- Repeat the process until the drift is minimized, indicating good polar alignment.
4. Polar Alignment Using Software Tools: SharpCap and PHD2
SharpCap and PHD2 are software tools often used for polar alignment and autoguiding.
4.1 SharpCap Polar Alignment
- Install SharpCap on your computer and connect your camera.
- Point your telescope at a region near Polaris and start live-stacking.
- In the "Tools" menu, select "Polar Alignment."
- Follow the on-screen instructions to refine your polar alignment by adjusting your mount’s azimuth and altitude.
4.2 PHD2 Guiding and Polar Alignment
- Install PHD2 on your computer and connect your autoguider camera.
- Perform a quick drift alignment by choosing a star near the celestial equator and clicking the "Drift Align" button.
- Observe the star’s drift and follow the software’s instructions to adjust the azimuth and altitude of your mount.
- Start guiding using PHD2 to fine-tune the mount’s tracking and improve the quality of your astrophotographs.
Conclusion
Accurate polar alignment and autoguiding are essential for capturing breathtaking solar system astrophotography. By using built-in polar scopes, the drift alignment method, and software tools like SharpCap and PHD2, you can achieve precise alignment for your telescope mount and ensure that your astrophotographs turn out crisp and clear. With practice and patience, you will be on your way to capturing the beauty of the night sky.

Image Processing and Stacking
Title: Beginners Guide to Image Processing and Stacking for Solar System Astrophotography
Introduction
Astrophotography, the art of capturing the beauty of the solar system, can be a rewarding and fascinating hobby. However, the journey to achieving stunning images of the stars, planets, and deep-sky objects can be challenging, especially for beginners. Image processing and stacking is a crucial step in improving the quality of your astrophotography images. In this article, you will learn about the benefits of image processing and stacking, and how to get started using popular astrophotography software.
Step 1: Understanding Image Stacking in Astrophotography
Image stacking is the process of combining multiple images taken at the same exposure to improve the signal-to-noise ratio in the final image. Stacking helps to:
- Reduce random noise and improve image quality.
- Enhance faint details to uncover hidden features in the solar system.
- Increase the dynamic range, allowing for more vivid colors and contrast.
Step 2: Capture Multiple Images for Stacking
To prepare for image stacking, ensure that you have captured multiple images of the same subject with the same exposure settings. It’s essential to maintain stable conditions throughout the imaging session, including focus, tracking, and atmospheric stability.
Step 3: Preprocess Your Images
Before stacking, you will need to preprocess your images. This phase includes:
- Sorting the images: Choose the best images for stacking by analyzing their quality and alignment. Discard any image that has movement or other inconsistencies.
- Calibration: Calibrate your images by subtracting dark frames, bias frames, and flat frames. This process helps eliminate noise, uneven field illumination, and other artifacts in the final image.
Step 4: Choose the Right Astrophotography Software
Selecting the right software for image stacking is essential. The following options are popular choices among astrophotographers:
- DeepSkyStacker (DSS): A free, robust, and easy-to-use software that caters to beginners as well as experienced users.
- PixInsight: An advanced, comprehensive software with a steeper learning curve but more powerful features and tools.
- AstroPixelProcessor (APP): A user-friendly, modern software that combines image processing and stacking features catered to both beginners and professionals.
Step 5: Align and Stack Your Images
Once you’ve preprocessed your images and chosen your software, it’s time to stack them. Below is a general workflow:
- Import your images into the chosen software.
- Align the images: This step ensures that the stars and other features are accurately lined up across the multiple images.
- Stack the images: The software will average the pixel values from each frame to create the final, noise-reduced image.
Step 6: Post-Processing in Astrophotography
After stacking, you can further process the image to enhance its quality and appearance. Some examples of post-processing techniques include:
- Levels and curves adjustments: Enhance the brightness, contrast, and colors of the processed image.
- Noise reduction: Apply additional noise reduction algorithms to smooth out the final image.
- Sharpening: Enhance the fine details and structures in the image using sharpening techniques.
- Gradient removal: Correct for gradients in the background sky color due to light pollution.
Conclusion
Mastering the art of image processing and stacking in solar system astrophotography will take time and practice. As you build your skills, you will find yourself producing increasingly stunning images of the stars, planets, and other celestial objects. Remember to be patient, learn from your experiences, and constantly seek ways to improve your astrophotography techniques.
Post-Processing Techniques
Title: Solar System Astrophotography – Post-Processing Techniques for Enhanced Images
Introduction:
Astrophotography is an incredible way to capture and explore the breathtaking beauty of the solar system. To bring out the full potential of your final astrophotographs, you can use post-processing software such as Adobe Photoshop or GIMP to enhance their quality significantly. In this guide, we will cover the essential post-processing techniques like levels and curves adjustments, noise reduction, sharpening, and color balancing that you need to boost your images.
1. Levels and curves adjustments:
a. Open your astrophotograph in Adobe Photoshop or GIMP.
b. Go to Image > Adjustments > Levels (in Photoshop) or Colors > Levels (in GIMP). This brings up the Levels dialog box.
c. Adjust the input levels sliders to improve the balance between the shadows, midtones, and highlights in your image. Generally, you want to bring the left (blacks) slider closer to the peak of the histogram and the right (whites) slider down to the edge of the histogram while adjusting the middle (gray) slider for midtone contrast.
d. You can further tweak the contrast of your image using Curves. Go to Image > Adjustments > Curves (in Photoshop) or Colors > Curves (in GIMP).
e. In the Curves dialogue box, make a smooth S-shaped curve to increase the contrast by lifting the highlights and deepening shadows.
2. Noise reduction:
a. After adjusting the levels and curves, go to Filter > Noise > Reduce Noise (in Photoshop) or Filters > Enhance > Noise Reduction (in GIMP) to remove any unwanted grain, artifacts, or noise from your image.
b. Adjust the noise reduction sliders (Strength, Preserve Details, and Sharpen) in Photoshop or the Radius, Amount, and Threshold sliders in GIMP to find a balance between the noise reduction and preservation of details in your image.
3. Sharpening:
a. To further enhance your astrophotograph, apply sharpening using the Unsharp Mask filter. Go to Filter > Sharpen > Unsharp Mask (in Photoshop) or Filters > Enhance > Unsharp Mask (in GIMP).
b. In the Unsharp Mask dialog box, adjust the Amount, Radius, and Threshold sliders to get the desired level of sharpness for your image without over-sharpening or creating halos around stars and other bright objects.
4. Color balancing:
a. Go to Image > Adjustments > Color Balance (in Photoshop) or Colors > Color Balance (in GIMP) to adjust the color balance of your image.
b. The Color Balance tool allows you to adjust the color balance of shadows, midtones, and highlights individually. Use the sliders to remove any color casts or enhance specific colors in your astrophotograph to give it a more vibrant and dynamic look.
5. Additional enhancements (optional):
a. You can further enhance the final image by adding subtle adjustments like saturation, vibrance, and selective color adjustments. Play around with different settings and tools to find what works best for your specific astrophotograph.
b. Remember to save your work in a format that retains the quality of your edits, such as TIFF or PNG.
Conclusion:
Using these post-processing techniques in Adobe Photoshop or GIMP, you can transform your solar system astrophotographs into stunning images that showcase the beauty and magnificence of the cosmos. With practice and experimentation, you’ll develop your skills and further refine your technique, giving you the ability to create breathtaking astrophotographs that capture the wonders of the solar system like never before.

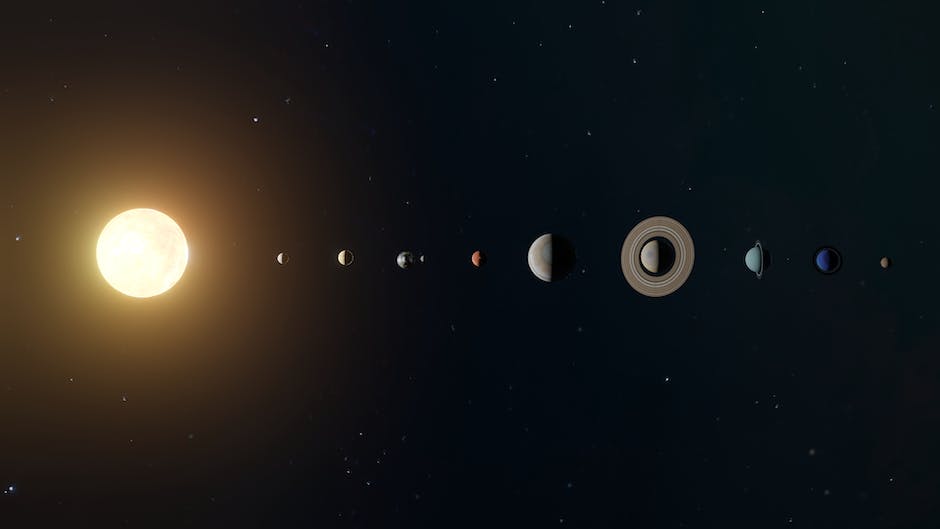
Astrophotography Planning and Preparation
Solar system astrophotography is the art and science of capturing images of celestial objects in our solar system, such as planets, the Moon, and the Sun. Planning and preparation are crucial in ensuring successful astrophotography sessions. Tools like Stellarium, PhotoPills, and SkySafari can help you plan your imaging sessions, position your subjects, and ensure ideal conditions and timings. Here’s a step-by-step guide on how to use these tools for your solar system astrophotography planning and preparation:
- Familiarize yourself with the tools
Start by downloading and familiarizing yourself with the software and smartphone apps Stellarium (stellarium.org), PhotoPills (photopills.com), and SkySafari (skysafariastronomy.com). Each has specific functionality designed for astrophotographers, so invest some time learning their interface and capabilities. - Plan your imaging sessions
Decide which celestial objects in the solar system you’d like to photograph. Your choice will dictate the type of equipment and settings required for capturing the image successfully. Then, input your desired object into Stellarium, PhotoPills, or SkySafari to see when and where it’s visible from your location. - Check the weather and local conditions
Before you start any solar system astrophotography, ensure that the weather conditions are ideal. Clear skies with minimal to no cloud cover are essential for capturing images of celestial objects. Apps like PhotoPills and SkySafari can provide you with accurate weather forecasts for your location and help you plan your imaging session around potentially suitable conditions. - Determine object visibility and positioning
Using the planning tools, determine when your chosen celestial object is visible, how high it will appear in the sky, and the best time to photograph it. Objects captured higher in the sky, when they are at their highest position, generally provide the sharpest images. - Plan your timings and equipment setup
Once you have determined the ideal time to photograph your object, plan your equipment setup accordingly. The tools will give you precise information, such as moonrise and moonset times, which you can use to make your session more productive. Ensure to allocate sufficient time for setting up your equipment and aligning your telescope with the celestial object. - Double-check your settings and equipment
Each app mentioned above has specific settings and conditions for different types of astrophotography, such as moon and planetary imaging. Make sure to double-check these settings to ensure you are using the right equipment and techniques for your chosen subject. Equipment includes a motorized equatorial mount, a suitable telescope or lens, an appropriate camera, and, if necessary, a solar filter for imaging the Sun. - Prepare for the imaging session
Charge your camera batteries, gather all your equipment, and ensure you have a stable platform for your telescope and camera setup. Have a checklist handy to make sure you don’t forget any essential items. - Capture your images
Once conditions are optimum, and you have completed your preparation, it’s time to capture your solar system astrophotography images. Use the information provided by your planning tools to ensure your camera settings are appropriate for the celestial object you are photographing, and enjoy the process!
By following these steps and utilizing Stellarium, PhotoPills, or SkySafari, you can efficiently plan and prepare for your solar system astrophotography sessions, ensuring ideal conditions, accurate subject positioning, and perfect timing for capturing stunning images of our celestial neighbors. Happy stargazing!

By dedicating time and effort to learning the art of solar system astrophotography, you will gain the ability to capture awe-inspiring images of celestial bodies. This knowledge will not only provide a creative outlet but also allow you to contribute to the broader community of astronomy enthusiasts and stargazers. So gear up, look skyward, and start exploring the wonders of the solar system through astrophotography.
Originally posted 2023-05-25 13:05:14.