Embark on an incredible journey through the fascinating world of astrophotography, where science and art merge to capture the breathtaking beauty of the cosmos. This comprehensive guide will introduce you to the essential concepts, equipment, and techniques needed to create stunning images of celestial objects, and navigate the realm of post-processing to unlock the full potential of your raw astrophotography captures. Whether you are a seasoned photographer or a passionate stargazer, this guide to astrophotography post-processing serves as your key to unlocking the secrets of the night sky.
Understanding Astrophotography Basics
Title: Understanding Astrophotography Basics
Introduction:
Astrophotography is the art of capturing celestial images, providing a unique view of the night sky and the objects that inhabit it. It allows you to explore and capture stunning images of planets, galaxies, nebulas, and other wonders of the universe. In this guide, we will break down the basics of astrophotography, including common terminology, equipment, and techniques used in capturing celestial images.
1. Common Terminology:
- Aperture: The opening in a camera lens that allows light to pass through and reach the camera’s sensor. A larger aperture means more light can enter, which is crucial for capturing images in dark environments like the night sky.
- Focal Length: The distance between a camera’s lens and its sensor. Longer focal lengths equate to a narrower field of view, providing greater magnification of objects in the image.
- Tracking Mount: A motorized mount for a camera or telescope that follows the movement of celestial objects, allowing for longer exposure times without producing blurred images.
- Stacking: The process of combining multiple images to increase the signal-to-noise ratio, thereby enhancing fine details while reducing noise in the final image.
- Exposure Time: The amount of time the camera’s sensor is exposed to light. Longer exposures allow more light to enter and are necessary for capturing faint celestial objects.
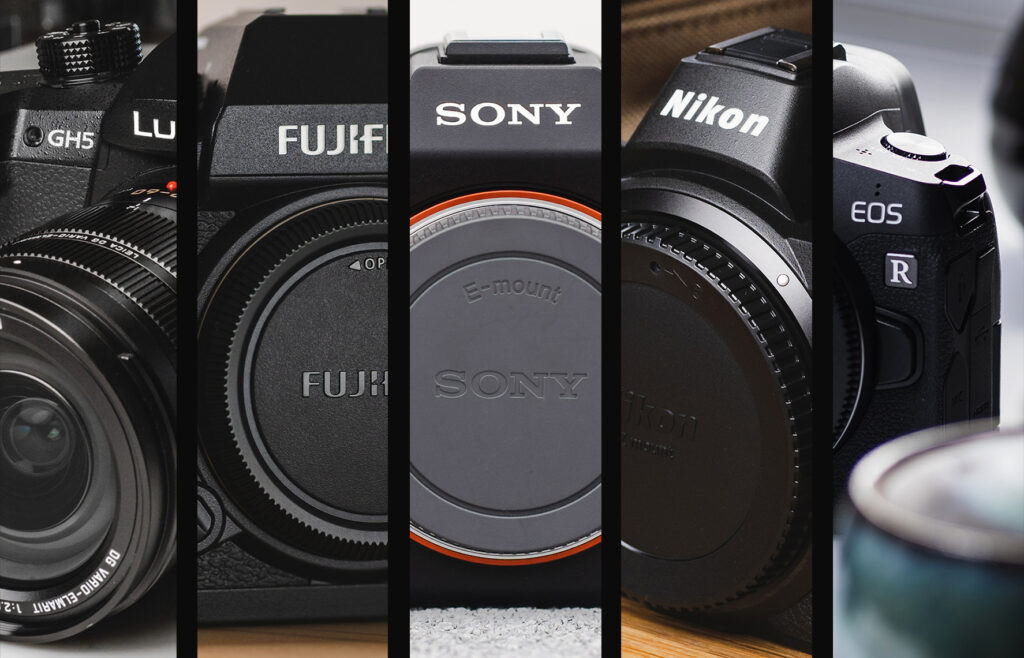
2. Essential Equipment for Astrophotography:
- Camera: A DSLR or mirrorless camera with manual controls and high ISO performance is ideal for astrophotography. Some popular choices among astrophotographers are the Canon EOS Ra, Nikon D750, and Sony A7III.
- Lens: A fast, wide-angle lens with an aperture of f/2.8 or lower is recommended for capturing expansive views of the night sky and minimizing coma (a type of optical aberration).
- Tripod: A sturdy, stable tripod is essential to support your camera and lens and minimize unwanted vibrations that can blur images.
- Tracking Mount: A tracking mount is needed for longer exposure times to follow the motion of stars and maintain sharp focus during long exposure shots.
- Remote Shutter Release: This allows you to trigger the camera shutter without touching the camera, preventing vibration and camera shake during exposures.
3. Basic Techniques for Capturing Celestial Images:
- Scout your location: Find a dark site free of light pollution, away from city lights, and with minimal obstruction from trees or buildings to ensure a clear view of the sky.
- Use the Rule of 500: A simple guideline to prevent star trails while shooting wide-field astrophotography is the Rule of 500. Divide 500 by the focal length of your lens to determine the maximum exposure time (in seconds) before star trailing becomes noticeable. For example, a 20mm lens would have a maximum exposure time of 25 seconds (500 ÷ 20).
- Focus on Infinity: Set your lens to manual focus and adjust it to focus on a bright star or distant object until it appears sharp and well-defined. Some lenses have an “infinity” marking to help guide you, but always fine-tune by checking the focus in your camera’s live view or through a magnified preview.
- Set Camera Settings: Shoot in RAW format, use a wide aperture (f/2.8 or lower) for maximum light gathering, and set ISO between 800 and 6400, depending on your camera’s capability and noise performance. Adjust exposure time based on the Rule of 500 or use a tracking mount for longer exposures.
- Stack Images: Capture a series of images with the same camera settings and use stacking software to combine them. This technique reduces noise and enhances detail, making the most of your collected data.
4. Post-Processing Astrophotography Images:
- Use Dedicated Software: Astrophotography-specific software such as DeepSkyStacker, PixInsight, or Starry Landscape Stacker can enhance your images by aligning, stacking, and processing them.
- Adjust Levels and Curves: Using image editing software like Adobe Photoshop or Lightroom, adjust the levels and curves to enhance contrast, bring out faint details, and control noise.
- Reduce Noise: Apply noise reduction filters judiciously to minimize image grain without sacrificing detail.
- Enhance Details: Boost saturation, sharpness, and local contrast to bring out the best features of your celestial subject.
Conclusion:
Armed with an understanding of common astrophotography terminology, essential equipment, basic techniques, and post-processing methods, you are now ready to embark on your journey into astrophotography. Remember, practice and experimentation are crucial for refining your skills and capturing the stunning celestial images that fill the cosmos.
Capturing Astrophotography Images
Title: Capturing Astrophotography Images: Set up, Camera Settings, and Image Acquisition
Introduction:
Astrophotography is the art of capturing images of celestial objects in the night sky, ranging from prominent planets and stars to other celestial bodies such as galaxies and nebulas. This guide will walk you through setting up your camera and telescope, selecting appropriate settings, and acquiring high-quality images for post-processing.
Materials:
- A DSLR or mirrorless camera with manual settings and RAW image capture capability
- A telescope suitable for astrophotography
- A sturdy tripod
- A T-ring adapter and T-adapter to attach your camera to the telescope
- A remote shutter release or intervalometer
- A red flashlight for preserving night vision
- A fully charged camera battery and extra memory card
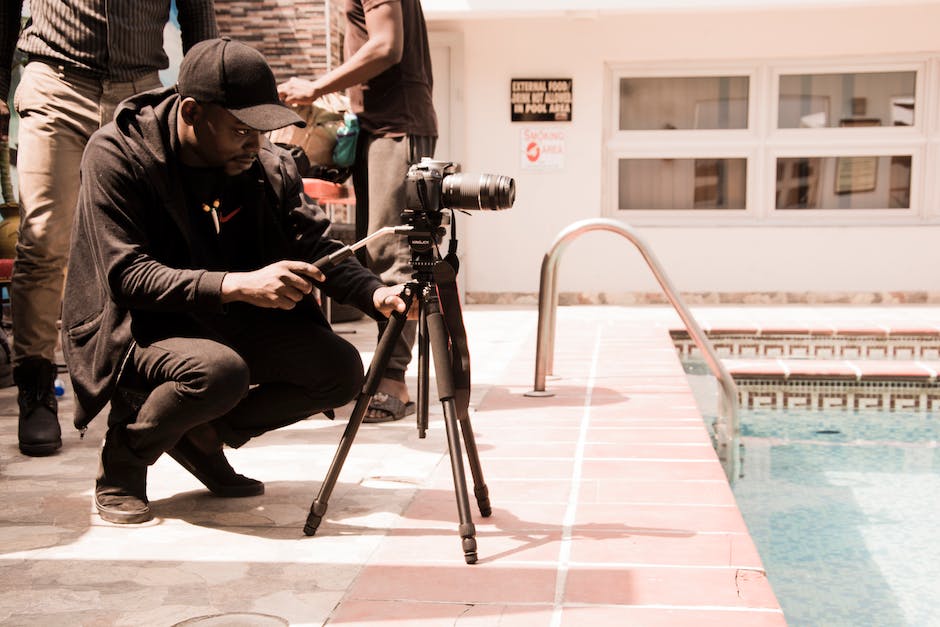
Step 1: Setting up your Telescope and Camera
- Find a location with minimal light pollution and a clear view of the night sky.
- Set up your tripod on a flat, stable surface, and place your telescope on it, ensuring it is secure and level.
- Attach the T-ring adapter to your camera, then screw the T-adapter onto the T-ring.
- Remove the eyepiece from your telescope and replace it with the T-adapter and camera assembly.
- Focus your telescope on a bright star or planet using the telescope’s focus knobs. You may need to adjust the focus several times throughout your imaging session.
- If you are using an equatorial mount, align your mount to the celestial pole for accurate tracking.
Step 2: Adjusting Camera Settings
- Set your camera to manual mode (M) to gain full control over aperture, shutter speed, and ISO.
- Adjust the lens aperture (f-stop) to the lowest possible setting (largest aperture) to allow for maximum light gathering.
- Set the ISO value according to your specific camera sensor and the amount of light pollution in your area. Start with a value between 800 and 1600, and adjust as necessary.
- Choose an exposure time that provides enough light without causing unwanted star trailing. This can vary depending on your telescope mount and object being imaged. A good starting point is 30-60 seconds.
- Set your camera to RAW image format to preserve the maximum amount of data for post-processing.
- Enable long exposure noise reduction to minimize hot pixels.
- Use a remote shutter release or intervalometer to prevent camera shake during exposure.
Step 3: Capturing Images
- Select a celestial object that you want to photograph. If you are new to astrophotography, start with bright, prominent objects like the moon, planets, or famous deep space objects like the Orion Nebula or Andromeda Galaxy.
- Center the object in your telescope’s field of view. This may require adjusting the telescope’s alignment and positioning.
- Take a test exposure to check focus and composition. Review the image on your camera’s screen and make any necessary adjustments to your settings or telescope positioning.
- Once you are satisfied with your test image, begin taking a series of exposures. The more images you capture, the better the signal-to-noise ratio and image quality will be during post-processing. Aim for at least 20-30 images of your main object.
- In addition to your main images (lights), capture calibration frames like darks, flats, and bias frames. These will help correct image imperfections during post-processing.
Step 4: Post-Processing
- Import your images into an astrophotography post-processing software (e.g., DeepSkyStacker, PixInsight, or Adobe Photoshop).
- Perform a pre-processing routine, which includes image calibration (using darks, flats, and bias frames) and alignment (registration).
- Stack your aligned and calibrated images to create a final, noise-reduced image.
- Perform post-processing techniques such as curve adjustments, color balancing, noise reduction, and sharpening to enhance your final image.
Conclusion:
Astrophotography is a rewarding pursuit that requires patience, practice, and perseverance. With the right equipment, settings, and techniques, you can capture stunning images of celestial objects for your enjoyment and the admiration of others. Don’t get discouraged if your initial results aren’t perfect; learning from experience is an essential part of mastering astrophotography.

Image Calibration
Title: A Guide to Astrophotography Image Calibration for Professionals
Introduction
Astrophotography is a fascinating hobby that allows you to capture stunning images of celestial bodies and deep-sky phenomena. However, acquiring high-quality photographs relies heavily on accurate post-processing techniques to remove unwanted artifacts, such as noise and gradients, and to enhance the final product. This guide will help you understand the process of image calibration in astrophotography by breaking down each step involved in eliminating noise, correcting gradients, and applying dark, flat, and bias frames.
Step 1: Acquire Calibration Frames
Before calibrating your astrophotography images, it’s essential to gather calibration frames. There are three types of calibration frames you’ll need, which include dark frames, flat frames, and bias frames:
- Dark Frames: Dark frames are images taken at the same temperature, exposure time, and ISO as your light frames (the images you took of the sky) but with the lens cap on. These help to remove thermal noise and any imperfections caused by the camera sensor.
- Flat Frames: Flat frames are images taken with an evenly illuminated "white" surface (like a white T-shirt or a lightbox) to account for uneven illumination or gradients in your images. They should be taken at the same temperature and ISO, but with an exposure time that results in a peak in the histogram about halfway across.
- Bias Frames: Bias frames are short-exposure images taken with the lens cap on at the same temperature and ISO, but the shortest possible exposure time. Collecting bias frames help remove the camera’s inherentRead More noise from your images.
Step 2: Organize Your Files
Organize your files by creating separate folders for each type of frame (i.e., lights, darks, flats, and biases). This will make it easier to manage your files and streamline your post-processing workflow.
Step 3: Load Your Images into a Post-Processing Application
Now that you’ve acquired and organized your calibration frames, load them into an astrophotography post-processing software, such as PixInsight, DeepSkyStacker, or Adobe Photoshop. These applications allow you to perform the necessary image calibration steps seamlessly.
Step 4: Calibrate Your Images
Follow these steps to calibrate your images using your chosen software:
- Subtract Bias Frames: Subtracting bias frames will remove the read noise from your dark, flat, and light frames. Load your bias frames into the post-processing software, and it will calculate a "master bias" to be subtracted from the other frames.
- Calibrate Dark Frames: Use the master bias to calibrate your dark frames by subtracting it from each of them. Then, create a "master dark" by median-combining the calibrated dark frames.
- Calibrate Flat Frames: Subtract the master bias from your flat frames, and then normalize them by dividing each by its median value. Create a "master flat" by median-combining the calibrated and normalized flat frames.
- Calibrate Light Frames: Finally, calibrate your light frames by subtracting the master dark and dividing by the master flat.
Step 5: Alignment and Stacking
Once your images are calibrated, align your light frames using the post-processing software, ensuring that any movements or shifts are accounted for. Then, stack the aligned light frames to generate a single image. Stacking helps improve the signal-to-noise ratio and reduces overall noise in the final image.
Step 6: Process the Stacked Image
Now that you’ve calibrated, aligned, and stacked your images, you can begin processing the final image using various techniques such as background extraction, color correction, and noise reduction. This step is crucial in producing a high-quality astrophotography image that showcases the celestial beauty captured in your photographs.
Conclusion
Understanding and applying image calibration significantly impacts the quality of your astrophotography images. By diligently capturing proper calibration frames, organizing your files, and using post-processing software effectively, you’ll be able to remove noise and correct gradients – resulting in captivating and breathtaking photographs of our universe.
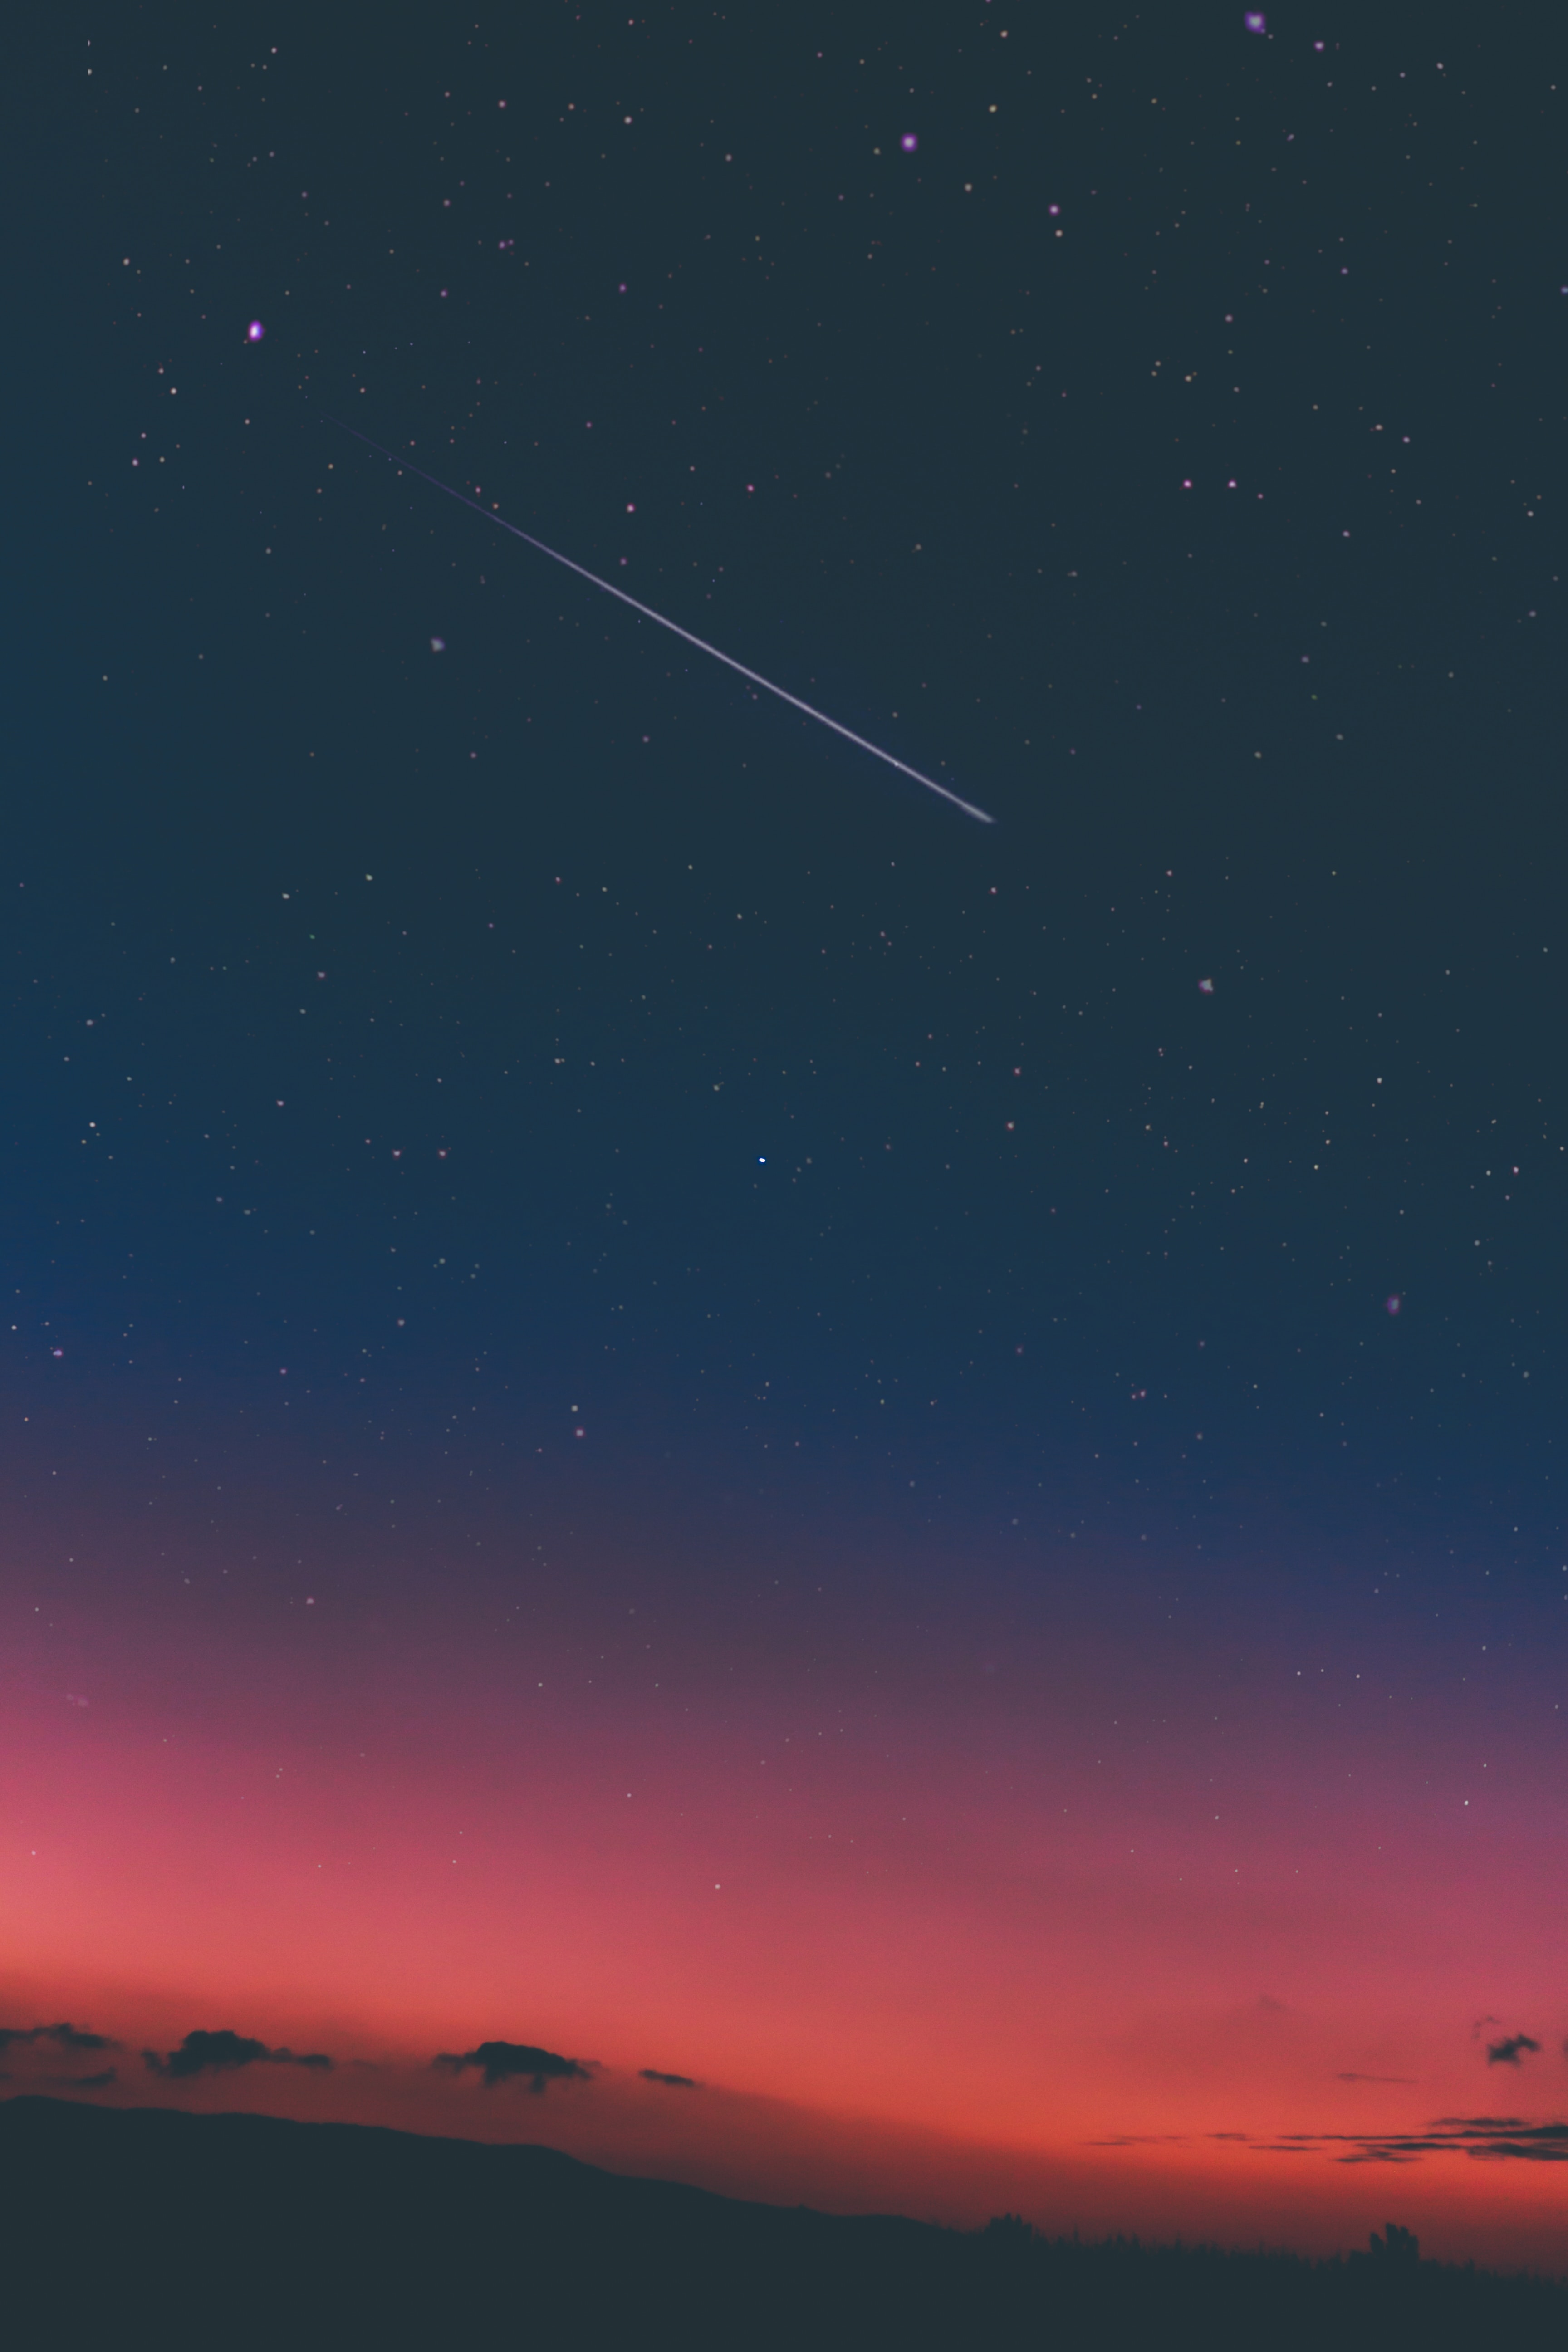
Image Alignment and Stacking
Title: Image Alignment and Stacking for Astrophotography Post Processing
Introduction: In astrophotography, taking multiple images of the same celestial object and combining them can improve the signal-to-noise ratio, enhance details, and create a better overall image. This process requires aligning and stacking the images. Follow these step-by-step instructions to learn how to do image alignment and stacking in astrophotography post processing.
Prerequisites:
- A set of multiple images (light frames) of the same celestial object taken using a DSLR camera or a specialized astronomical camera.
- Dark and bias frames to calibrate your images and reduce noise.
- Image processing software such as DeepSkyStacker, PixInsight, or RegiStax.
Instructions:
1. Organize and calibrate your images:
- a. Collect all your light frames (images of the celestial object) and organize them in a single folder.
- b. Collect your dark frames (images taken with the camera shutter closed to capture noise) and bias frames (images taken with the shortest possible exposure time to capture readout noise) in separate folders.
- c. Import your light, dark, and bias frames into your image processing software.
- d. Follow your software’s instructions to calibrate your light frames using the dark and bias frames. This will reduce noise in your images.
2. Align your images:
- a. In your image processing software, select the option for image alignment or registration. The software will usually have options such as star alignment or pattern recognition.
- b. Allow the software to analyze and detect key features (usually stars) in each image and align the images based on these features.
- c. If your software provides manual alignment options, you can use them to refine the alignment by selecting reference stars or features in each image.
- d. Save the aligned images in a new folder.
3. Quality evaluation and image rejection:
- a. Review each aligned image individually for quality issues such as poor focus, trailing stars, or other artifacts.
- b. Exclude or remove any images that have significant issues, as they may negatively impact the final stacked image.
4. Stack your images:
- a. In your image processing software, select the option for image stacking or integration.
- b. Choose the stacking method or algorithm. The most common methods are average stacking, median stacking, and sigma clipping. If you are unsure, median stacking is a good starting point.
- c. Load your aligned and quality-evaluated images into the stacking tool.
- d. Run the stacking process. The software will combine the images to create a single, higher-quality image with improved signal-to-noise ratio and enhanced details.
- e. Save the stacked image as a new file in a lossless file format, such as TIFF or FITS.
5. (Optional) Post-process the stacked image:
- a. Open the stacked image in your image processing software or a dedicated photo editing application like Adobe Photoshop.
- b. Adjust levels, curves, and other settings to bring out the details and color in your image.
- c. Apply noise reduction, sharpening, and other filters to enhance the image further.
- d. Save the final processed image in your desired format.
Conclusion: By following these instructions, you can successfully align and stack your astrophotography images to create high-quality, detailed photos of celestial objects. Remember that practice and experimentation with different settings and techniques will lead to the best results in your astrophotography journey.
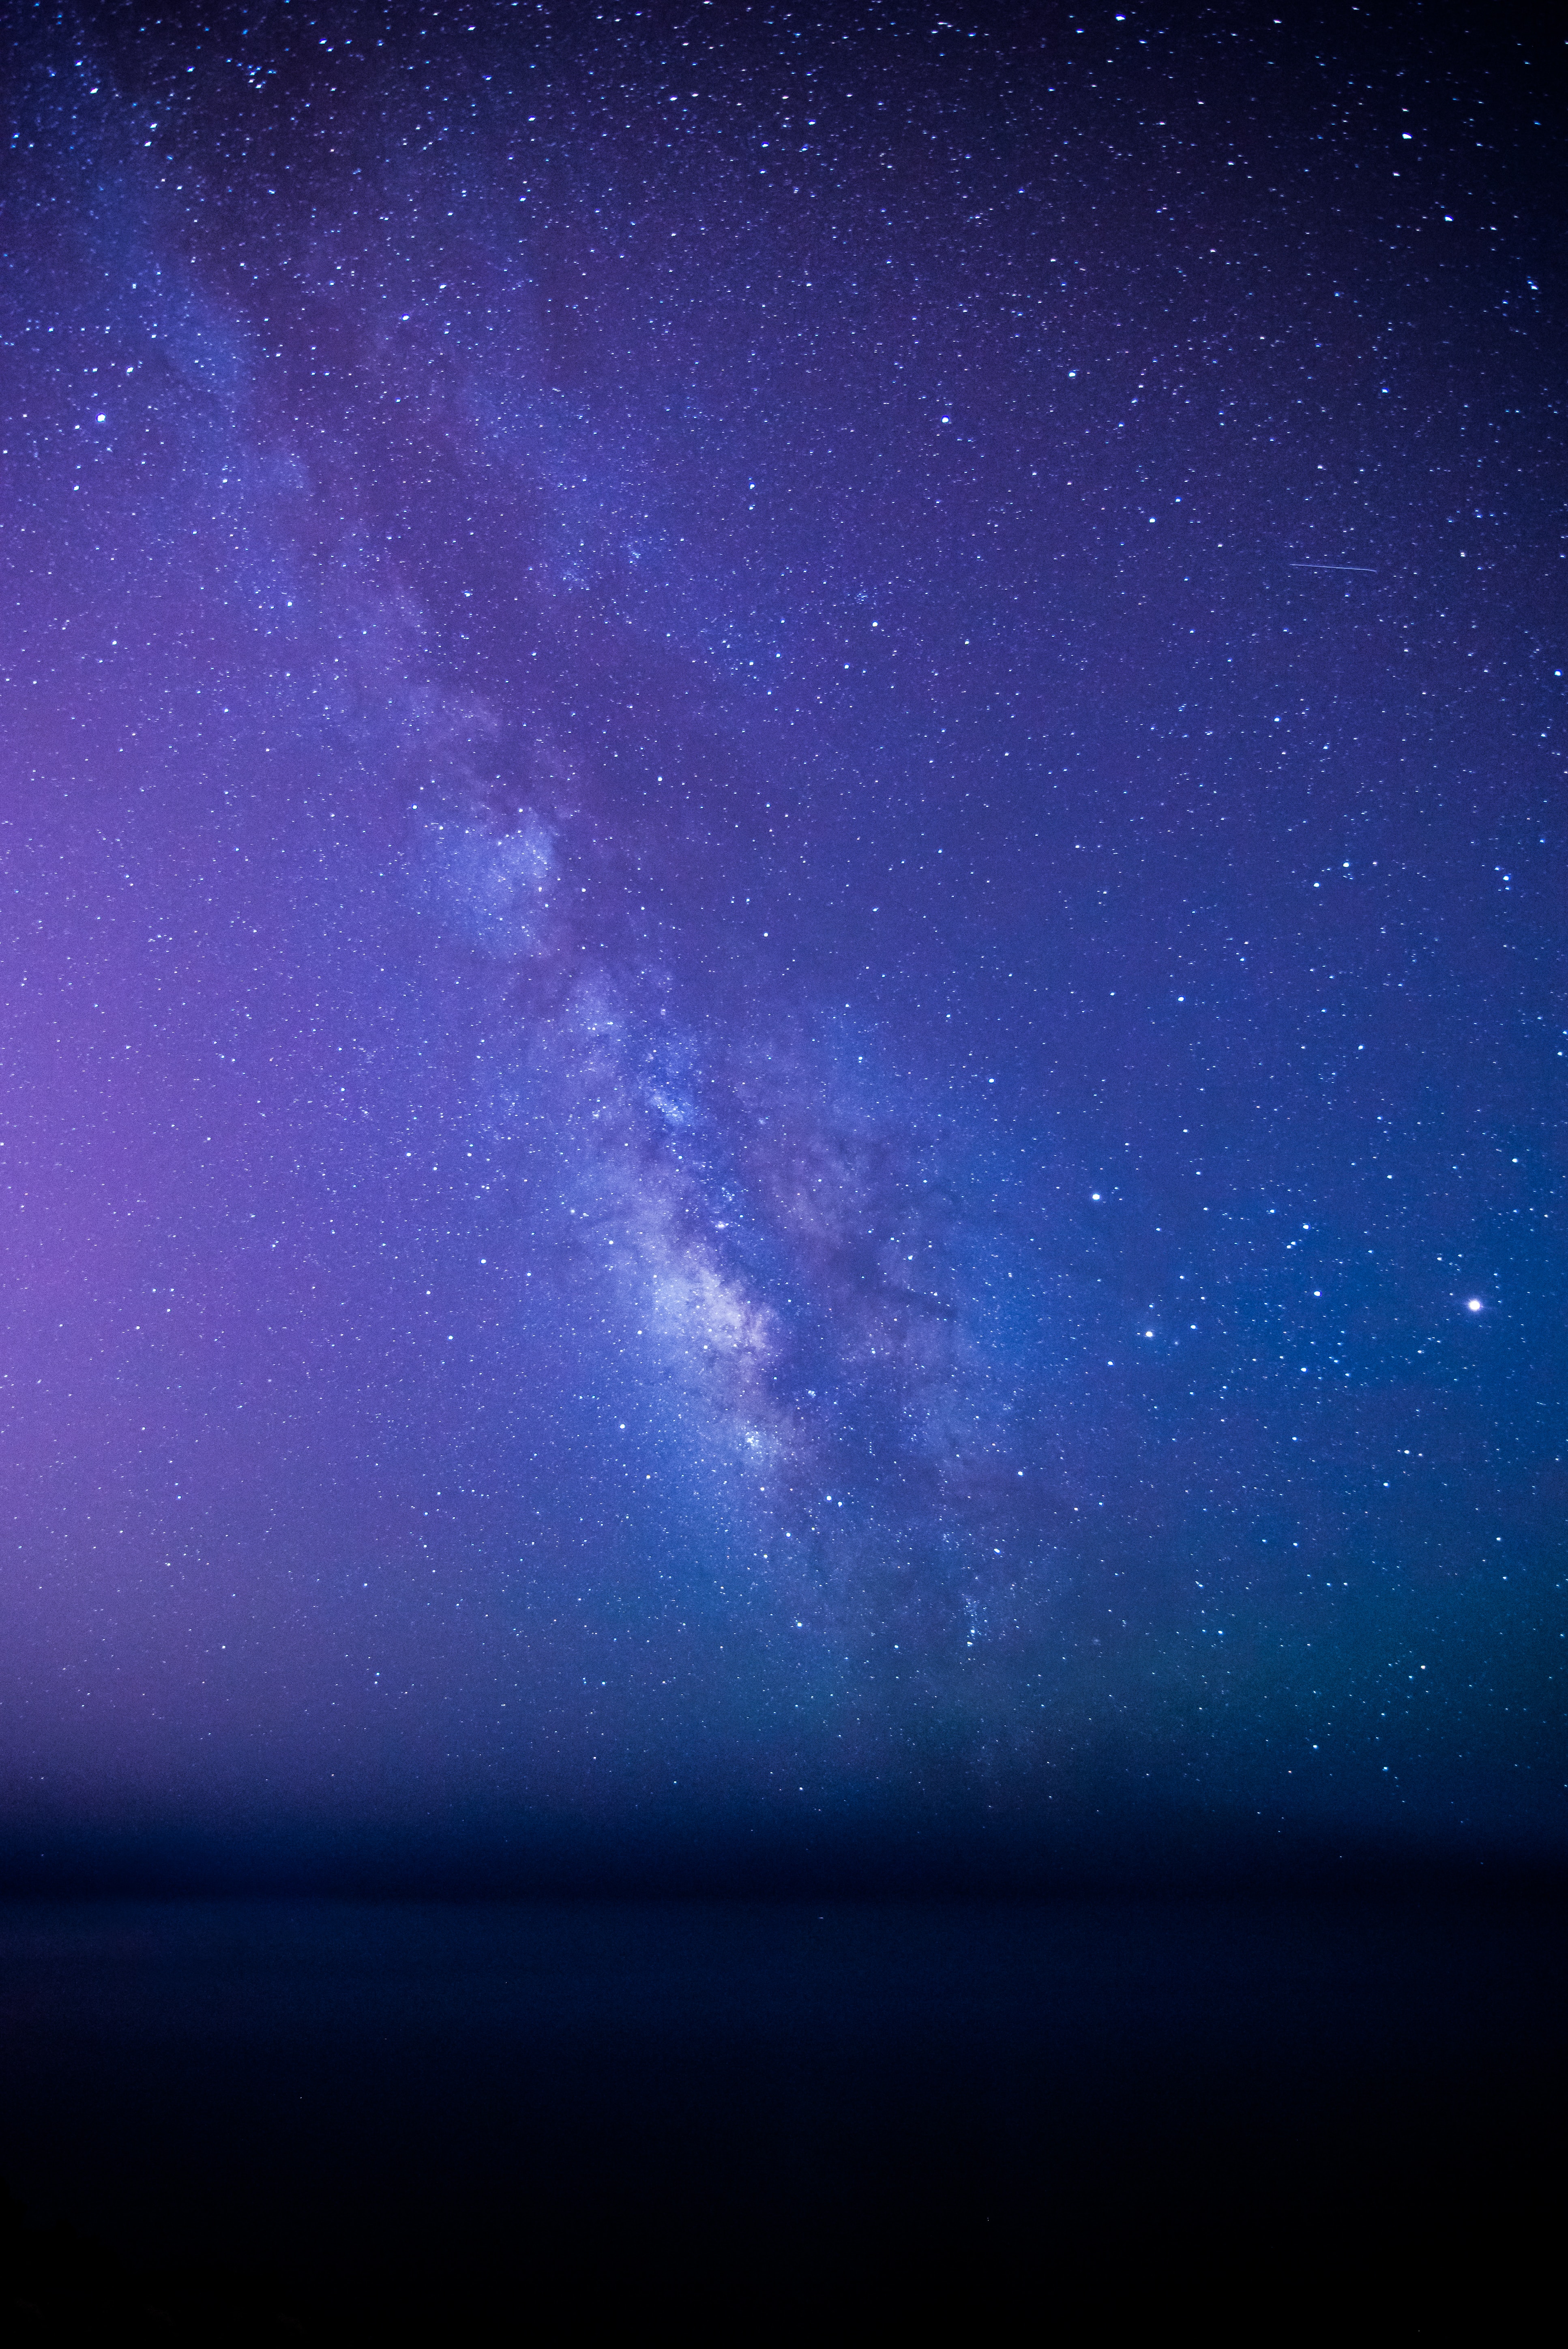
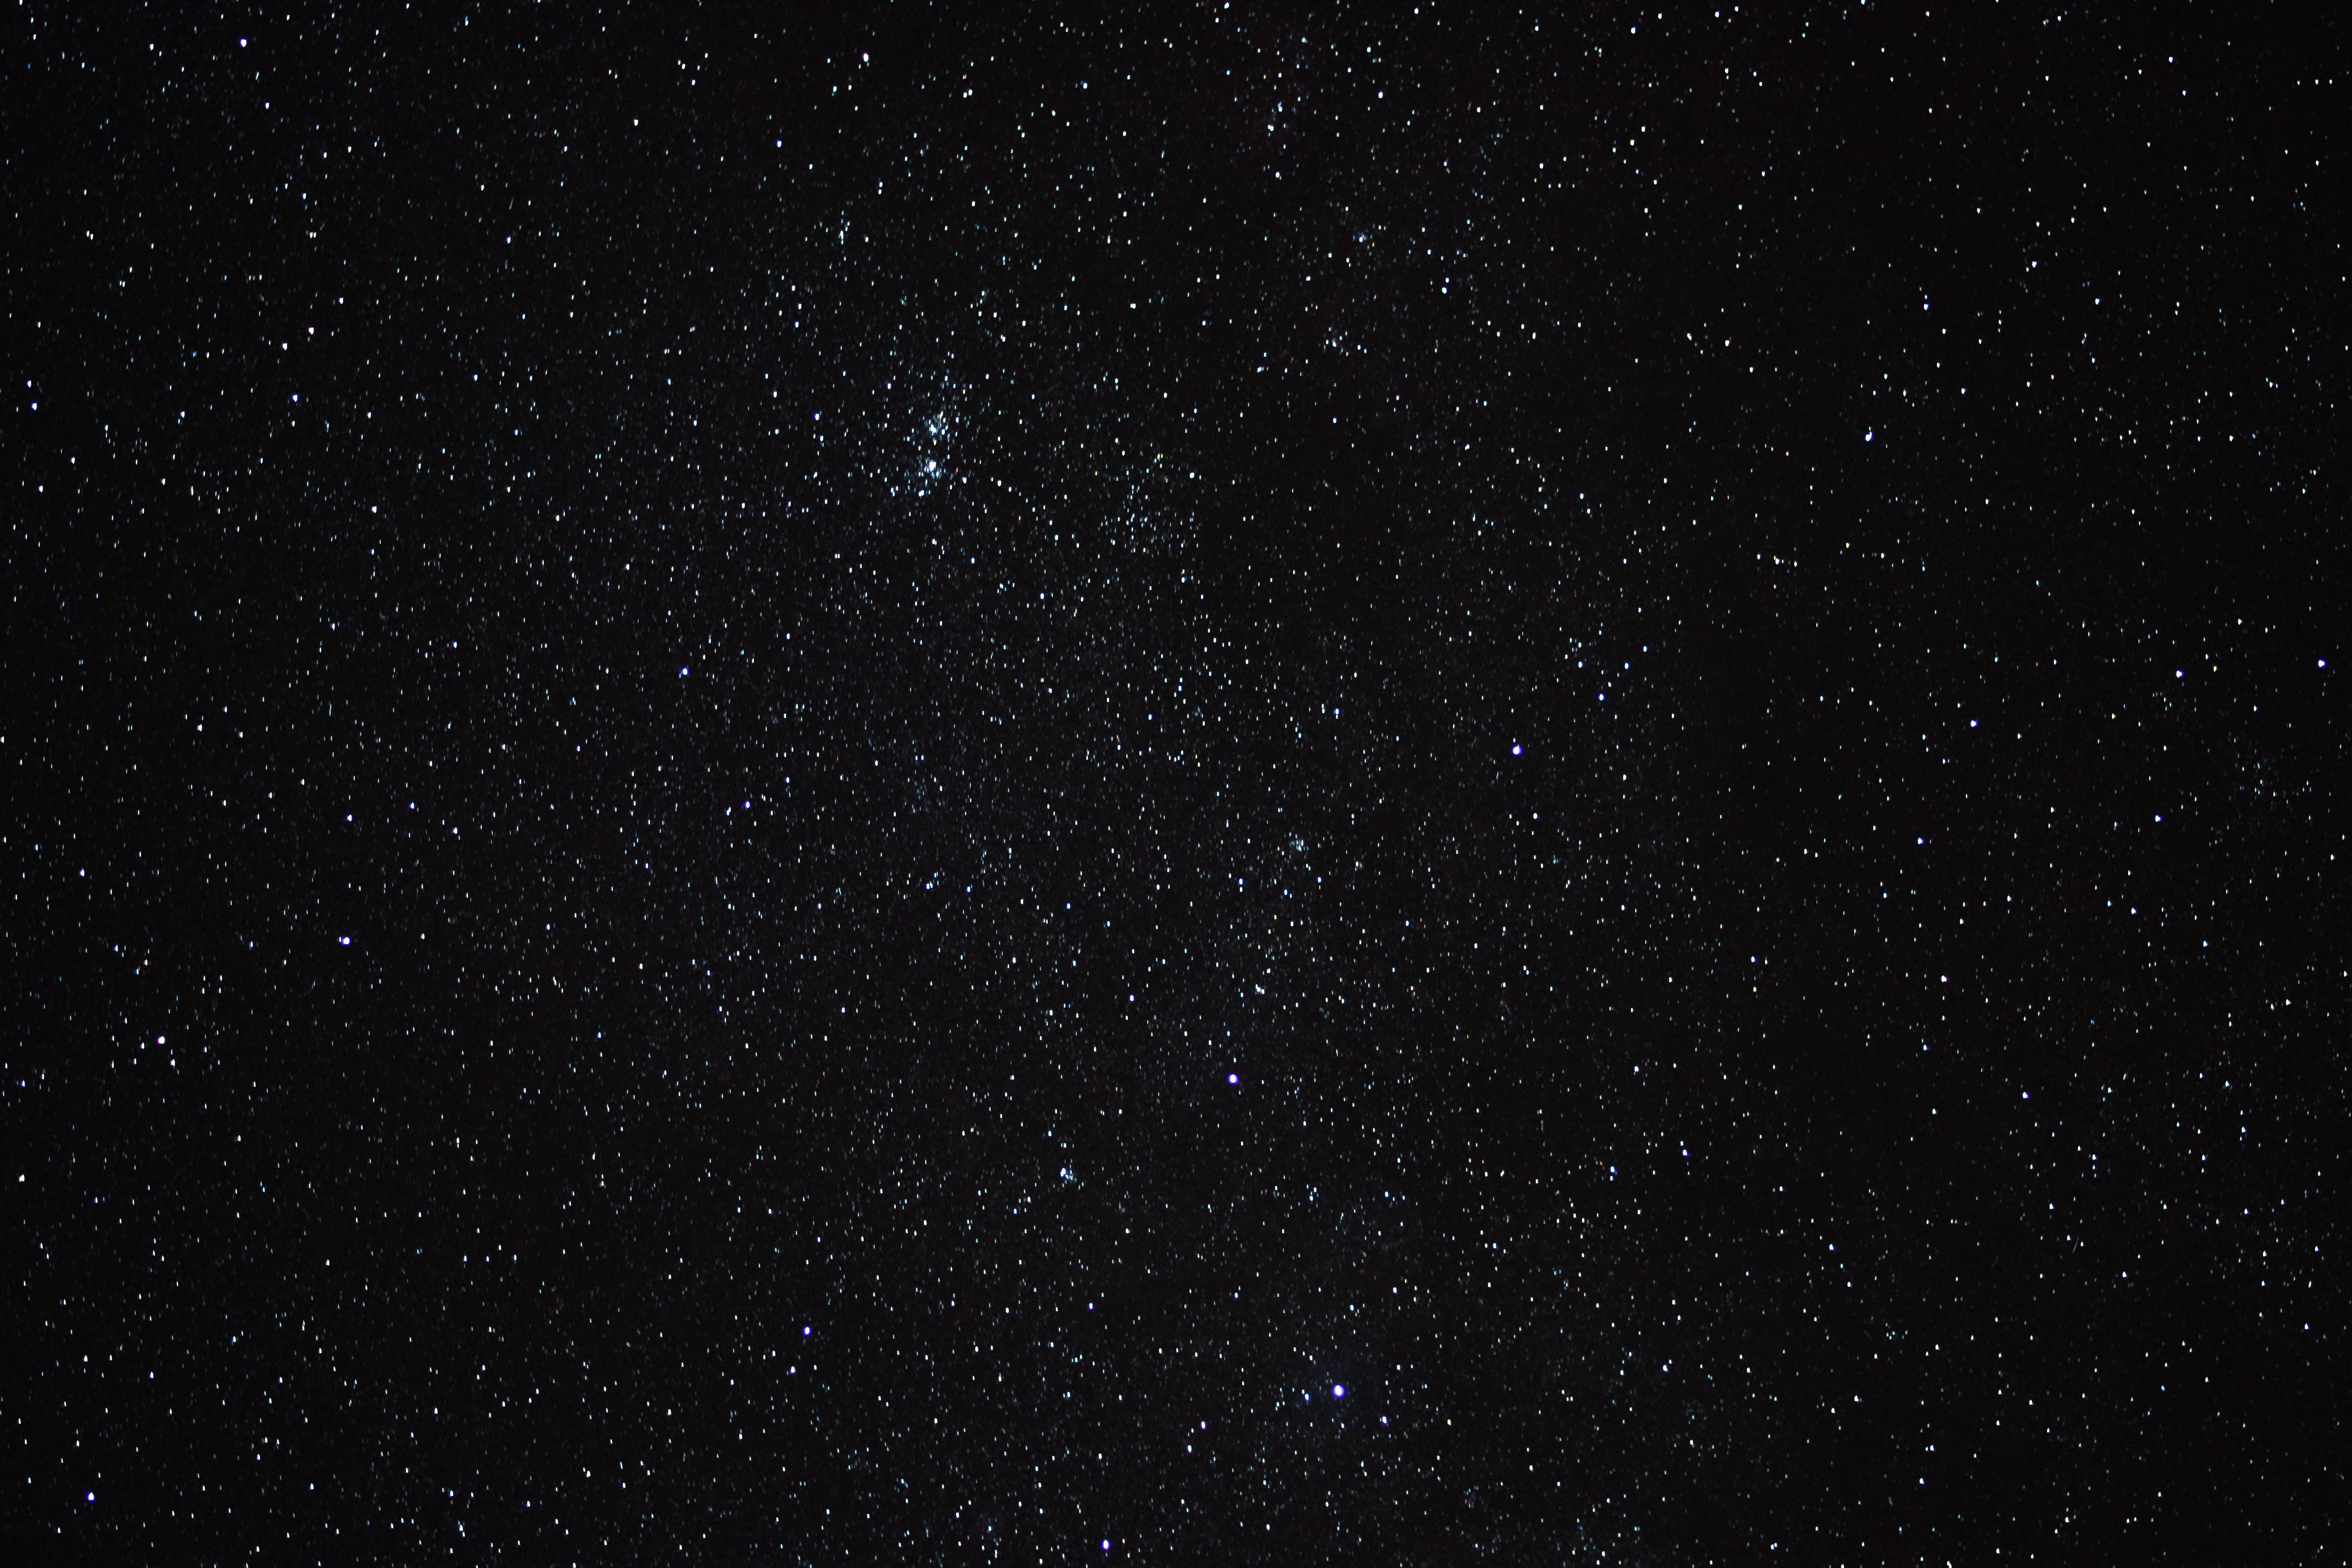
Photo by shotbycerqueira on Unsplash
Introduction to Post-Processing Software
Introduction to Post-Processing Software for Astrophotography
Astrophotography post-processing is an essential part of the creative process in capturing the beauty and grandeur of the night sky. The use of powerful software programs such as Adobe Photoshop, PixInsight, and DeepSkyStacker allows photographers to unlock the full potential of their astro-images. In this guide, we’ll provide an introduction to these leading post-processing software programs, highlighting their basic features that you need to know to enhance your astrophotography projects.
1. Adobe Photoshop
Adobe Photoshop is a highly versatile and widely used photo editing program for various photography disciplines, including astrophotography. Its user-friendly interface and powerful tools make it ideal for both beginners and experienced users.
- Levels and Curves: Adjust the overall brightness and contrast of your image by fine-tuning the levels and curves.
- Layer Masks: Work on specific areas of your image without affecting the rest by utilizing layer masks; this allows for selective editing while maintaining a non-destructive workflow.
- Noise Reduction: Reduce noise in your images resulting from high ISO settings or long exposures by using Photoshop’s built-in noise reduction tools, such as the Reduce Noise filter and Smart Sharpen.
- Star Reduction or Enhancement: Manage the size and brightness of stars by using tools such as the Minimum or Maximum filter.
2. PixInsight
PixInsight is a specialized post-processing software designed specifically with astrophotography in mind. Its variety of advanced features and dedicated astrophotography tools make it popular among intermediate and experienced astrophotographers.
- Image Calibration: PixInsight offers powerful tools for calibrating your images, including dark frame subtraction, flat-field correction, and bias frame subtraction.
- Image Stacking and Alignment: Improve the signal-to-noise ratio and align multiple exposures of the same target with the assistance of PixInsight’s ImageIntegration and StarAlignment tools.
- Background Extraction and Neutralization: Easily correct uneven gradients and color casts with the DynamicBackgroundExtraction (DBE) and BackgroundNeutralization tools.
- Noise Reduction and Sharpening: Tackle noise and enhance the overall clarity of your images by using various tools like the MultiscaleMedianTransform (Noise Reduction), and UnsharpMask (Sharpening).
3. DeepSkyStacker
DeepSkyStacker, often abbreviated to DSS, is a freeware program specifically designed for the stacking of astrophotography images. It aligns and combines multiple exposures, allowing for better results in terms of noise reduction and overall quality.
- Image Importing: Import multiple RAW, FITS, or TIFF files into DeepSkyStacker for easy organization and selection.
- Calibrating Images: Upload dark, flat, and bias frames to help reduce noise and improve overall image quality.
- Automatic Alignment and Stacking: DeepSkyStacker aligns your images based on the stars within the frame and stacks them, producing a single integrated image with better signal-to-noise-ratio.
- Post-Stacking Adjustments: After stacking your images, you can make minor adjustments to the levels, curves, and saturation using DeepSkyStacker’s basic built-in editing features.
Stretching and Histogram Adjustments
Title: Astrophotography Post Processing: Stretching and Histogram Adjustments
Introduction: Capturing breathtaking images of celestial objects is only half the battle in astrophotography. The other half involves post-processing – the art of adjusting and enhancing the raw data to bring out the hidden details and beautiful elements within the photograph. This guide will walk you through the process of stretching and adjusting the histogram of your images to reveal otherwise buried celestial wonders.
Materials and Software Needed:
- Astrophotography image (preferably in RAW format)
- Image processing software (such as Adobe Photoshop, GIMP, or PixInsight)
Step 1: Import Your Image
Open your image processing software and import the RAW file of your astrophotography image, which captures the truest representation of the data captured by your camera sensor. Make sure to save your work as a new file to preserve the original.
Step 2: Create a Levels Adjustment Layer
To non-destructively adjust your image’s histogram, create a Levels Adjustment Layer. This allows you to tweak the levels without affecting your original image data and retaining the flexibility to refine adjustments later.
Step 3: Identify the Histogram Peaks
Examine the Levels Adjustment Layer’s histogram. In a typical astrophotography image, you’ll see a peak on the left (which corresponds to the dark background sky), a trough in the middle, and a smaller peak on the right (which corresponds to the stars and celestial objects). The goal is to stretch the data between these peaks to enhance the visibility of celestial objects and reveal details.
Step 4: Adjust Black and White Points
Begin stretching your image by adjusting the black and white points. These points can be found on the bottom sliders of the Levels Adjustment Layer. Drag the black point slider to the right, just touching the base of the left histogram peak. Next, drag the white point slider to the left, meeting the base of the right histogram peak. This stretches the brightness levels of your celestial objects and reveals hidden details.
Step 5: Mid-tone Adjustment
Now it’s time to adjust the mid-tones of your image. Slide the mid-tone slider, known as the gamma slider, to the left to brighten up the image or to the right to darken it. Be careful not to overstretch the mid-tones, as it could cause unwanted noise or artifacts in your image. Adjust the slider until your image starts to achieve a desired balance of brightness and contrast.
Step 6: Color Balance and Saturation
For color astrophotography images, you might need to tweak the colors. Create a Color Balance Adjustment Layer and adjust the color of the shadows, mid-tones, and highlights until your celestial objects display their natural colors.
Step 7: Noise Reduction
After stretching your image, you may notice some grain or noise, especially in the darker areas. To reduce noise, duplicate your original image layer, apply a noise reduction filter (available in most image processing software), and adjust to your preference. Be careful not to overdo noise reduction, as it can cause a loss of image sharpness.
Step 8: Final Touches
Now that your image has been stretched and the histogram has been adjusted, review your work and make any necessary tweaks to the levels, color balance, or noise reduction. Once you’re satisfied with the result, save your work as a new file.
Conclusion: By following these steps and carefully adjusting the histogram levels and image stretch, you can significantly improve your astrophotography images. With practice and refinement, you’ll be able to skillfully bring out all the hidden beauty in your celestial photographs, showcasing the wonders of the night sky.
Color Balancing and Saturation
Introduction:
Astrophotography post processing involves various techniques that help enhance the visual appearance of deep-sky objects in your captured images. Among these techniques, color balancing and saturation play a significant role in bringing out the natural colors in your images. This guide will provide step-by-step instructions on how to perform color balancing and saturation adjustments in your astrophotography post processing endeavors.
Section 1: Color Balancing
Color balancing is essential for an accurate representation of colors in your image. It corrects the color casts that may be present due to the emission of light from different elements in deep-sky objects. Here’s how to perform color balancing:
- Choose an appropriate software: Several professional astrophotography post processing tools are available to help you with color balancing, such as Adobe Photoshop and PixInsight. Choose the one you’re most comfortable with and that fits your budget.
- Import your image: Open the software, and import the image that requires color balancing.
- Setting color balance with levels: In Adobe Photoshop, open the ‘Levels’ adjustment layer by navigating to Layer > New Adjustment Layer > Levels. In PixInsight, open the ‘HistogramTransformation’ tool under the ‘Process’ tab.
- Adjust color channels: In both Photoshop and PixInsight, you’ll have the option to adjust different color channels (Red, Green, and Blue). Adjust the levels of each channel separately to correct any color imbalance.
- Start by aligning the black points for each channel. Drag the black point slider (left-most slider) until it meets the histogram’s starting point in each channel.
- Next, adjust the midtone slider (center slider) to balance the colors and match the peaks for each channel. Be cautious not to stretch the histogram too much or cause extreme color shifts.
- Fine-tuning and assessing the result: After adjusting the individual color channels, switch back to the RGB channel and observe the changes. Further tweak the levels if necessary, and ensure the color balance looks natural.
Section 2: Saturation
Boosting the saturation in your astrophotography image helps in showcasing the true colors of deep-sky objects. Here’s how to increase saturation in your images:
- Import your image: As mentioned earlier, import the image that requires saturation adjustments in your software of choice.
- Create a saturation adjustment layer: In Adobe Photoshop, navigate to Layer > New Adjustment Layer > Hue/Saturation. In PixInsight, open the ‘CurvesTransformation’ tool under the ‘Process’ tab.
- Adjust saturation levels: In Photoshop, use the ‘Saturation’ slider in the Hue/Saturation adjustment layer to increase or decrease saturation levels. In PixInsight, switch to the ‘Saturation’ channel in the CurvesTransformation tool and adjust the curve to boost or reduce saturation as desired.
- Fine-tuning: Increase the saturation in small increments and assess the changes as you go by toggling the visibility of the adjustment layer on and off. Be cautious not to over-saturate the image, as excessive saturation may look unnatural and cause loss of subtle color details.
- Final assessment: Observe the overall effect of your saturation adjustments and consider the balance between boosting color and maintaining realistic representations of the deep-sky objects.
Conclusion:
Achieving optimal color balancing and saturation in your astrophotography post processing greatly enhances the visual appearance of your images. By following this guide, you can effectively correct color casts and highlight the natural colors of deep-sky objects in your astrophotography work. Happy processing!

Noise Reduction
Astrophotography Post Processing: Noise Reduction Techniques
Astrophotography can produce stunning images of the night sky, but it also tends to capture unwanted noise in the form of graininess and random artifacts. Noise reduction is an essential step in producing clean and smooth astrophotography images. This tutorial will provide you with an understanding of various noise reduction techniques that you can apply during post-processing.
1. Capture multiple exposures:
One of the easiest ways to reduce noise in your astrophotography is to capture multiple exposures of the same scene. This technique is known as “stacking,” and it dramatically improves the signal-to-noise ratio in your images. By taking multiple shots and aligning them, you can average out the random noise patterns, which inherently reduces unwanted artifacts.
2. Use dark frames:
Dark frames are images taken with the same camera settings as your light frames (the actual image exposures), but with the lens cap on. These images help identify the noise pattern from the sensor alone, with no light entering the camera. By capturing a set of dark frames and subtracting them from your light frames, you can effectively remove much of the noise caused by your camera’s sensor.
3. Use flat frames:
Like dark frames, flat frames are another calibration frame used in astrophotography. These are images taken to correct any uneven illumination of your camera’s sensor caused by dust particles, vignetting, or other optical imperfections. By capturing a properly exposed flat frame (an image of a uniformly illuminated surface) and dividing your light frame by it, you can correct for these unwanted effects and improve the overall image quality, including noise reduction.
4. Use dedicated noise reduction software:
Many specialized software applications are available for noise reduction in astrophotography. Among the most popular are DeepSkyStacker, PixInsight, and Starry Landscape Stacker. These programs automate various noise reduction processes, such as stacking, dark frame subtraction, flat frame calibration, and more. These tools have advanced algorithms designed explicitly for astrophotography and can significantly improve your final image by reducing noise effectively.
5. Adjust exposure settings:
When capturing your images, be mindful of your camera’s ISO (sensitivity to light) and exposure time (shutter speed). Higher ISO values can increase noise in your images, whereas longer exposures can introduce more thermal noise from the camera’s sensor. Experiment with different combinations of ISO and shutter speed to find the optimal balance between noise and image brightness while ensuring that you don’t overexpose any part of the image.
6. Use selective noise reduction in post-processing:
Most image editing software, including Adobe Photoshop and Lightroom, offer noise reduction tools. When editing your astrophotography images, apply noise reduction selectively to areas where it’s most needed. Be careful not to apply too much noise reduction, as it can result in a loss of detail and a “plastic” look in your images. Use layer masks and blending modes to apply noise reduction only to the noisiest areas of your image, preserving the overall sharpness and detail.
By employing these noise reduction techniques, you can dramatically improve the quality and clarity of your astrophotography images. Remember that experimentation and practice are essential when applying noise reduction techniques in post-processing, as each image will have different requirements. With time and experience, you will develop the skills necessary to produce clean, smooth, and noise-free astrophotography images.
Sharpening and Detail Enhancement
Title: Sharpening and Detail Enhancement for Astrophotography Post-Processing
Astrophotography allows us to capture the breathtaking beauty of celestial objects, and post-processing plays a crucial role in bringing out the hidden details and enhancing the overall quality of the images. In this guide, you will learn how to effectively use sharpening tools and detail enhancement techniques to emphasize the finer details of celestial objects in your astrophotography images.
Requirements:
- Astrophotography images (preferably in RAW format)
- Image editing software (e.g., Adobe Photoshop, PixInsight, or GIMP)
Step 1: Select and import your image
Choose the astrophotography image you wish to post-process. For best results, use a RAW format image, as it contains more details and editing flexibility. Import the image into your preferred image editing software.
Step 2: Basic adjustments
Before moving to sharpening and detail enhancement, perform basic adjustments to the image, such as exposure, contrast, and color balance to improve the overall appearance of the image.
Step 3: Zoom into the image
Zoom into your image to an appropriate level (e.g., 100%) to better visualize the details you wish to sharpen and enhance.
Step 4: Duplicate your image layer
To protect the original image, duplicate the image layer. Perform all the edits on the new layer to ensure that your original image remains intact.
Step 5: Noise reduction (optional)
If your image contains noise, consider applying a noise reduction filter before sharpening to avoid amplifying the noise during the sharpening process.
Step 6: Sharpening using Unsharp Mask tool
One of the most widely used tools for sharpening astrophotography images is the Unsharp Mask tool. Here’s how to use it:
- In Adobe Photoshop, go to Filter > Sharpen > Unsharp Mask.
- Adjust the Amount, Radius, and Threshold according to your image’s needs.
- Amount: Controls the intensity of the sharpening effect. Typically, a value between 100% and 200% works well for astrophotography.
- Radius: Determines the size of the edges that will be enhanced. For fine details, use a low radius (0.5 to 1.5 pixels); for broader details, a higher radius (2 to 4 pixels) may be more appropriate.
- Threshold: Controls the minimum difference in pixel intensity between the edge and surrounding pixels before it is considered for sharpening. Keep this value low (0 to 4) to avoid sharpening noise.
- Click OK to apply the Unsharp Mask.
Step 7: Detail enhancement using High Pass filter
Another technique that can help emphasize details is the High Pass filter. Here’s how to use it:
- Duplicate your original image layer once again.
- In Adobe Photoshop, go to Filter > Other > High Pass.
- Adjust the Radius to control the size of the details you wish to enhance. Typically, a value between 1.5 and 3 is suitable for astrophotography. Click OK.
- Change the blending mode of the High Pass layer to Overlay or Soft Light.
- Adjust the layer opacity to control the intensity of the detail enhancement. Lower opacity values result in a more subtle effect while higher opacity strengthens the details.
Step 8: Fine-tuning and finalizing
Evaluate your image and make any necessary fine-tuning adjustments, such as adjusting layer opacity or masking specific areas of the image to apply the sharpening and detail enhancement effects only where desired. Once you are satisfied with the results, save your image.
Conclusion:
Sharpening and detail enhancement are essential techniques for astrophotography post-processing, allowing you to bring out the hidden details and emphasize the beauty of celestial objects in your images. By mastering these techniques, you can significantly improve the quality and impact of your astrophotography.

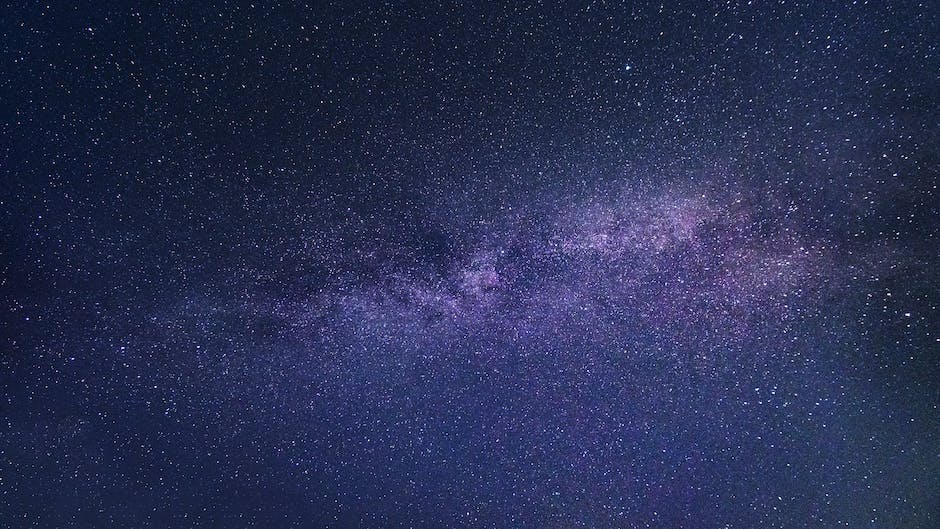
Photo by arnaudmariat on Unsplash
Final Touches and Exporting
Astrophotography captures the beauty of the night sky, showcasing celestial objects and phenomena. After capturing your images, post processing is crucial to enhance their quality and bring out the stunning details. This guide will help you learn how to make final adjustments to your astrophotography images, prepare them for printing or online sharing, and export them using appropriate file formats.
Final Touches:
- Double-check the overall image: Before making any final adjustments, take a step back and examine the image as a whole. Look for any areas that might need further adjustments, such as noise reduction, brightness, contrast, or color balance.
- Noise reduction: Noise can be a common issue in astrophotography. Use noise reduction tools in your image editing software (such as Lightroom or Photoshop) to reduce the appearance of noise without sacrificing image details. Be careful not to overdo it, as too much noise reduction can result in a loss of detail.
- Fine-tune brightness and contrast: Adjust the brightness and contrast levels to bring out the best in your image. Consider using a Curves adjustment layer to have greater control over the tonal range and contrast of your image. Be mindful of clipped highlights and crushed blacks. Aim for a balanced look that properly showcases the celestial objects in your image.
- Color balance: Ensure that the color balance of your image is accurate and pleasing. This may involve tweaking the white balance, adjusting individual color channels in the Curves adjustment layer, or using selective color adjustments to correct specific color imbalances.
- Sharpening: Apply selective sharpening to your image to enhance its details. Use a sharpening tool, like the Unsharp Mask or Smart Sharpen in Photoshop, and apply it to only the areas of interest in your image, such as stars or other celestial objects. Be cautious not to oversharpen, as it may introduce unwanted artifacts or noise.
Preparing for Print or Online Sharing:
- Cropping and resizing: Crop your image to focus on the areas of interest and remove any distracting elements. If you plan on printing your image, ensure that the aspect ratio matches the desired print size. For online sharing, resize the image to a lower resolution, such as 72 dpi, to optimize it for web viewing.
- Adding watermarks or metadata: If desired, add a watermark to your image to protect your work and maintain your identity as its creator. You can also add metadata to your image, such as your name, contact information, and copyright information.
Exporting:
- Save a master copy: Save a high-resolution TIFF or PSD copy of your fully-processed image. This master file will preserve all the details and adjustments you’ve made and serve as an archive in case you need to re-edit or print the image in the future.
- Export for print: When preparing your image for print, ensure that you are using the proper color space, such as Adobe RGB or ProPhoto RGB, which have a wider color gamut. Save your image as a high-resolution TIFF or JPEG with minimal compression to maintain the maximum image quality for a stunning print.
- Export for web: For online sharing, convert your image to the sRGB color space before resizing it to a web-friendly resolution. Save your image as a JPEG with a balance of quality and compression to reduce the file size while maintaining a pleasing appearance.
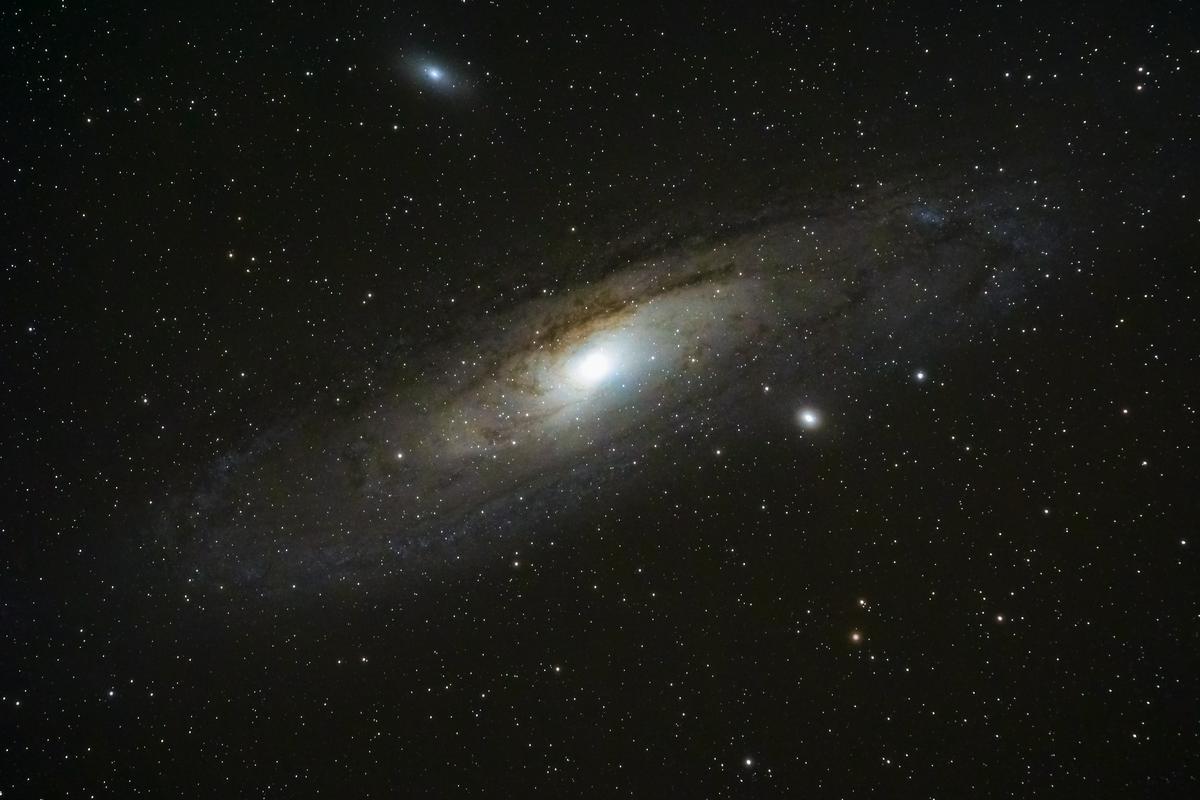
Photo by bryangoffphoto on Unsplash
With the knowledge and practical skills acquired through this comprehensive astrophotography guide, you are now well-equipped to delve into the enchanting world of celestial photography. From capturing detailed images of deep-sky objects with optimal camera settings and telescope set-up, to mastering the art of post-processing using advanced techniques and software, you will be able to create awe-inspiring images that celebrate the wonders of the universe. So, grab your camera, point your telescope to the stars, and embark on a fulfilling and rewarding journey through the endless canvas of the night sky.
Originally posted 2023-05-25 09:41:27.