Embarking on a journey to capture the mesmerizing beauty of the night sky can be both rewarding and challenging. With the plethora of stars, celestial objects, and natural phenomena, there is always something new and fascinating to discover. This guide will provide valuable tips and insights on various aspects of night sky photography, such as understanding camera settings, choosing the right gear, mastering composition techniques, and optimizing your images in post-processing. By following these guidelines, you will be better prepared to create stunning visual artworks that showcase the wonders of the cosmos.
Understanding Camera Settings
Title: Understanding Camera Settings for Night Sky Photography
Introduction: Capturing the beauty of the night sky can be incredibly rewarding. If you’re new to night sky photography, it’s essential to understand the basic camera settings that play a crucial role in capturing clear and sharp images. This guide will help you learn about ISO, aperture, and shutter speed and provide tips for night sky photography.
1. ISO
- ISO refers to the sensitivity of your camera’s sensor to light. In night sky photography, you’ll need to increase the ISO value to capture more detail in the dark sky.
- Start with an ISO value of around 1600 to 3200, depending on the capabilities of your camera. This range should provide a good balance between sensitivity and noise (graininess) in your images.
- Keep in mind that higher ISO values will result in more noise, so experiment with different settings to find the best balance for your specific camera and lens.
2. Aperture
- Aperture refers to the size of the opening in your camera lens, which controls the amount of light that enters your camera. A larger aperture allows more light to enter, which is vital for night sky photography.
- Use a lens with a wide maximum aperture, such as f/2.8, f/3.5, or lower. This will allow more light to reach your camera sensor, resulting in brighter, clearer night sky images.
- Remember that aperture values are expressed in f-numbers (e.g., f/2.8), and lower f-numbers represent larger apertures.
3. Shutter Speed
- Shutter speed refers to the length of time your camera’s sensor is exposed to light when taking a photo. For night sky photography, you’ll need a long exposure time to capture enough light and detail.
- Start with a shutter speed of around 15 to 30 seconds. This should be long enough to capture the stars and other celestial objects without significant star trails.
- Keep in mind that longer exposures will result in more apparent star trails due to the Earth’s rotation. If you want to capture pin-sharp stars without star trails, you can use the “500 Rule” as a guide: Divide 500 by your lens’s focal length (in mm) to get an approximate maximum shutter speed in seconds before star trails become noticeable (e.g., 500/18mm = 27.8 seconds).
Night Sky Photography Tips:
- Use a tripod: To ensure stability and avoid camera shake during long exposures, use a sturdy tripod.
- Manual focus: Autofocus can struggle in low light situations, so switch your camera or lens to manual focus and adjust the focus manually to achieve sharp images.
- Shoot in RAW format: RAW files contain more information, providing greater flexibility during post-processing to adjust exposure, colors, and noise reduction.
- Explore different compositions: Experiment with different angles, foreground subjects, and perspectives to create unique and captivating night sky images.
- Test shots: Take several test shots to fine-tune your settings before capturing your final image. This will help you achieve the best possible results.
Conclusion: Understanding the basic camera settings – ISO, aperture, and shutter speed – is essential for capturing stunning night sky photography. Experiment with different settings and compositions to create beautiful images that showcase the magnificence of the cosmos.
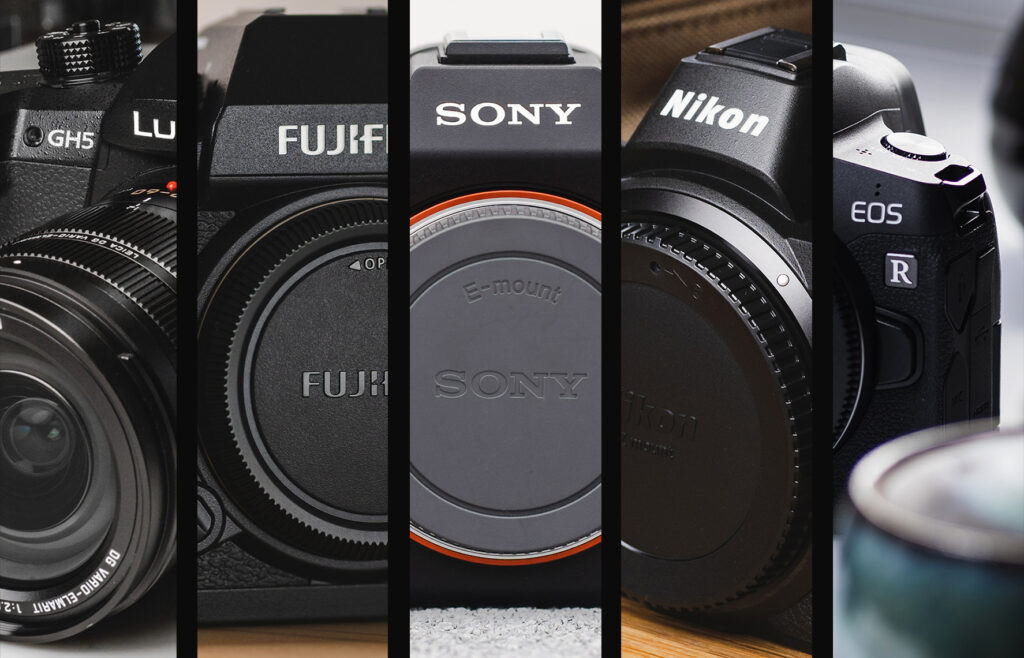
Choosing the Right Gear
Title: Night Sky Photography Tips: Choosing the Right Gear
Introduction:
Night sky photography can capture the most breathtaking details of the universe, giving a whole new perspective on the beauty of the night. To achieve stunning photographs, it is essential to choose the right gear, as it can significantly impact the quality of your images. In this guide, we will discuss various gear options, including cameras, lenses, tripods, and remote triggers, needed for successful night sky photography.
- Sensor Size: Full-frame cameras usually perform better in low light due to their larger sensors that can capture more light. However, crop-sensor cameras are also capable of excellent night sky photography if paired with the right lens and settings.
- ISO Performance: Look for a camera with good high ISO performance, as this will enable you to capture low-light scenes with less noise.
- Manual Mode: Ensure the camera has a manual mode, allowing you full control over the exposure settings (aperture, shutter speed, and ISO).
1. Camera:
- Wide-angle: A wide-angle lens (14-24mm) will enable you to capture more of the night sky in a single frame.
- Fast aperture: A lens with a fast aperture (f/2.8 or lower) will allow more light to reach the sensor, providing better low-light performance.
- Sharpness: Look for lenses with excellent sharpness, especially in the corners, to ensure crisp details in your photographs.
2. Lens:
- Stability: Opt for a sturdy tripod made from materials like aluminum or carbon fiber to minimize vibrations and movement during long exposures.
- Height and Weight: Choose a tripod that suits your height and weight preferences to ensure comfortable use during extended photography sessions.
- Portability: Consider a tripod with collapsible legs if you plan to travel or hike to remote locations for your photography.
3. Tripod:
- Wired Remote: A wired remote connects directly to your camera and offers basic triggering functions.
- Wireless Remote: A wireless remote provides more flexibility in positioning yourself away from the camera, which may help you compose your shot better.
- Intervalometer: An intervalometer allows you to set a specific number of exposures at predetermined intervals, making it ideal for time-lapse photography.
4. Remote Trigger:
Conclusion:
Choosing the right gear is an essential first step in night sky photography. By researching and familiarizing yourself with the best camera, lens, tripod, and remote trigger options, you will be well-prepared to capture stunning images of the night sky. Remember to be patient, practice, and continue learning, as becoming proficient in night sky photography is a rewarding experience in itself.
Night Sky Composition Techniques
Title: Night Sky Composition Techniques: Capturing the Beauty of the Stars
Introduction:
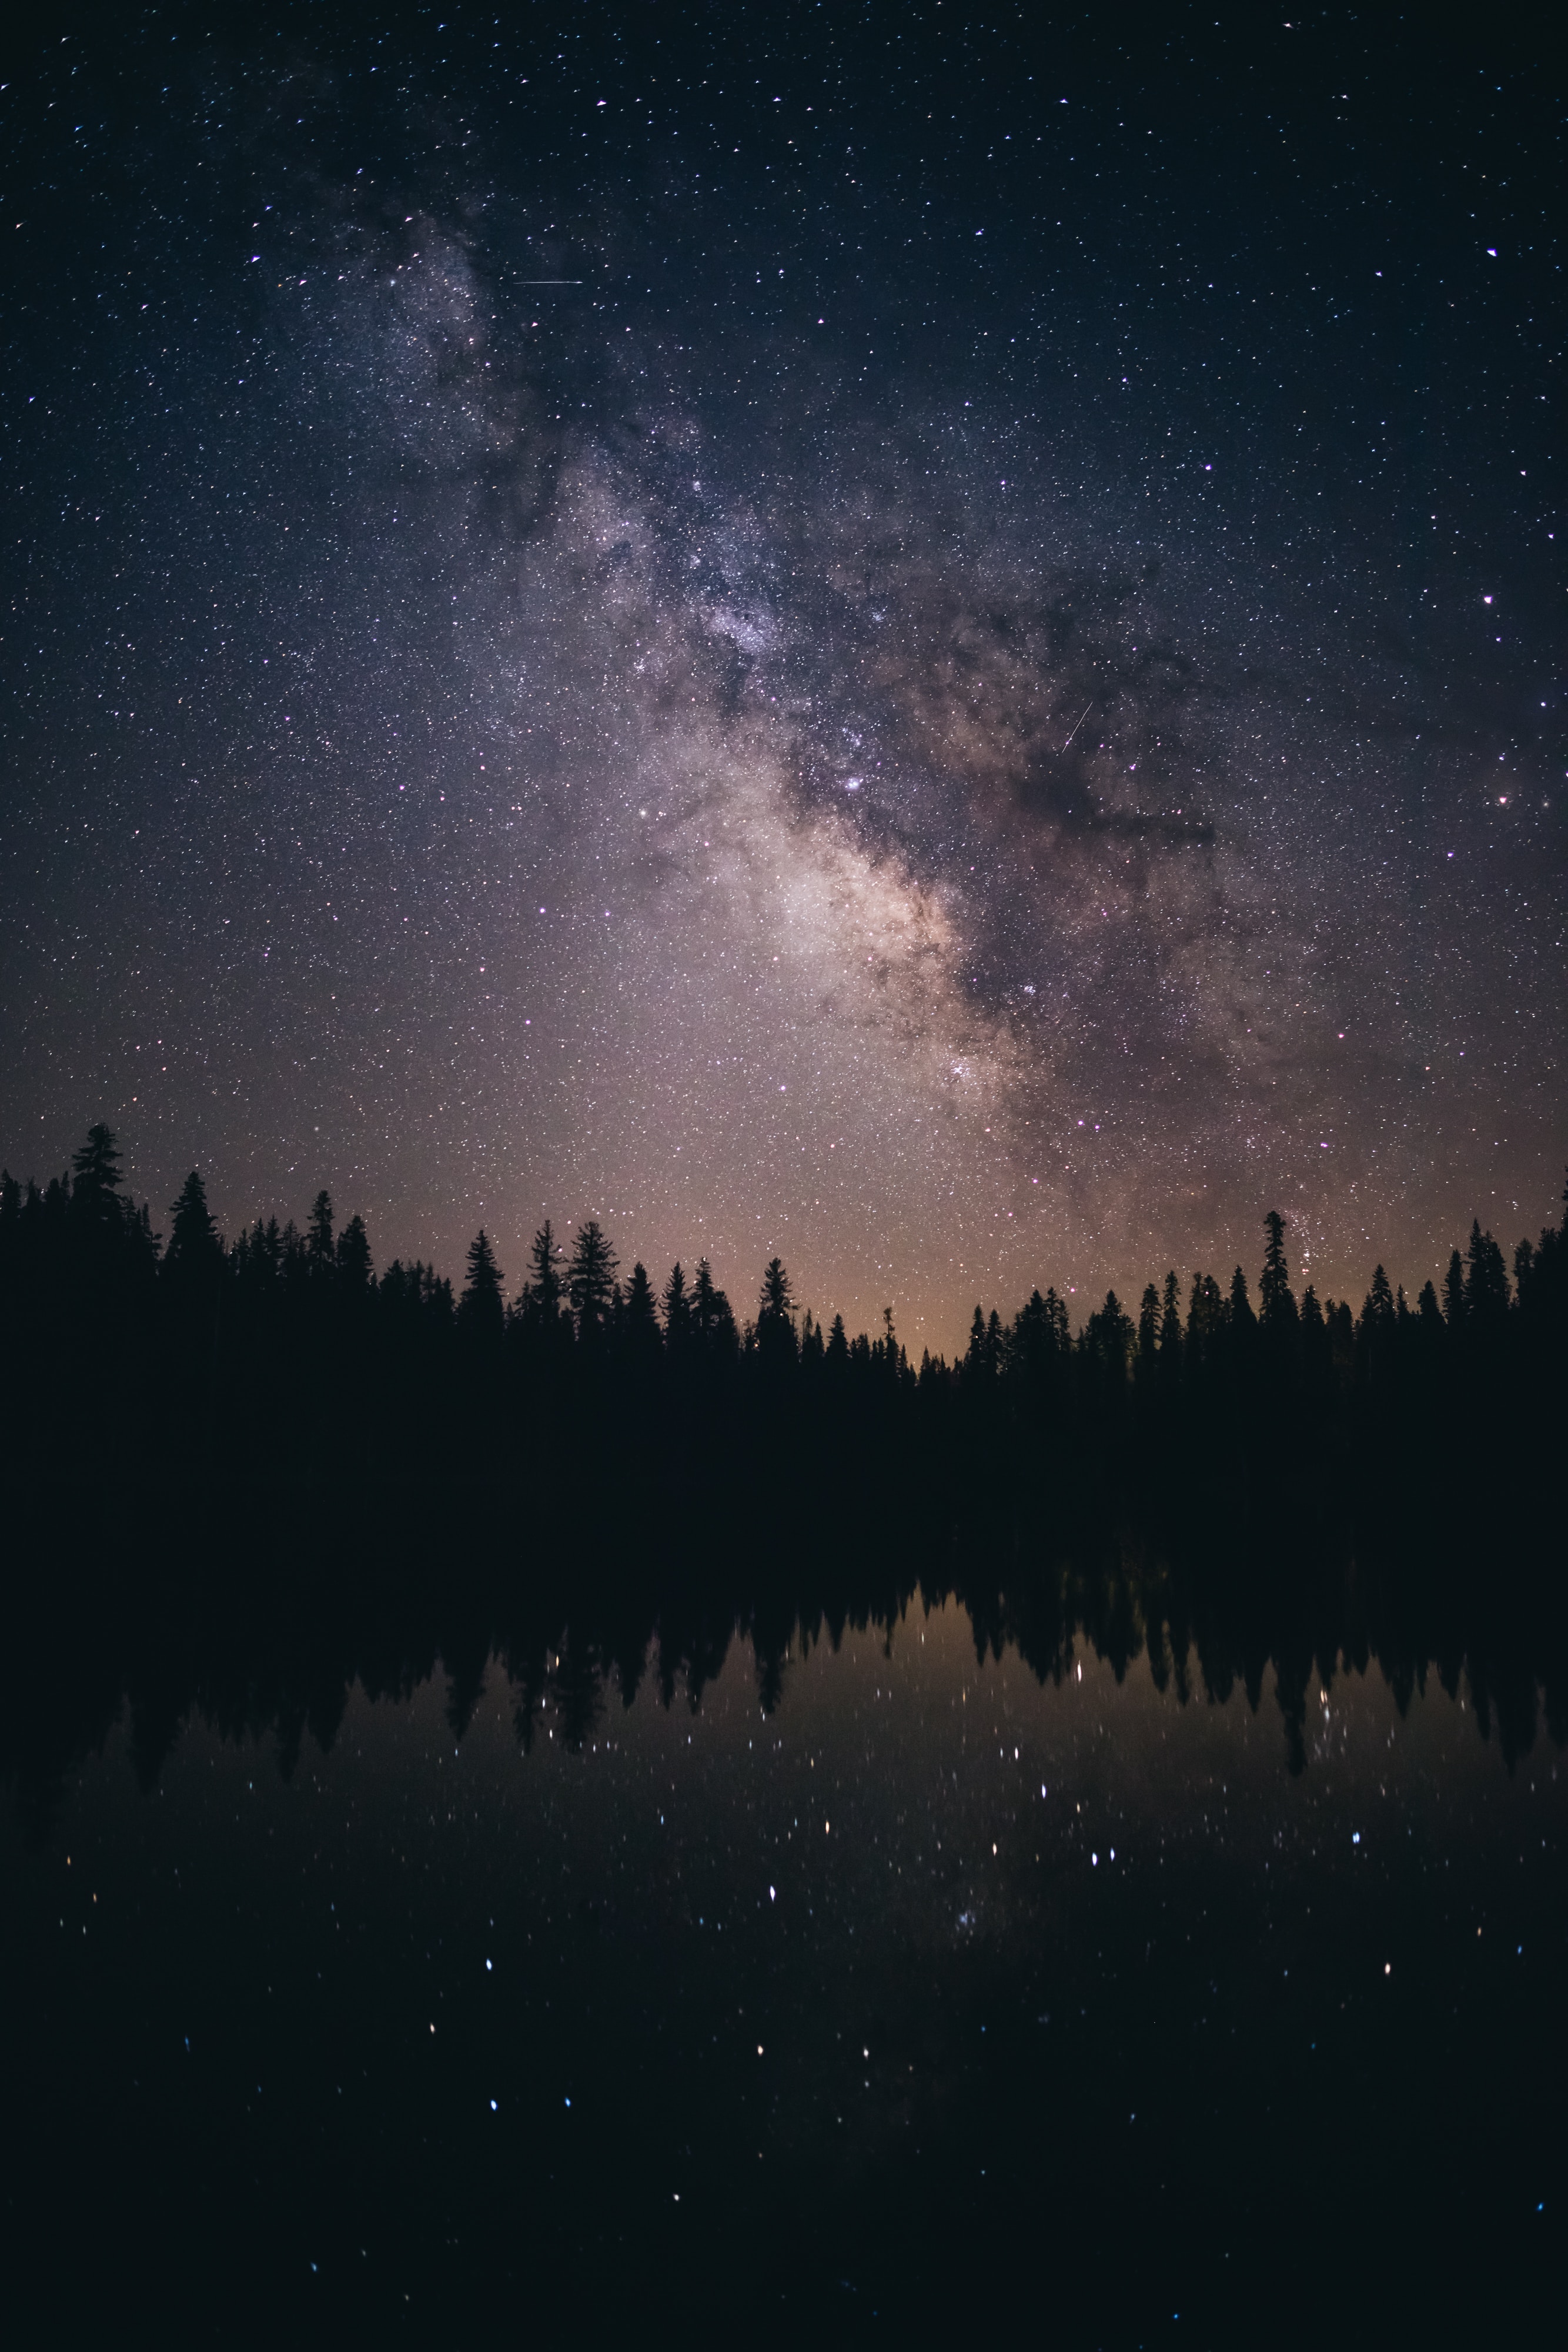
Night sky photography allows you to capture the breathtaking beauty of the stars, constellations, and even the Milky Way. To create visually stunning and captivating night sky photographs, it is essential to understand various composition techniques. This guide will explore composition techniques such as the rule of thirds, leading lines, and foreground interest, which will help you create balanced and impactful photographs.
1. The Rule of Thirds:
The rule of thirds is a fundamental composition technique used in photography. It involves dividing your frame into a 3×3 grid and placing the primary points of interest along the intersection points or lines. This can give your night sky photos a more balanced and aesthetically pleasing look.
- To apply the rule of thirds in night sky photography:
- a. Align the horizon with either the bottom or top horizontal line of the grid. This will help create a sense of balance between the sky and the landscape.
- b. Place a prominent celestial object, such as the moon or the Milky Way, along one of the vertical grid lines. This will draw the viewer’s attention to the object, making it the focal point of your composition.
2. Leading Lines:
Leading lines are a composition technique that uses natural or man-made lines to direct the viewer’s attention to the primary subject or focal point in the image. In night sky photography, using leading lines can create a sense of depth and help guide the viewer’s eye through the picture.
- To use leading lines in night sky photography:
- a. Look for natural or man-made lines in the environment, such as roads, fences, rivers, or shorelines.
- b. Position your camera to capture these lines leading toward a celestial object or the most vibrant part of the sky.
- c. Make sure the leading lines are in focus, as they will act as a guide for the viewer’s eye.
3. Foreground Interest:
Incorporating a foreground element in your night sky composition can add depth and anchor the celestial objects in the frame. Foreground elements can be anything from trees, rocks, or buildings to people or other objects.
- To include foreground interest in night sky photography:
- a. Choose a location with a prominent and interesting foreground element that can help balance the celestial objects in the sky.
- b. Use a wide-angle lens and a low angle to emphasize the relationship between the foreground and the night sky.
- c. Focus on the foreground element and use a small aperture (such as f/8 or f/11) to ensure both the foreground and the night sky are in focus.
4. Experiment with Framing and Perspective:
Don’t be afraid to experiment with different angles, perspectives, and framing techniques in your night sky photography. This can lead to creative and unique compositions that showcase the beauty of the night sky in a new way.
- Some ideas for experimenting with framing and perspective include:
- a. Using reflective surfaces such as bodies of water or windows to capture the night sky’s reflection.
- b. Shooting through objects such as tree branches, archways, or windows to create a natural frame.
- c. Positioning your camera low to the ground to capture a unique perspective of the night sky and the landscape.
Conclusion:
By understanding and applying the composition techniques discussed in this guide, such as the rule of thirds, leading lines, and foreground interest, you can create visually stunning and balanced night sky photographs. Don’t be afraid to experiment with different framing and perspectives to develop your unique style and showcase the beauty of the celestial objects above.
Focusing at Night
Title: Focusing at Night: Master Techniques to Achieve Sharp Focus in Low Light Conditions
Introduction:
Night sky photography offers a unique opportunity for photographers to capture the twinkling stars and the beauty of the night sky. However, achieving sharp focus in low light conditions can be a challenge. This guide will discuss effective techniques, such as manual focusing using live view and infinity focus, to help you take stunning night sky photographs with crisp focus.
1. Use a Tripod and Remote Shutter Release
To minimize camera shake and ensure stable, sharp images, use a sturdy tripod and a remote shutter release. This will allow you to take long exposures without touching the camera, reducing the risk of introducing blur.
2. Switch to Manual Mode
In low light conditions, autofocus may struggle to find the correct focus point. Switching to manual mode gives you complete control over the focusing, allowing you to achieve the desired sharpness.
3. Turn on Live View
Live view mode uses your camera’s LCD screen to preview the scene, making it easier to focus at night. Ensure that you are using the maximum magnification (around 10x) to check the sharpness of your image more accurately.
4. Adjust ISO, Aperture, and Shutter Speed
To achieve proper exposure, begin by setting your camera’s ISO to a high value (around 3200 or higher), use a wide aperture (f/2.8 or wider), and select a slow shutter speed (around 30 seconds or longer). You may need to adjust these settings depending on the lighting conditions and your desired outcome.
5. Focus on a Bright Star or Distant Light
Using live view, find a bright star or distant light in the sky that can serve as a focus point. Set your lens to manual focus and adjust the focus ring until the star appears sharp and clear. You may need to take a test shot and adjust accordingly to ensure accurate focus.
6. Utilize Infinity Focus
Many lenses have an infinity focus (?) symbol on the focus ring. This refers to the point at which the lens is focused on the furthest possible distance. In some cases, setting your lens to infinity focus can deliver sharp night sky images. However, this mark may not always provide perfect focus; taking a test shot and making minor adjustments may be necessary.
7. Use the Hyperfocal Distance Technique
Hyperfocal distance is the point at which everything in the frame, from a specific distance to infinity, is in focus. To find your lens’s hyperfocal distance, you can use online calculators or smartphone apps. By setting your focus to the hyperfocal distance, you can achieve sharp focus on the stars and the landscape elements in your image.
8. Opt for Focus Stacking
Focus stacking requires multiple images with different focus points, which are later combined using editing software to produce a single, sharp image. This technique is especially helpful when you want both the foreground and background in focus.
9. Shoot in RAW Format
To maximize post-processing capabilities and image quality, shoot your night sky photographs in RAW format. This allows greater flexibility in adjusting focus, exposure, and other elements during image editing.
Conclusion:
Achieving sharp focus at night may be challenging, but with patience and the proper techniques, including manual focusing using live view and infinity focus, you’ll be able to capture the beauty of the night sky in stunning detail. Don’t forget to experiment with different settings and techniques to find what works best for you and your equipment. Happy shooting!
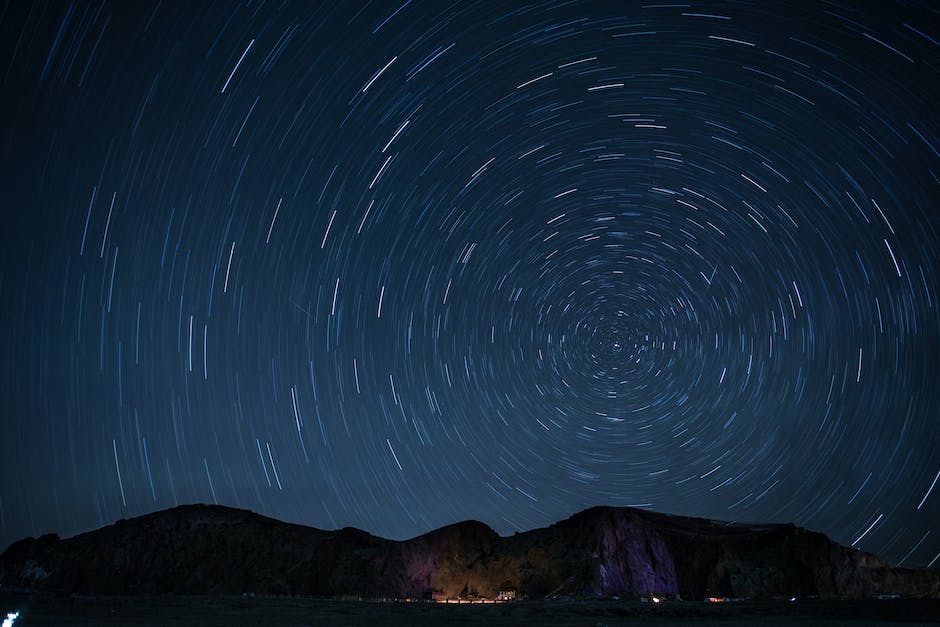
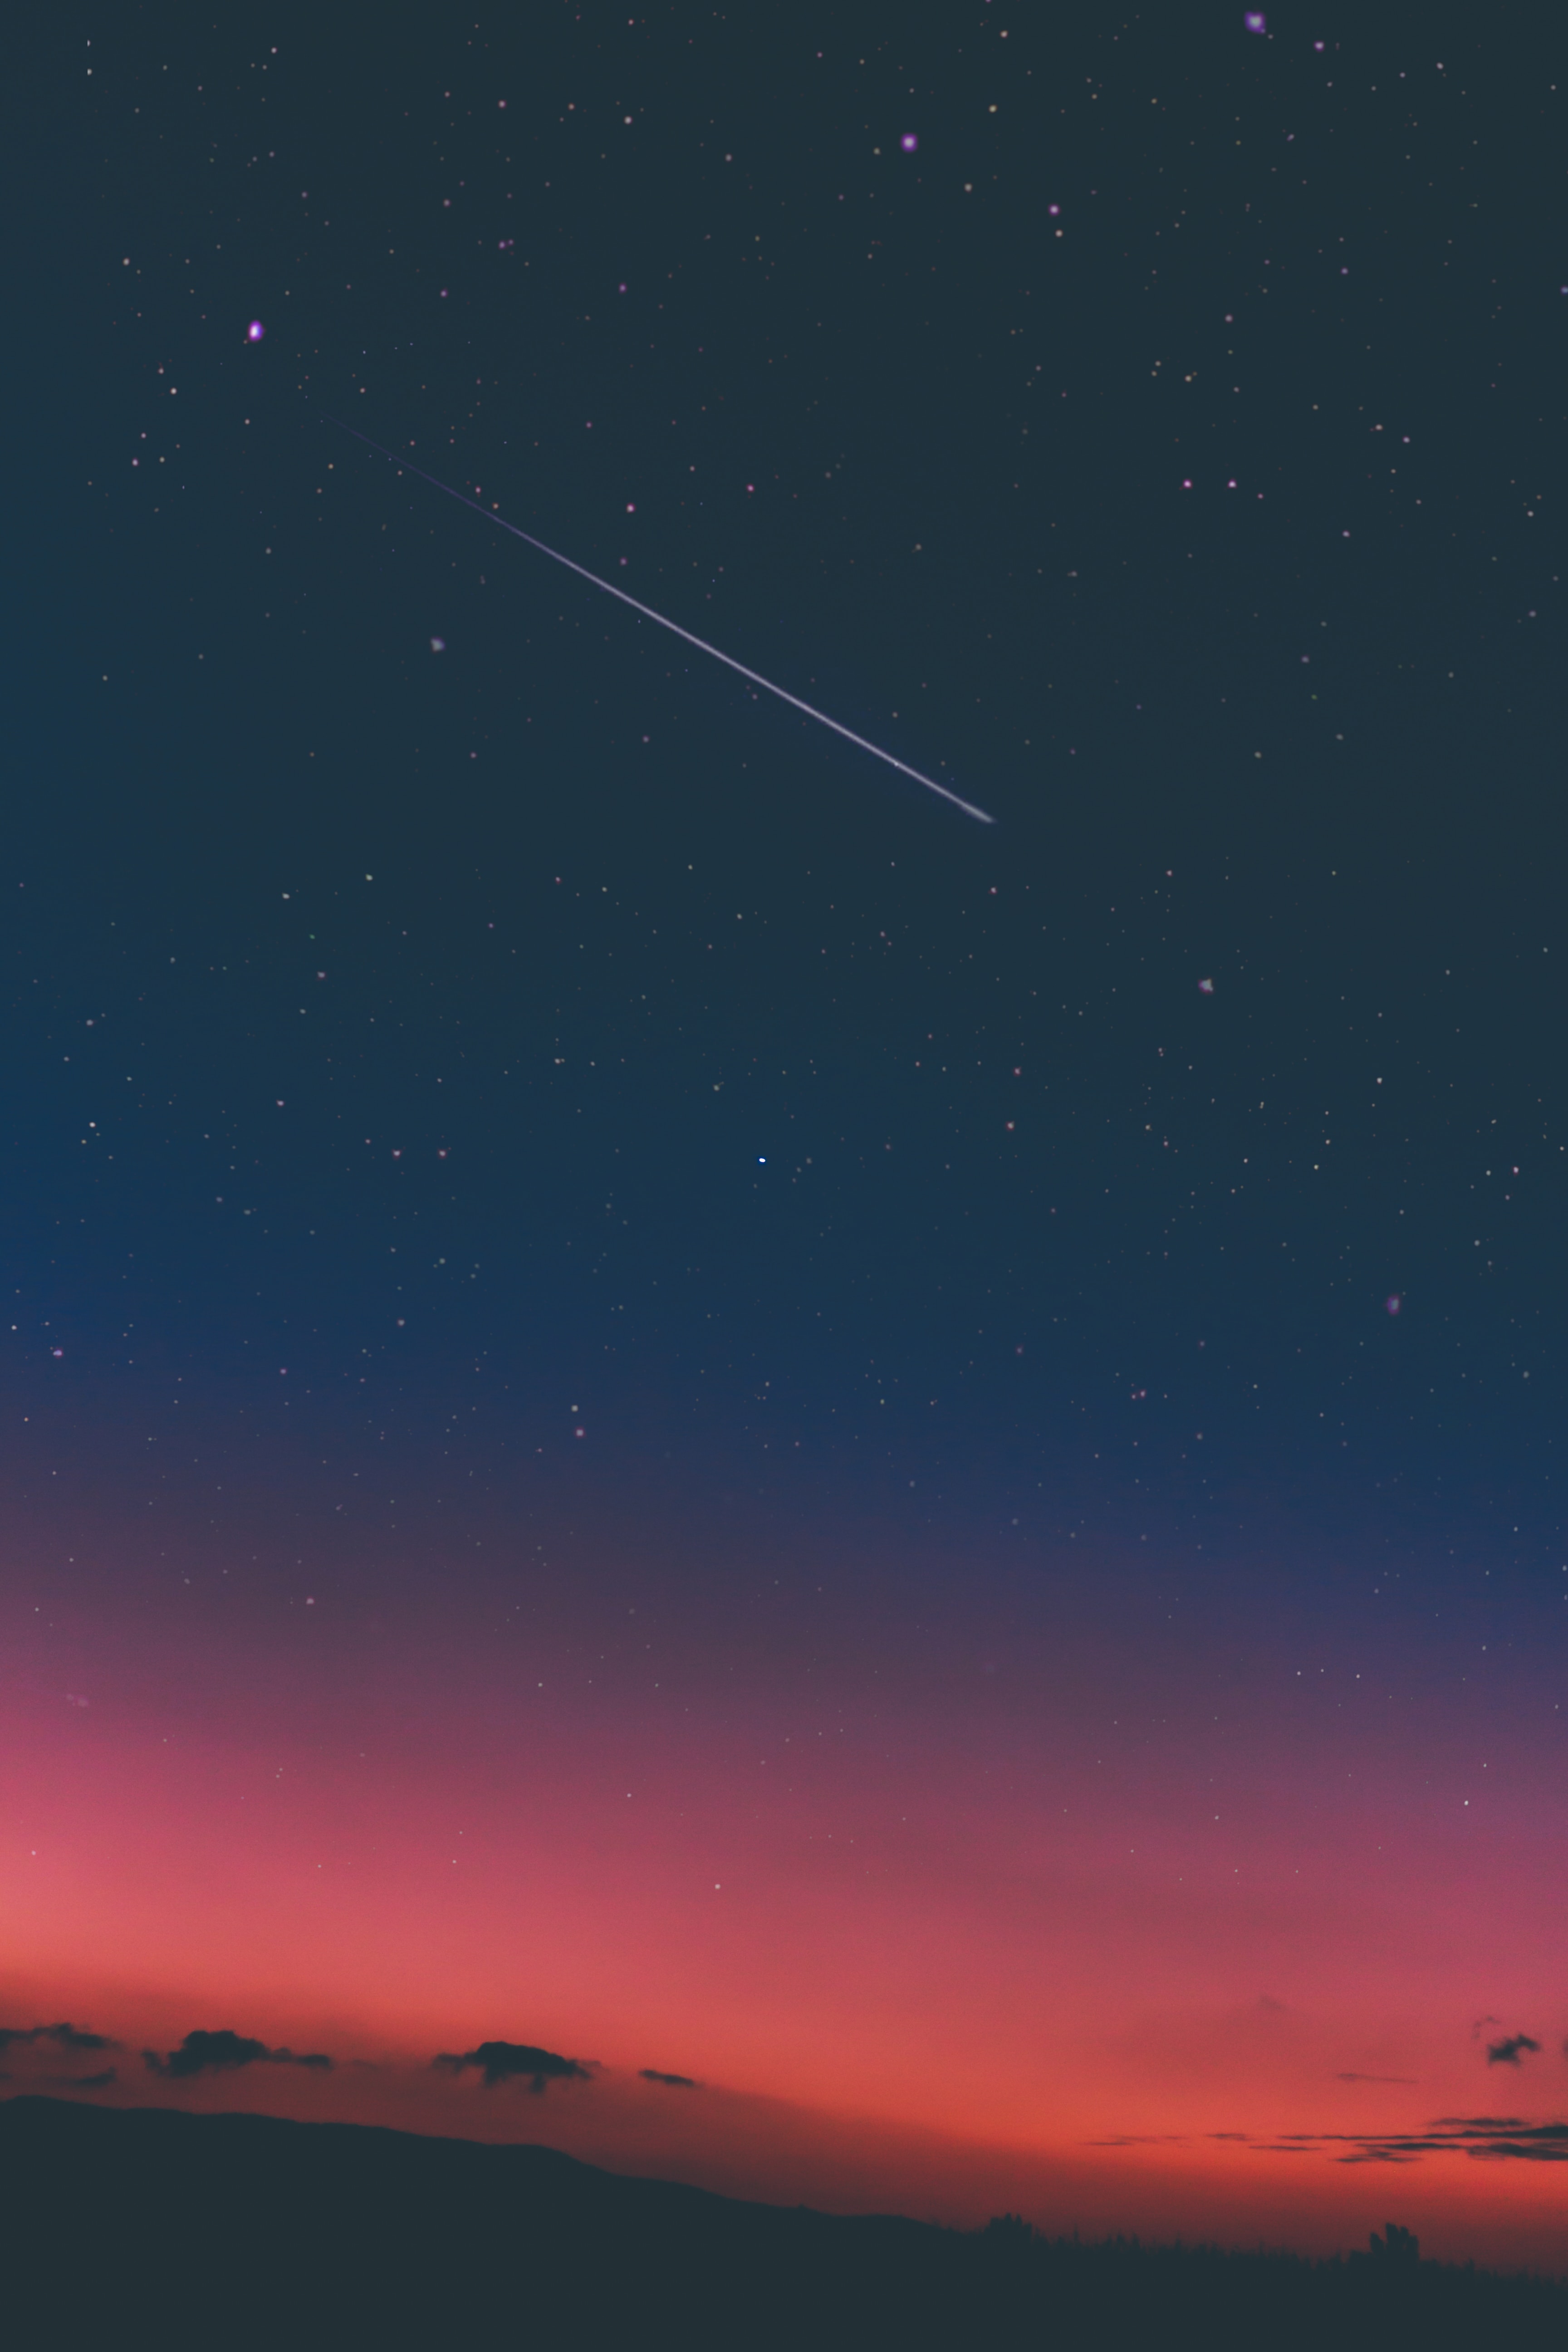
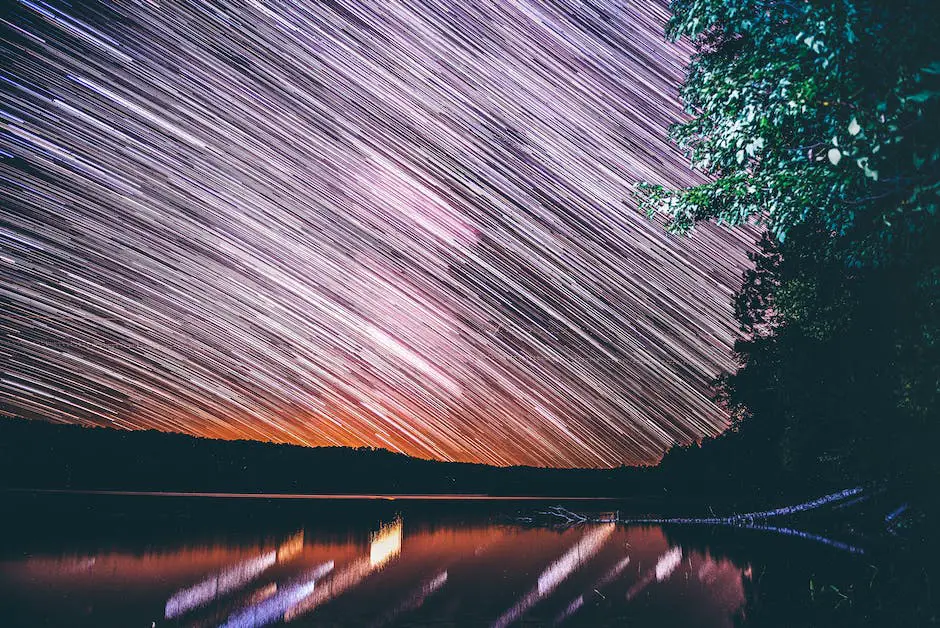
Capturing Star Trails
Title: Capturing Star Trails: A Guide to Stunning Night Sky Photography
Introduction:
Night sky photography is an amazing experience that allows you to create magical images of the heavens. Capturing star trails is one of the most mesmerizing techniques in night sky photography, showing the movement of stars in the sky as Earth rotates. In this guide, we will share essential tips and instructions for capturing stunning star trail images, either by using long exposures or stacking multiple images.
Materials and Equipment:
- A sturdy tripod
- DSLR or mirrorless camera with manual exposure control
- Wide-angle lens (preferably with a wide aperture, such as f/2.8 or lower)
- A remote shutter release or an intervalometer
- Memory card with ample storage space
- Fully charged camera battery
- A headlamp or flashlight with a red light setting (to preserve your night vision)
- Optional: Star trails stacking software (e.g., StarStaX)
Instructions:
Step 1: Choose the Right Location and Time
- Scout for a location far away from city lights to minimize light pollution. The darker the sky, the better the star trails will appear.
- Check the local weather forecast to make sure the night sky will be clear without clouds obscuring the stars.
- Choose a time when the moon is in its new or crescent phase to minimize its brightness affecting your images.
Step 2: Set Up Your Camera and Tripod
- Mount your camera on a sturdy tripod that is secure and stable.
- Attach the wide-angle lens to your camera.
- Connect the remote shutter release or intervalometer to the camera.
Step 3: Camera Settings
- Set the camera to Manual mode.
- Use an aperture of f/2.8 or wider, if possible.
- Start with an ISO setting of 800. You might need to increase or decrease ISO depending on the exposure results.
- Set the white balance to Tungsten or Custom – this will help you achieve the correct color balance for your star trails.
Step 4: Focus on the Stars
- Turn off autofocus (set the lens to Manual focus).
- Use your camera’s live view screen to focus on a bright star, or if your camera has focus peaking, use it for more precise focusing.
Step 5: Compose Your Shot
- Include interesting foreground elements like trees, buildings, or landscapes to create a captivating composition.
- Experiment with different angles and perspectives for a unique final image.
Step 6: Capturing the Star Trails
- Long Exposure Technique: Start with an exposure time of at least 30 minutes (the longer the exposure, the longer the star trails). Using the remote shutter release or intervalometer, start the exposure.
- Image Stacking Technique: Set the camera to continuous shooting mode and use the intervalometer to take multiple exposures, each with a duration of around 30 seconds. Capture at least 50-100 images to create a smooth star trail effect.
Step 7: Post-Processing (for Image Stacking Technique)
- Transfer all images to your computer.
- Open your star trails stacking software (e.g., StarStaX) and import your images.
- Use the software to align and blend the images, creating a final star trails image.
Conclusion:
Capturing star trails can be a rewarding and exciting experience, allowing you to create stunning images of the night sky. With patience, practice, and the right equipment, you can create impressive star trail images that showcase the beauty and movement of the heavens. Happy shooting!”
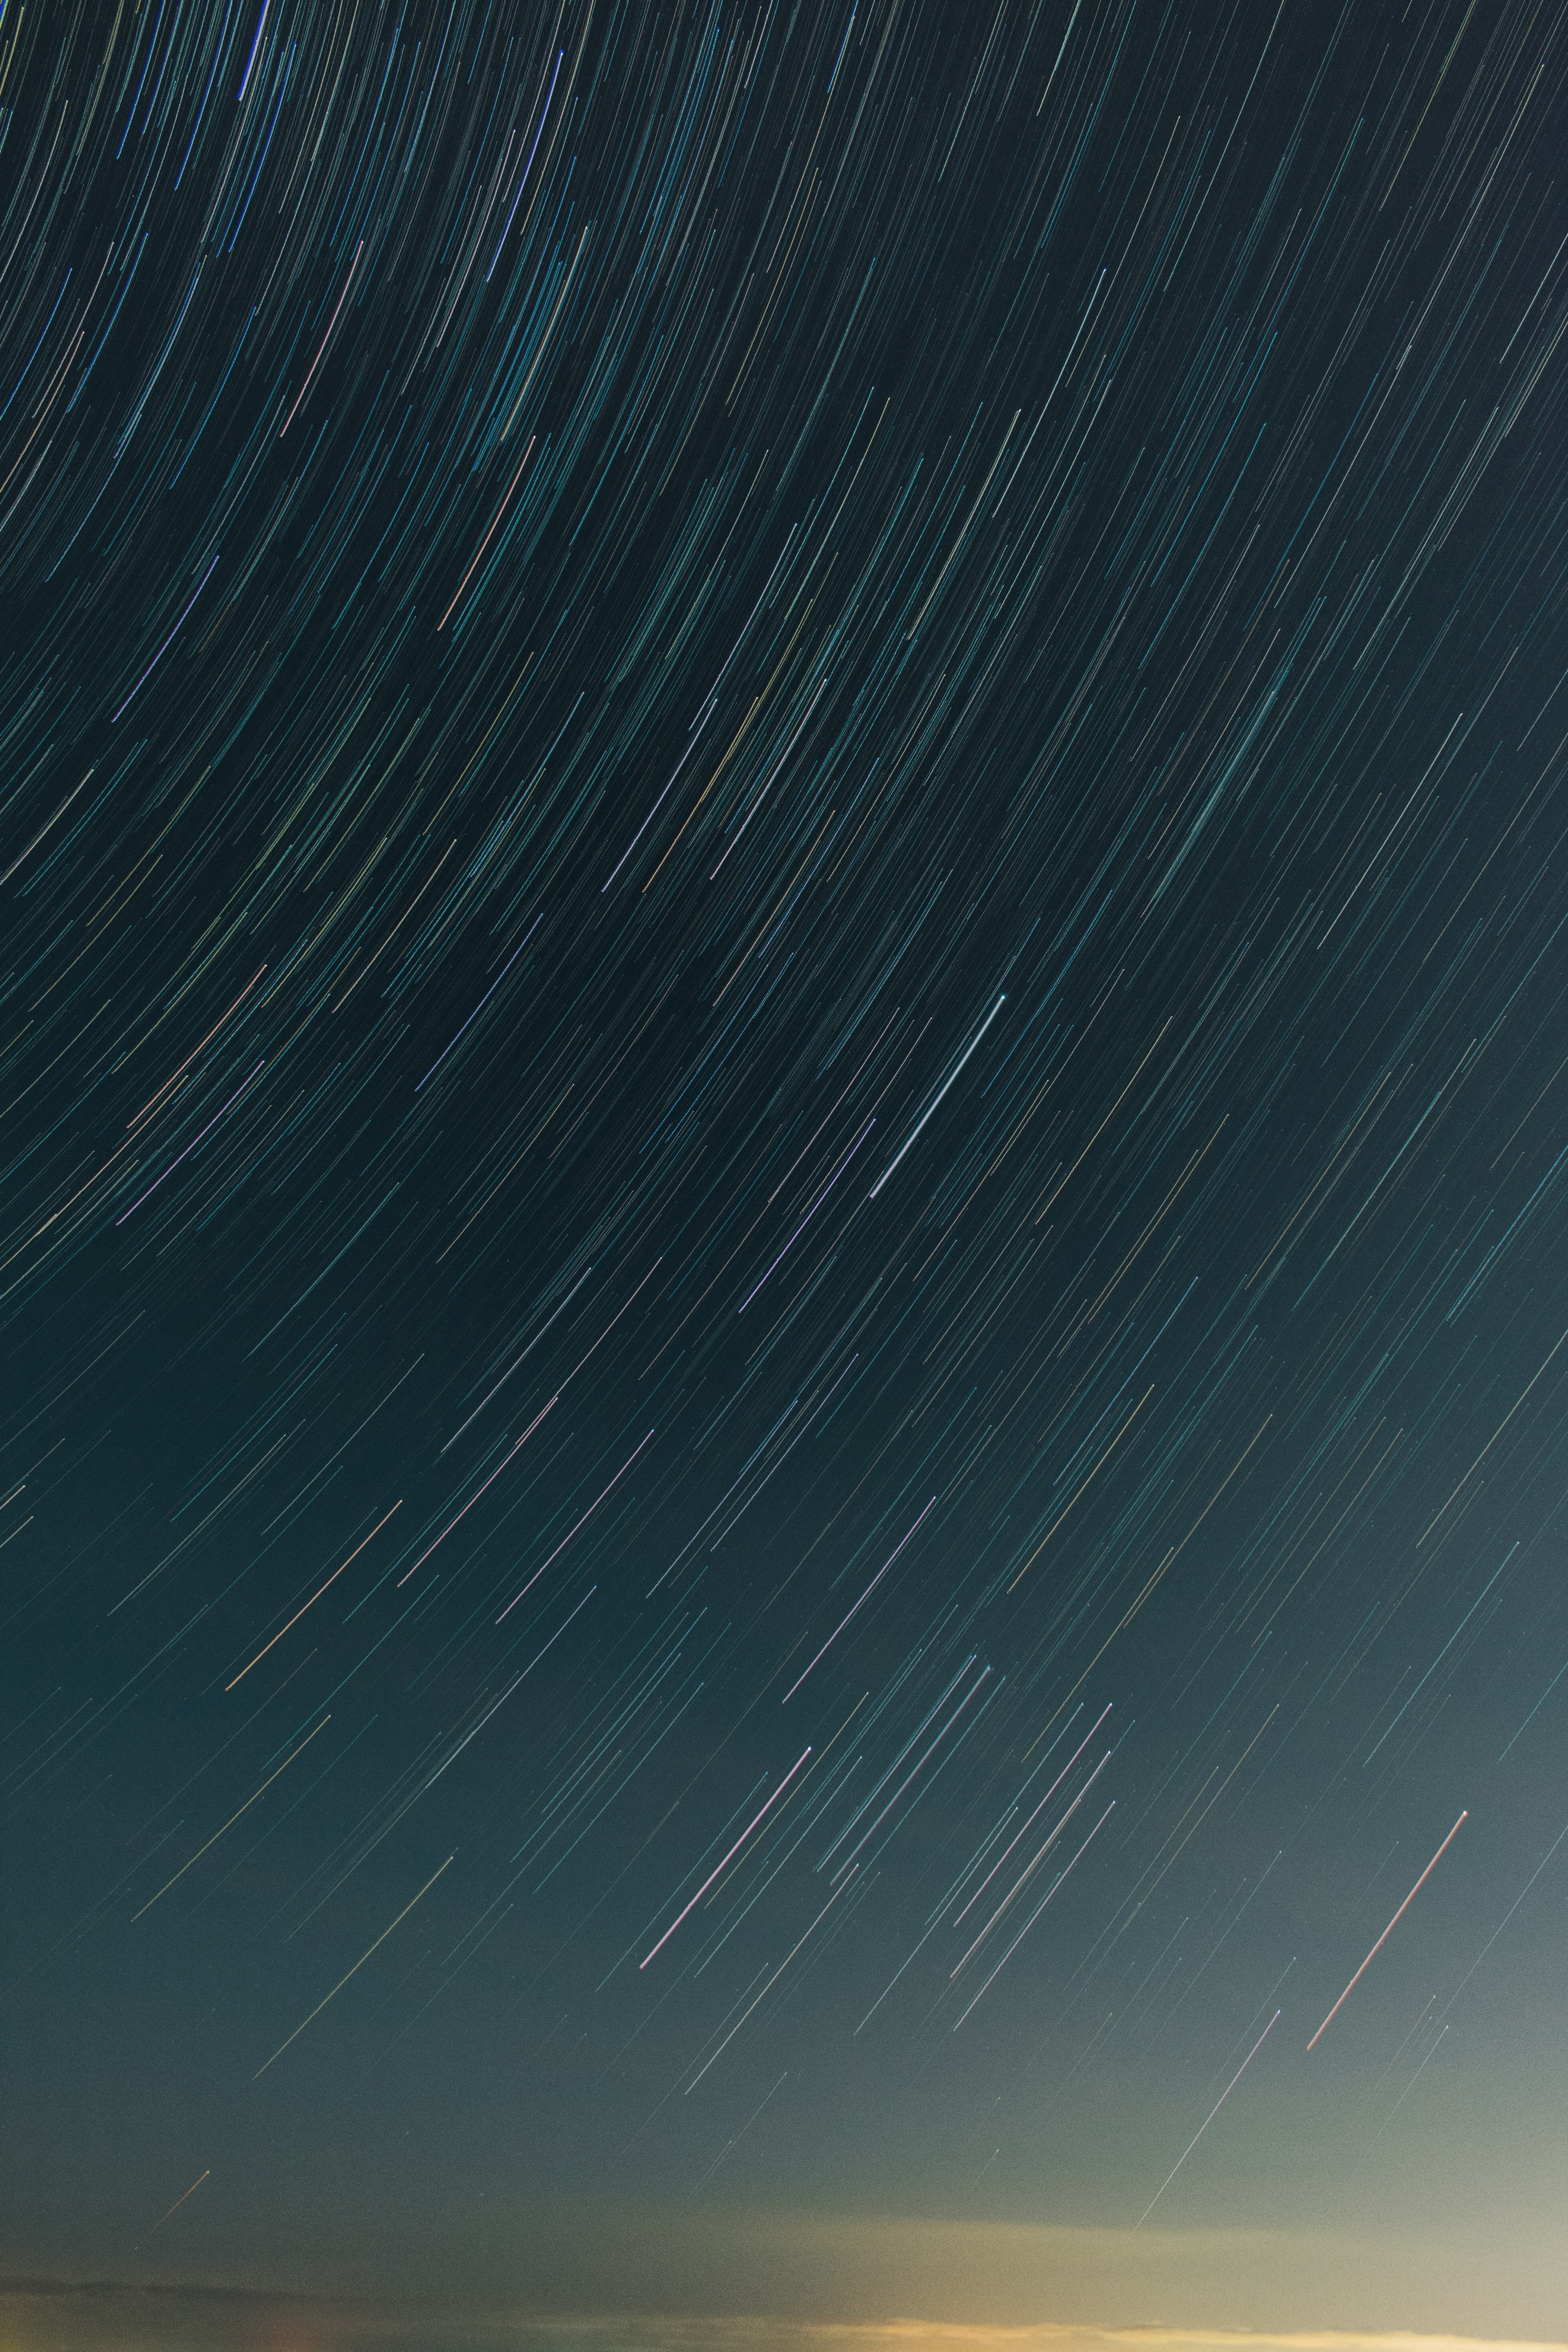
Photo by yongchuan on Unsplash
Astrophotography Basics
Astrophotography Basics: Discover the Fundamentals of Astrophotography
Astrophotography, or night sky photography, is the art of capturing images of celestial objects and deep-sky phenomena. This unique form of photography requires specialized equipment and techniques, as well as patience and persistence. In this guide, we will cover the basics of astrophotography, including equipment, camera settings, and post-processing tips.
Equipment:
- Camera: A DSLR or mirrorless camera with manual mode is ideal for astrophotography. These cameras offer greater control over settings such as exposure, aperture, and ISO.
- Wide-Angle Lens: A fast, wide-angle lens with an aperture of f/2.8 or lower is ideal for capturing wide-field images of the night sky.
- Tripod: A sturdy, well-built tripod is essential for keeping your camera steady during the long exposures required for astrophotography.
- Remote Shutter Release: Using a remote shutter release allows you to take photos without touching the camera, eliminating any possible camera shake.
- Optional: Equatorial Mount, Star Tracker, or Telescope: For more advanced astrophotography, including deep-sky images, specialized equipment like an equatorial mount, star tracker, or telescope may be necessary.
Camera Settings:
- Manual Mode: Set your camera to manual mode, allowing you to have full control over your exposure settings.
- Aperture: Set your aperture to the lowest f-number (widest possible) to allow the most light to enter the camera. It is essential for capturing fainter celestial objects.
- Shutter Speed: As a starting point, set your shutter speed to the “500 Rule,” which is 500 divided by the focal length of your lens. This provides a rough estimate of the maximum exposure time before stars begin to trail in your image. For example, if using a 24mm lens, set the shutter speed to 20 seconds (500/24=20.8).
- ISO: Begin with an ISO setting between 800 and 3200, adjusting as necessary based on your specific camera and lens. Higher ISOs will introduce more noise, while lower ISOs may result in darker images.
- Focus: Set your lens to manual focus, and focus on a bright star or the moon. Use Live View and zoom in to ensure the focus is sharp.
Techniques:
- Composition: Plan and frame your shot to include interesting foreground elements, such as trees, mountains, or buildings, to add depth to your image.
- Long Exposure Noise Reduction: This in-camera feature, if available, can help reduce noise caused by high ISO and long exposure times.
- Bracketing and Stacking: Taking multiple exposures at different settings and later stacking them can help to reduce noise and increase detail in your final image.
- Tracking The Stars: To capture long exposures of deep-sky objects without star trailing, consider investing in a tracking device or equatorial mount.
Post-Processing:
- Adobe Lightroom or Adobe Camera Raw: Use these programs to adjust white balance, exposure, highlights, shadows, and noise reduction. These initial adjustments lay the groundwork for further editing in other applications.
- Star Stacking Software: Programs such as DeepSkyStacker, Sequator, or Starry Landscape Stacker will automatically align and stack your images, reducing noise and enhancing details in the final output.
- Adobe Photoshop: Use Photoshop for final touches, such as increased contrast, local adjustments, and sharpening.
Processing Night Sky Images
Night sky photography captures the beauty of the celestial objects that grace the heavens. To bring out the best in your images, it’s essential to develop post-processing skills using software like Adobe Lightroom and Photoshop. Follow these steps to enhance the overall quality of your night sky images, including noise reduction, contrast adjustments, and color corrections.
-
Begin by importing your night sky images into Adobe Lightroom. Create a new folder and add keywords and metadata to help organize and track your images for future use.
-
Start with the Basic panel in Lightroom’s Develop module. Adjust the exposure to brighten the overall image, especially if it’s too dim due to shooting at a low ISO or fast shutter speed. Next, use the “Contrast” slider to increase the contrast and make the stars and other celestial objects stand out against the dark sky.
-
Often, the original white balance in your night sky images may not accurately represent the colors present in the night sky. To correct this, use the “WB” White Balance selector in Adobe Lightroom to pick a neutral color from the image. Alternatively, adjust the Temperature and Tint sliders manually until you achieve a more accurate color representation.
-
Night sky images can suffer from digital noise, particularly when using a high ISO setting. Switch to Lightroom’s Detail panel to apply noise reduction. Under the “Noise Reduction” section, slowly increase the “Luminance” slider while carefully observing the image to reduce noise without sacrificing important details.
-
To enhance the details of your night sky photography, apply some sharpening. In the Detail panel, adjust the “Amount” slider under the “Sharpening” section. Be cautious not to over-sharpen your image, as it may introduce artifacts or make the noise more noticeable.
-
Enhance the colors present in the night sky by adjusting the “Saturation” and “Vibrance” sliders in Lightroom’s Basic panel. Saturation affects all colors equally, while Vibrance gives a more subtle boost to less saturated colors. Adjust these sliders to achieve the desired level of color intensity in your image.
-
Use Adjustment Brushes, Graduated Filters, or Radial Filters in Lightroom to apply more precise adjustments to specific areas of your night sky images. This may include enhancing the brightness or contrast of specific celestial objects or eliminating unwanted light pollution.
-
For more advanced adjustments, export your photo to Adobe Photoshop by right-clicking on the image thumbnail in Lightroom and selecting “Edit In” > “Edit in Adobe Photoshop.” In Photoshop, you can make use of various tools.
-
Healing Brush and Clone Stamp: to remove sensor spots or other blemishes
-
Levels and Curves: for more precise contrast and color corrections
-
Star reduction: using custom Photoshop actions or plugins to subtly shrink and tighten the stars for a more polished look
-
Blending multiple images: combine shots taken at different exposure settings or focal lengths to create a composite image.
-
-
Once you’ve completed your edits in Photoshop, save the image to your desired format (JPEG, TIFF, etc.). Re-import the final image into Lightroom to catalog and organize it along with the rest of your night sky photography collection.
-
Experiment with various adjustments and techniques to hone your post-processing skills and develop your unique style. With practice and persistence, you’ll be able to turn your night sky images into stunning celestial masterpieces.
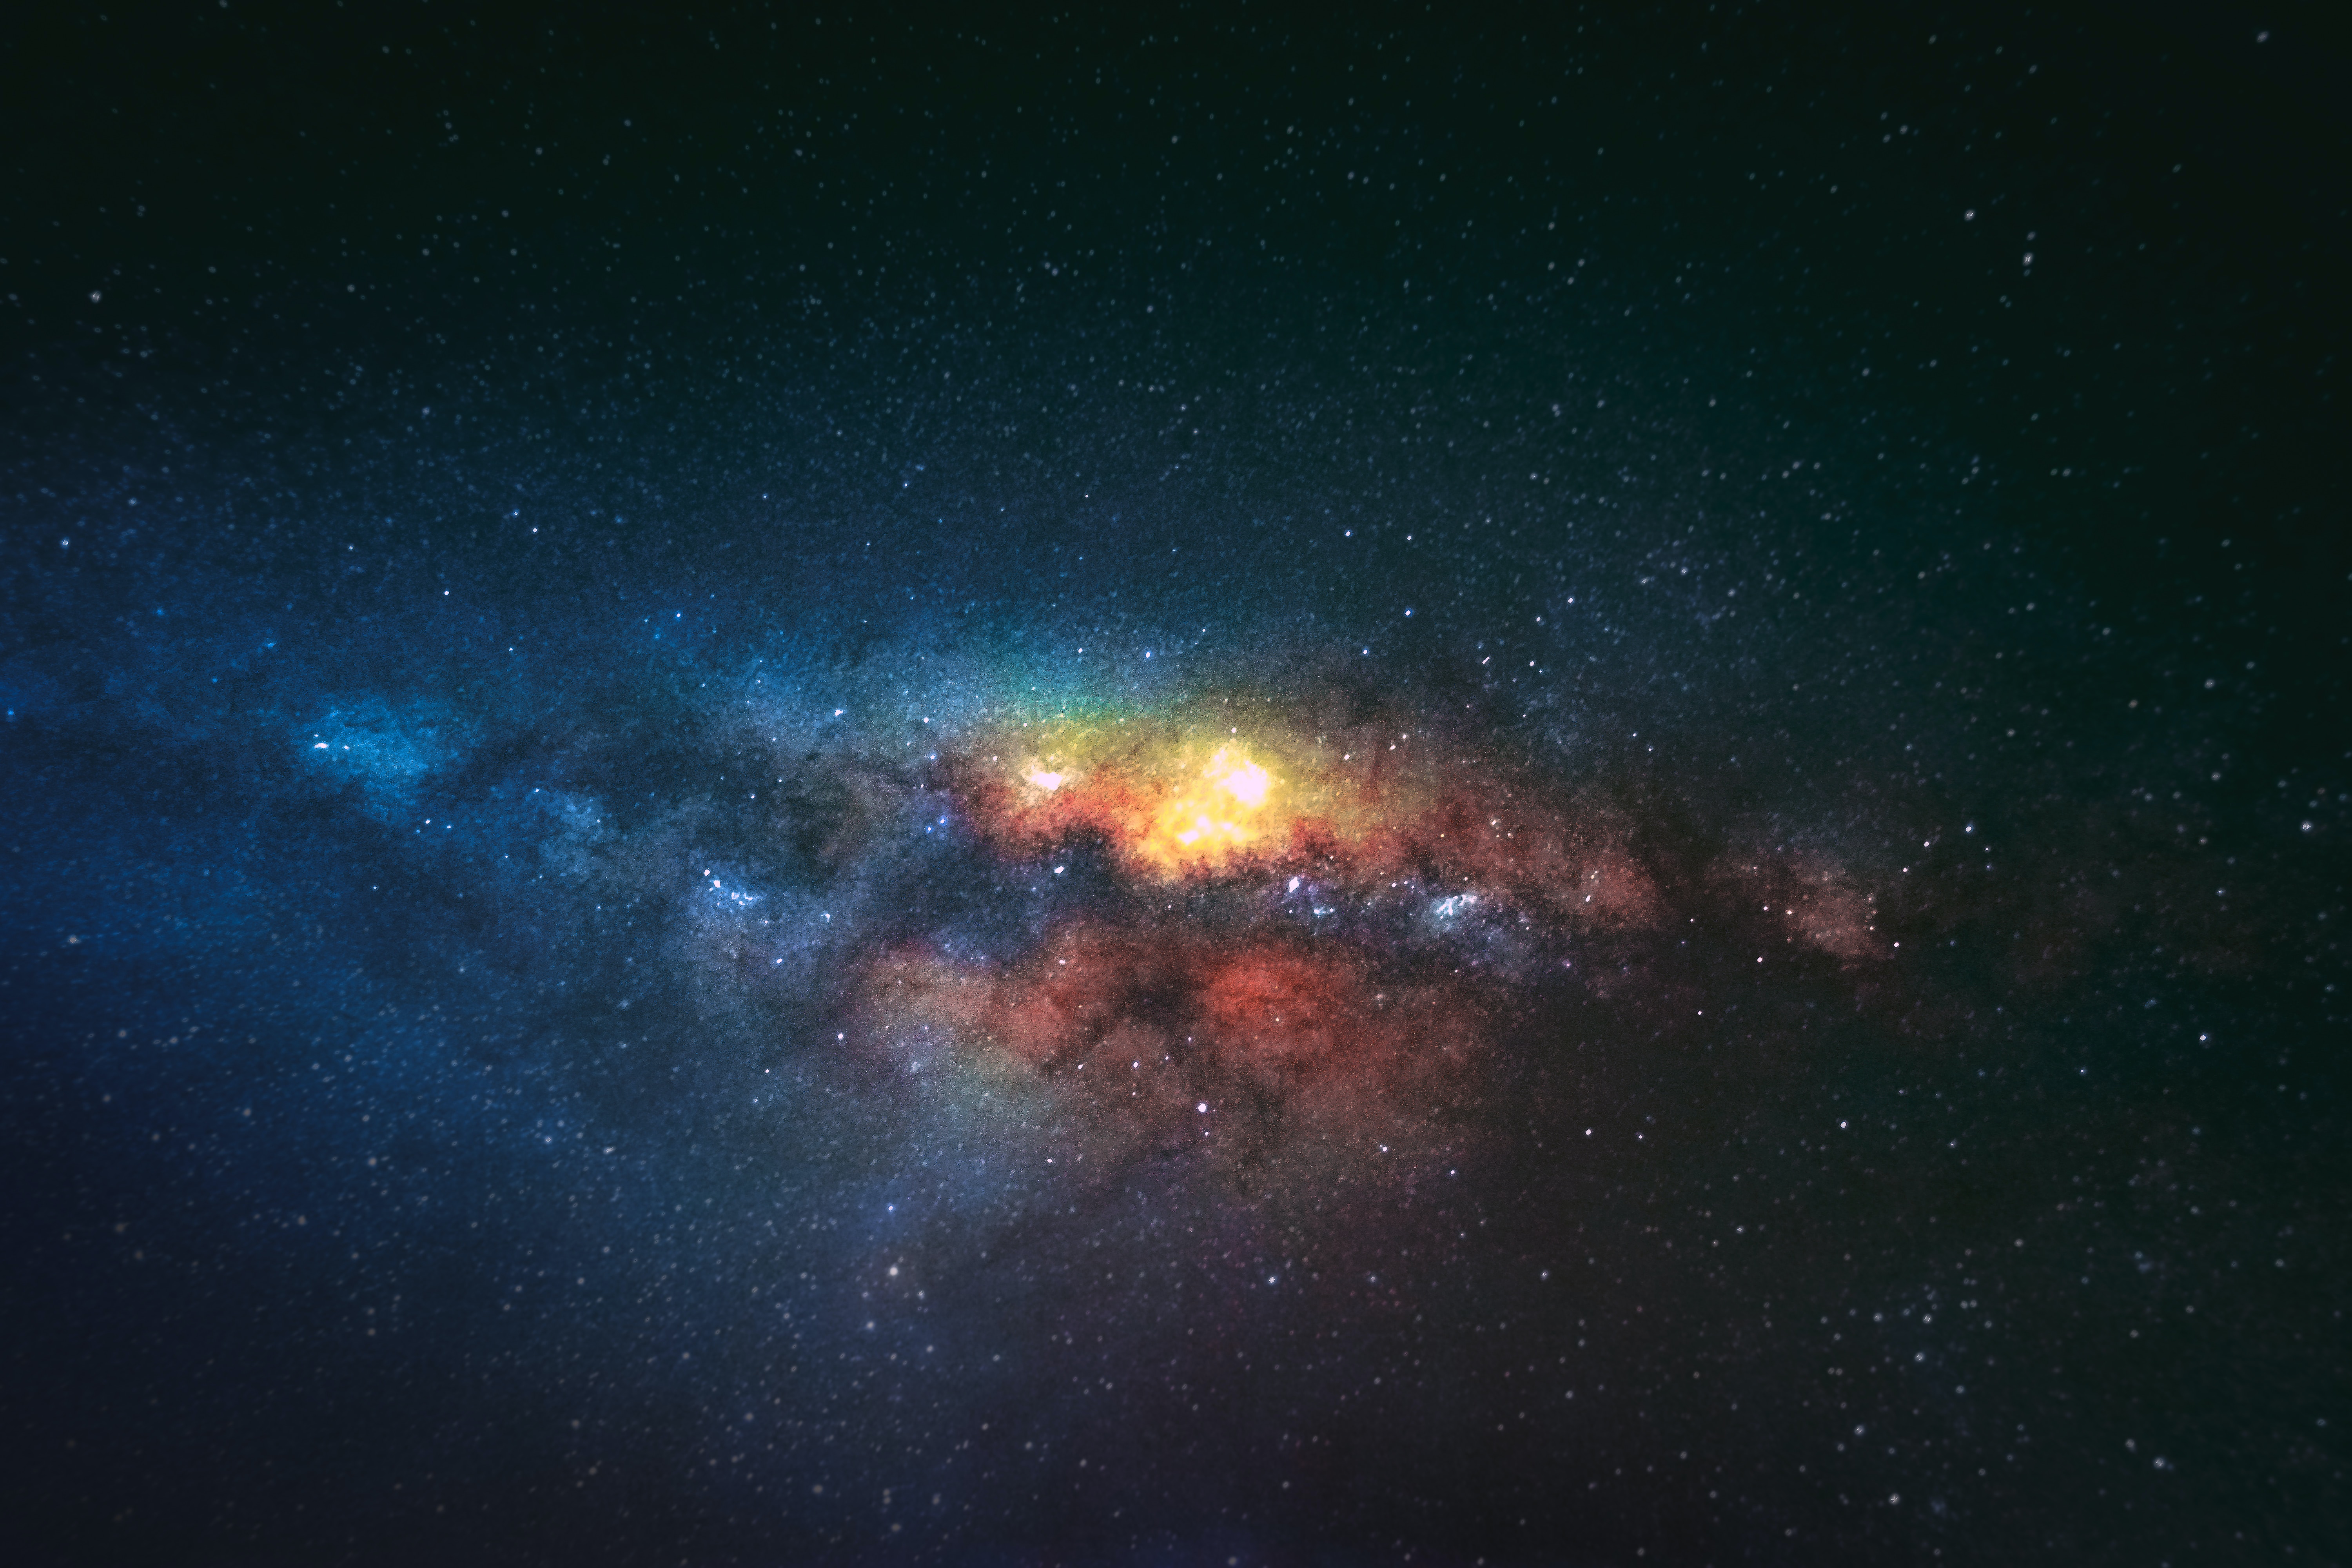
Photo by shotbycerqueira on Unsplash
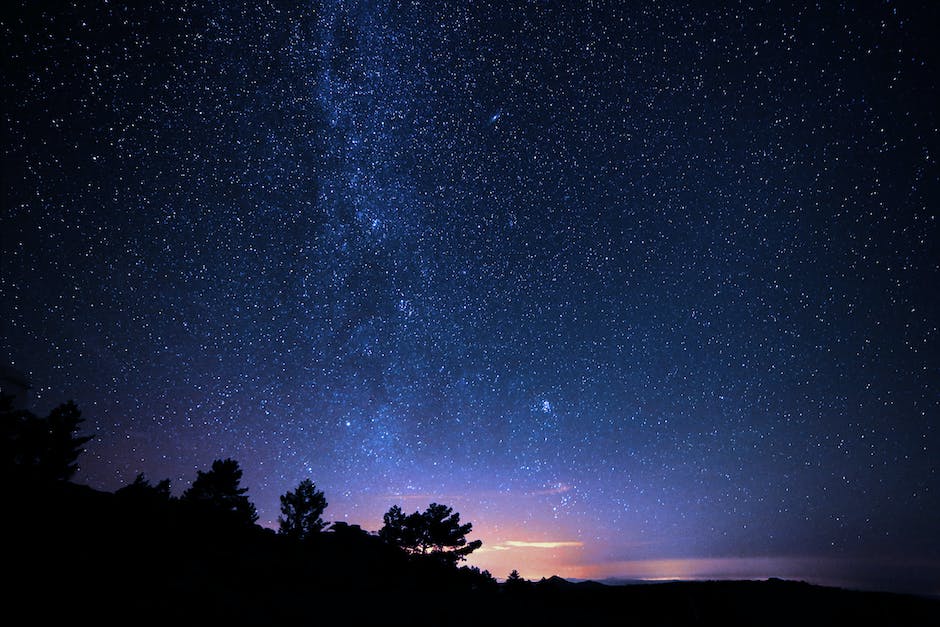
Planning and Scouting Locations
Title: Night Sky Photography: Tips for Planning and Scouting the Ideal Location
Introduction:
Night sky photography is a fantastic way to explore and capture the beauty of our celestial environment. To ensure that you get the perfect shot, it’s important to plan and scout the best locations suited for this type of photography. In this guide, we’ll share some tips on identifying the ideal night sky photography spots and organizing your shooting sessions considering factors like light pollution, weather, time of the year, and celestial events.
Step 1: Conduct preliminary research
- 1.1. Familiarize yourself with the celestial events calendar. This will help you identify the dates on which specific events like meteor showers, eclipses, or moon phases will occur.
- 1.2. Use resources like online forums, photographer communities, and social media to discover popular night sky photography spots near your location.
Step 2: Consider light pollution
- 2.1. Use light pollution maps, like Dark Site Finder (https://darksitefinder.com/) or Light Pollution Map (https://lightpollutionmap.info/), to find areas with low light pollution.
- 2.2. Avoid urban areas and popular attractions that generate light pollution, as this can decrease the visibility of stars and other celestial objects.
Step 3: Scout for locations
- 3.1. Visit potential locations during the day to evaluate factors like accessibility, composition opportunities, and safety.
- 3.2. Take note of geographical features, like mountains or bodies of water, which can serve as stunning foreground elements.
- 3.3. Assess the surroundings for unwanted light sources, like streetlights or buildings, that could impact your shots.
Step 4: Consider the weather
- 4.1. Monitor weather forecasts and choose locations with a higher chance of clear skies to maximize the visibility of celestial objects.
- 4.2. Be prepared for unpredictable weather by packing appropriate gear and clothing, such as warm layers, rain protection, and a lens cloth to keep your equipment dry.
Step 5: Plan based on the time of the year
- 5.1. Determine the time of the year when the galactic core of the Milky Way is visible (northern hemisphere: April-September; southern hemisphere: February-October).
- 5.2. Consider the seasonal visibility of specific celestial objects, like the Orion constellation, which is best viewed in the winter months (November-January) in the northern hemisphere.
Step 6: Synchronize with celestial events
- 6.1. Align your photography sessions with significant celestial events like meteor showers, eclipses, or planetary alignments for unique and captivating images.
- 6.2. Research the optimal viewing times for these events, as they will impact when you should be at your chosen location.
Step 7: Be prepared and safe
- 7.1. Bring along essentials like extra batteries, a sturdy tripod, a headlamp with red light (to preserve your night vision), and a chair for comfort.
- 7.2. Make sure someone knows where you will be, and consider shooting with a photography buddy for safety reasons.
Conclusion:
With proper planning, scouting, and consideration of factors like light pollution, weather, and celestial events, you’ll be well on your way to capturing enchanting night sky photography. Remember that practice makes perfect, so keep experimenting and refining your skills to continue improving your images. Happy shooting!
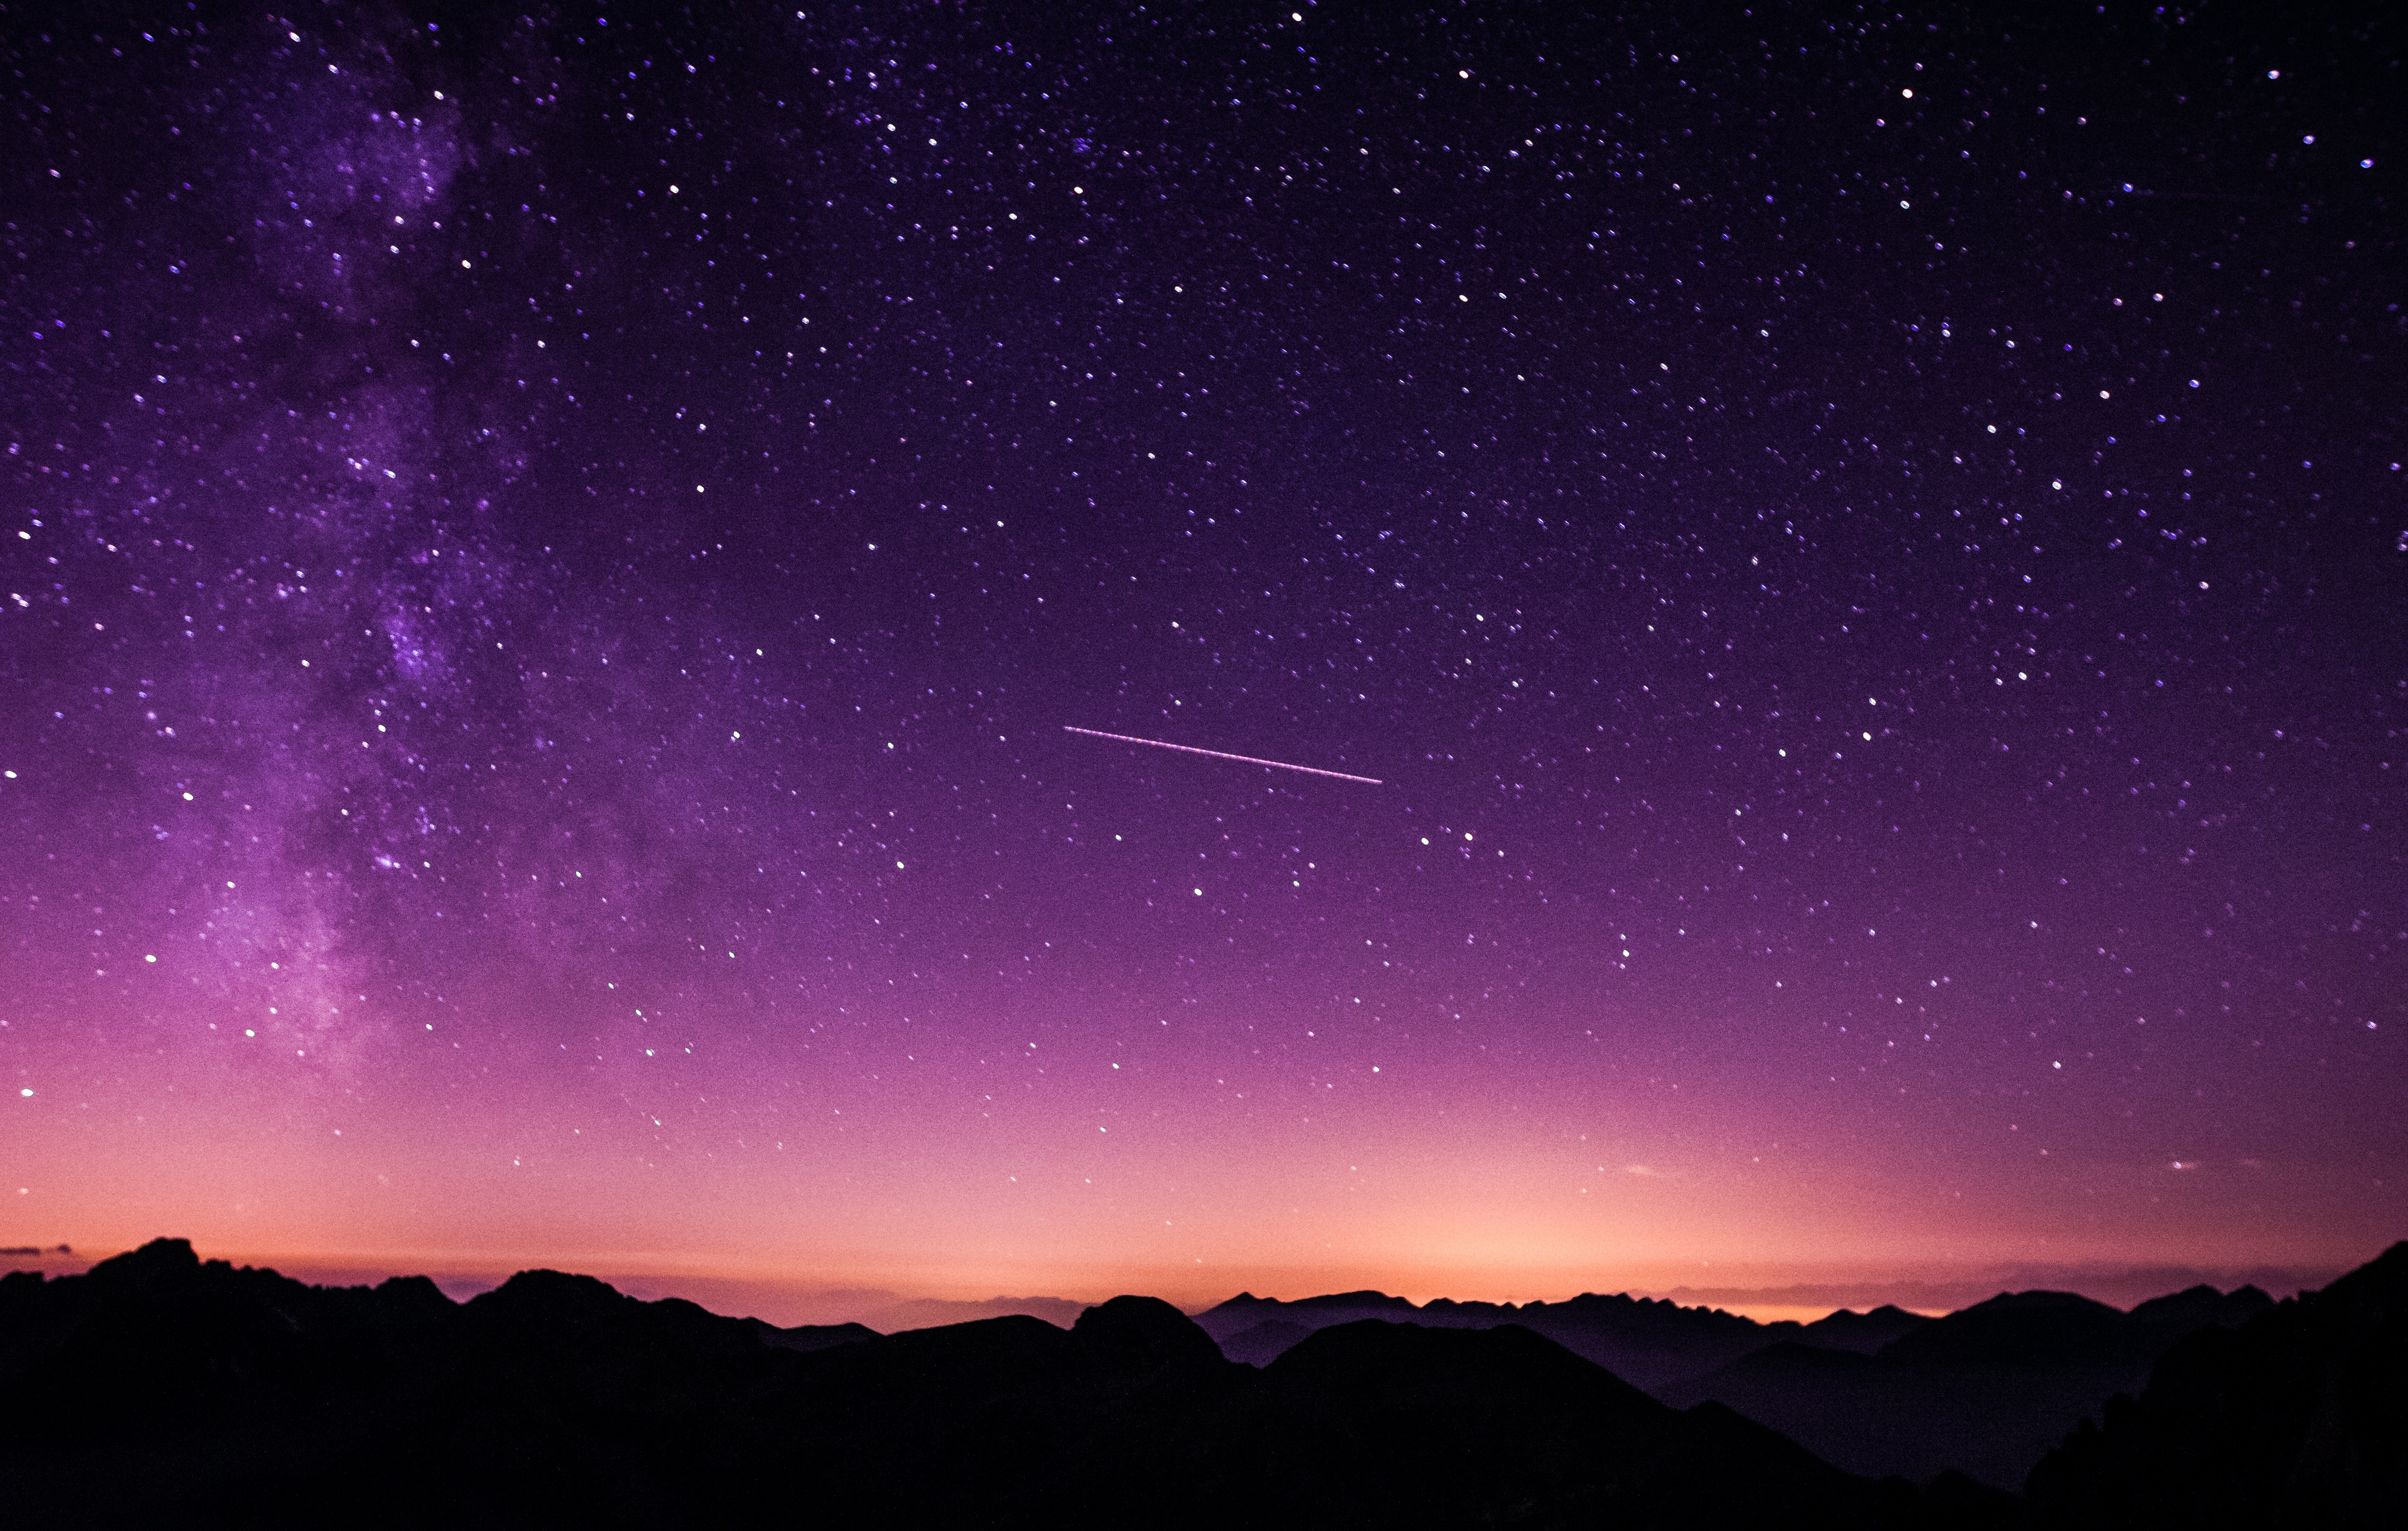
Photo by vincentiu on Unsplash
Safety and Etiquette for Night Photography
Introduction:
Night sky photography can be a thrilling and rewarding experience, capturing the beauty and vastness of the cosmos. Whether you’re an amateur photographer or a skilled professional, it’s essential to prioritize safety and etiquette while taking pictures at night, especially in remote locations and national parks. In this guide, we will discuss valuable tips on night photography safety precautions and best practices to ensure you have a safe and respectful experience.
1. Prepare and Research Before You Go
- – Research the location and any specific safety concerns, rules, or regulations related to photography.
- – Check the weather forecast, as extreme conditions can pose risks to your safety and equipment.
- – Plan your route and make a note of landmarks to navigate more easily in the dark.
- – Tell someone where you’re going and when you expect to return.
- – Carry a basic first aid kit, including any personal medications.
2. Be Equipped for Safety
- – Wear appropriate clothing and shoes based on the environment and weather.
- – Carry a headlamp or flashlight with a red light mode, which helps you see without ruining your night vision or disrupting other photographers.
- – Bring extra batteries or portable chargers for your equipment.
- – Keep a spare set of car keys in case of loss or damage.
- – Take a whistle or personal alarm to attract attention if you need help.
3. Stay on Designated Trails and Respect Natural Surroundings
- – Follow signs and use established trails when navigating in remote areas and national parks.
- – Minimize your impact on the environment by practicing Leave No Trace principles.
- – Be mindful of sensitive habitats and avoid disturbing plants and wildlife.
- – Adhere to any regulations surrounding the use of drones in the area.
- – Capture the beauty of the night sky, but leave nature as you found it.
4. Be Aware of Your Surroundings and Wildlife
- – Familiarize yourself with potential hazards such as cliffs, water sources, and loose terrain.
- – Learn about local wildlife and how to react if you encounter them, respecting their space and avoiding disturbing their habits.
- – Carry bear spray if you are in bear country and know how to use it properly.
- – Avoid using strong light sources that can disrupt the behavior of nocturnal animals.
5. Be Courteous and Respectful of Others
- – Be aware that your camera’s LCD screen, flash, and even your headlamp can impede other photographers’ night vision.
- – Communicate with others in the area and establish a mutual understanding of how to share the shooting location.
- – Give other photographers space to set up their shots, and avoid stepping in front of their cameras or interrupting their focus.
- – Keep your noise level low to ensure everyone can enjoy the serenity of the night.
Conclusion:
Night sky photography is an exciting and enjoyable pursuit, but it’s vital to keep safety and courtesy in mind. By following these guidelines, you’ll ensure a pleasant experience that respects both the natural environment and the experience of your fellow photographers. Now, grab your gear, head out into the night, and capture the stunning beauty of the cosmos!
With practice, patience, and the right knowledge, you will soon be able to create awe-inspiring images of the night sky that leave viewers spellbound. So grab your camera, head out into the darkness, and start exploring the celestial wonders above. Remember, successful night sky photography involves a combination of technical proficiency, creativity, and the ability to adapt to ever-changing conditions. As you grow and evolve in your skills, you will find that the true beauty of the night sky lies not only in what you capture but also in the unforgettable experiences shared beneath the stars.
Originally posted 2023-05-25 01:48:18.