
With the proliferation of smartphones and the rapid advancement in their technology, capturing high-quality videos is now possible in the palm of your hand. In particular, the iPhone’s camera capabilities have consistently ranked among the best in the market, making it a go-to gadget for professional videographers and hobbyists alike. In this context, it becomes crucial to fully understand how to manipulate its camera settings to shoot top-notch videos, especially in situations with peculiar lighting such as concerts. Detailed herein is a comprehensive guide to understanding your iPhone’s camera settings, experimenting with its manual adjustments, and optimizing the audio settings to achieve cinematic-quality concert videos.
Understanding iPhone Camera Settings
Mastering iPhone Camera Settings for Concerts – Capture Those Memorable Moments!
If you’ve ever stood under the mesmerizing lights of a great concert, you’ll understand the undeniable urge to capture the beauty before your eyes. These moments deserve to be documented in a way that does justice to their grandeur. Thankfully, iPhones have established themselves as veritable imaging power tools. This quick guide will help you convert your iPhone into a concert camera maestro.
- Use Burst Mode:
Fast-moving stages and changing light conditions make capturing the perfect shot a challenge during concerts. Burst Mode, however, could turn out to be your best friend. It allows you to hold down the shutter button and capture several images in quick succession, greatly increasing your odds of nailing the composition.
- Switch Off Flash:
While it can contribute in many scenarios, the built-in flash typically isn’t your ally in concert photography. Rather than enhancing the image, it tends to blow out your subjects with harsh light. Stick to natural lighting for best results- the stage lights should provide ample illumination.
- Explore HDR:
With the High Dynamic Range (HDR) feature, your iPhone shoots three photos with different exposures and then combines them to bring out more detail. It’s especially effective in settings with variegated lighting – like concerts. Remember, though, not to use HDR for fast-moving subjects as the results could look blurry.
- Experiment with Low Light Mode:
If your iPhone runs iOS 15 or above, turn on “Photographic Styles,” then opt for the “Rich Contrast” style. This automatically adjusts the tone mapping for improved low-light photography.
- Leverage Live Photos:
Live Photos is a nifty tool that records 1.5 seconds before and after you take a photo. When viewing the photo in your gallery, press down on it and see the ‘live’ version. This might just capture a significant moment you missed in the original snap.
- Engage Focus Lock:
To avoid your iPhone constantly readjusting focus for every movement on the stage, try combining the AE/AF lock feature (Auto Exposure/Auto Focus) with the burst mode. Tap and hold on your screen where you want to focus until “AE/AF Lock” appears. Then, your focus will remain fixed no matter what’s happening on stage.
- Play with Exposure:
Adjusting exposure manually can make a massive difference. If your photos are coming out too dark, try swiping up after tapping on your subject to brighten it. If the stage lights are washing out detail, swipe down to tone down the exposure.
- Trust Your Camera App:
While third-party apps can offer increased control and different features, the native camera app on iPhones typically does a great job if you know how to wield it. Especially since iOS 14, it can handle concert situations quite competently with minimal adjustments.
The exhilaration of a concert deserves to be captured in a way that revives that rush each time you look at the photos. By utilizing the above tips, you’ll be on your way to capturing stellar concert photos with your iPhone. Remember, the key lies not only in understanding technology but also in learning to use it creatively. Happy shooting!
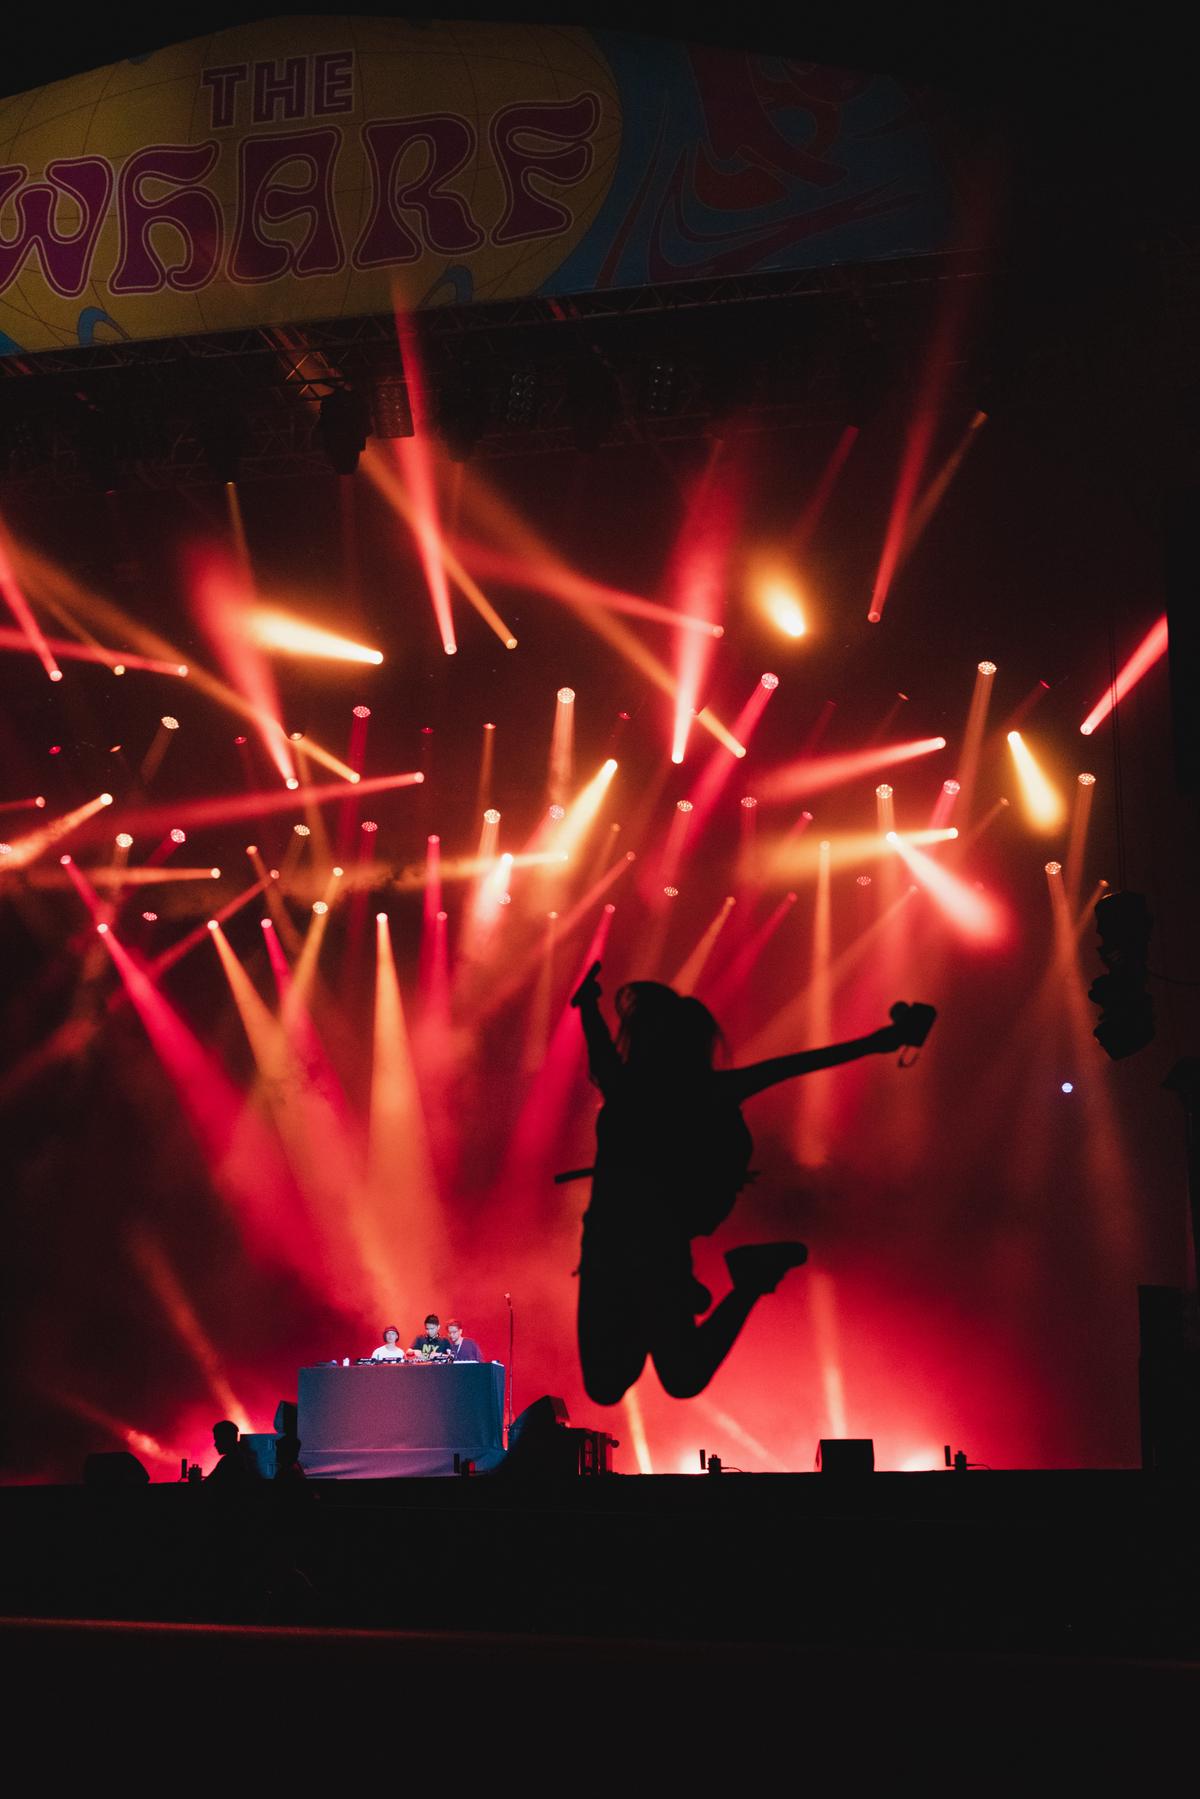
Photo by joshdatsu on Unsplash
Experimenting with Manual Settings
Streamlining Smartphone Photography: Handy Hacks and Pro-Tips
It’s nearly impossible to ignore the enormous impact of smartphone technology on our everyday lives, and one area where its imprint is readily evident is in the realm of photography. With top-notch camera applications now pre-installed in smartphones, anyone can capture stunning images with the device resting comfortably in their pocket. But for real tech enthusiasts keen on both convenience and quality, knowing how to harness the full potential of these powerful photographic tools is essential.
Embrace the Rule of Thirds:
Understanding composition is fundamental to great photography. Here, the Rule of Thirds comes in handy. This time-honored principle involves dividing your frame into nine equal segments by two horizontal and two vertical lines. The key idea is that subjects or elements of interest should be positioned along these lines or at their intersections for the most aesthetically pleasing outcome. This method is often used in professional photography and most smartphone camera apps make it even simpler to execute by providing an overlaid grid on the screen.
Tap into Telephoto:
Many of the latest smartphones come with multiple lenses, including standard, wide-angle, and telephoto. The latter is excellent for capturing detailed images from far away. Activating telephoto lens mode can variate your shots considerably while improving depth and perspective.
Implement Panorama Mode:
For those expansive landscapes or architectural wonders too broad for the regular frame, Panorama mode is a perfect solution. This setting stitches together multiple shots to create a wide-angle image, giving you a sweeping view of the scene. Just ensure to keep the smartphone steady during the process to maintain consistency.
Use the Grid for Perfect Symmetry:
The pre-installed grid in your smartphone camera is not just helpful for the Rule of Thirds. Use it to create a balance and symmetry in your compositions, especially for those admirers of minimalist imagery where precise guidelines are a must.
In conclusion, these neat tricks are just the tip of the iceberg in fully exploiting your smartphone camera’s capabilities. The beauty of the technology is in its constant evolution, so stay tuned and ready to adapt! With new terms like ‘Night Mode’ and ‘Slofie’, the smartphone photography lexicon is growing fast and us tech enthusiasts need to keep up. Embrace these hacks and let your creativity burst forth, one click at a time!
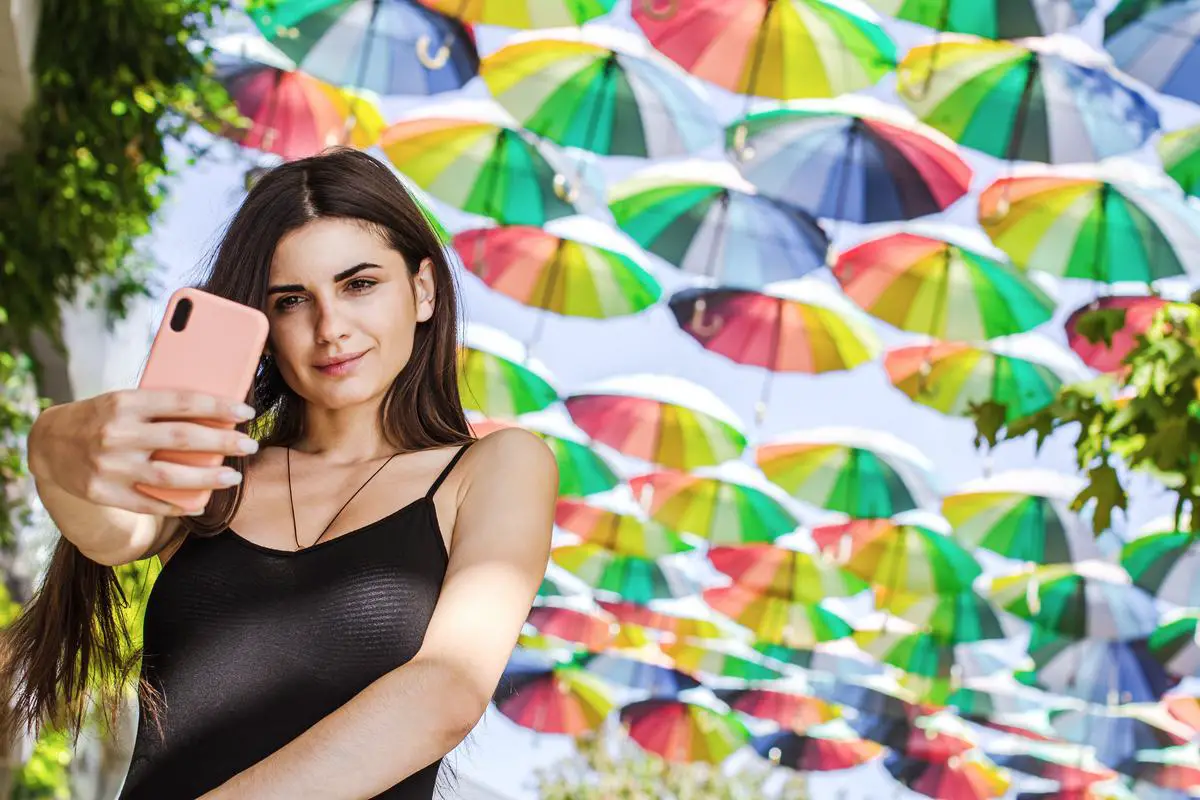
Photo by designlaabb on Unsplash
Optimizing Audio Settings
How to Optimize Audio Quality During Concert Recordings with Your iPhone
With the advent of technology and superior iPhone features, recording concerts on your mobile device has become a breeze. However, ensuring the audio quality matches the top-tier video can often be an uphill task. For tech enthusiasts, getting just the right audio becomes an intriguing challenge to surmount. Let’s get straight into how this feat can be accomplished using your iPhone.
The first step is getting your hands on an external microphone. It’s pivotal to understand the built-in iPhone microphone is generally optimized for calls and not high-quality concert sounds. A wide range of external microphones, such as the Shure MV88 or the Zoom iQ7, are designed specifically for iOS devices, can rectify this setback. These microphones plug directly into the lightning port and provide superior dynamic range and better stereo imaging, especially suited for recording concerts.
Second, it’s essential to adjust your recording settings for optimal results. Stick to a lossless audio codec like FLAC or ALAC and avoid lossy codecs such as MP3 or AAC. These options can be found in your recording app of choice. If your app does not support such codecs, consider switching to a more advanced app like Voice Record Pro or the ShurePlus MOTIV App.
Third, recording a silent video before the concert may help significantly to optimize audio. This method is especially useful during a live concert, where the noise can get pretty heavy. Pausing before you start allows the iPhone’s automatic gain control to adjust to the noise levels, preventing the recorded audio from clipping or distorting during the loudest parts of the concert.
A fourth avenue to explore is mastering the audio post-recording to enhance quality further. Several apps such as GarageBand offer simple-to-use but powerful audio mastering tools. Should you sink your teeth into more comprehensive audio editing software like Adobe Audition or ProTools, the possibilities become endless.
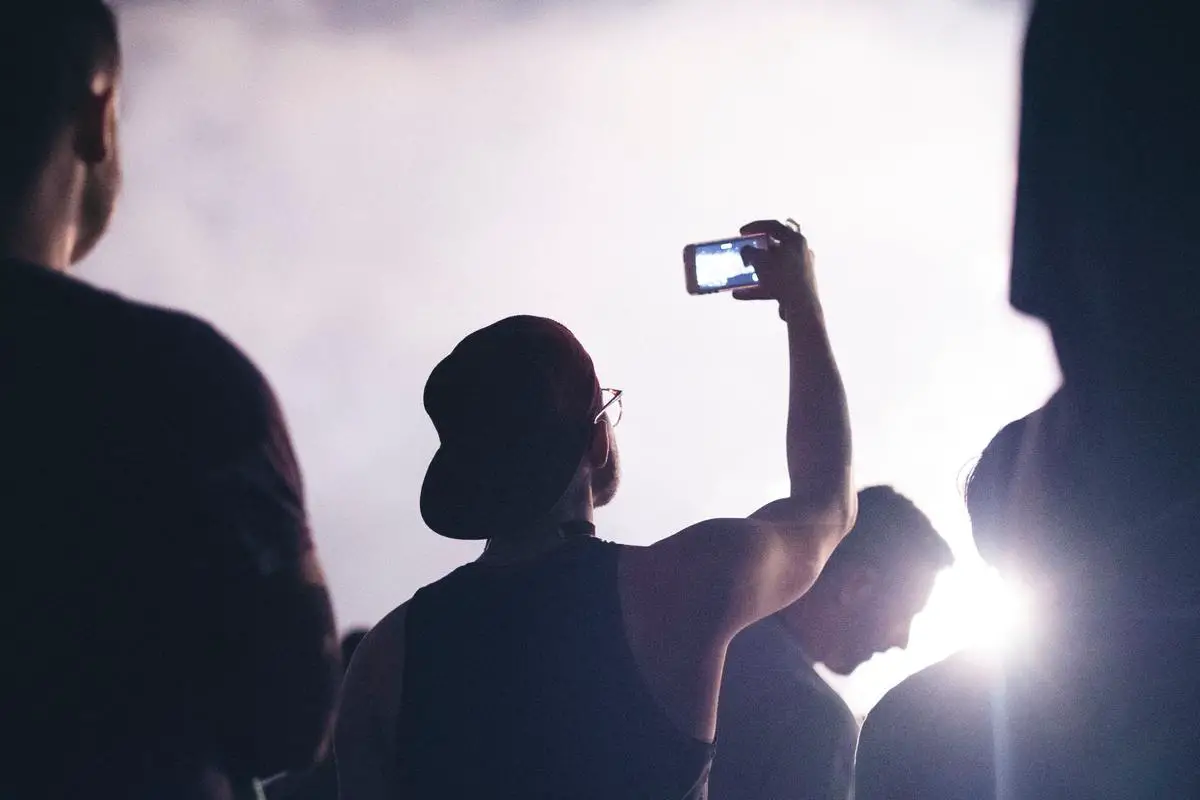
Finally, pay attention to the positioning of your iPhone during the recording. The closer the device to the sound source, the better the audio quality. However, be careful not to get too close to the concert speakers, as this can lead to overly loud and distorted audio.
Enhancing audio quality when recording concerts on an iPhone doesn’t have to be a hassle. It takes a blend of the right equipment, suitable setting adjustments, proper positioning and mastering touch-ups to yield incredible sound to match the breathtaking video. Dive right into it and experience the transformation in your concert recordings. Remember, the ultimate aim is not just capturing moments but making those captured seconds as life-like as possible, drowning the listener in the beautifully recorded soundscapes.
With the knowledge shared in this guide, you are now equipped to shoot concert videos that not only capture the sensational performances but also immortalize the euphoric experience. By understanding the various camera settings, learning to take control with manual settings, and going the extra mile to optimize audio capture, you can transform your iPhone into a powerful tool that brilliantly showcases the energy and emotion of a live performance. Ultimately, as you master these techniques and regularly put them into practice, videography will become an even more rewarding hobby that allows you to relive your favorite moments over and over again.
Originally posted 2023-12-28 02:05:30.


