The artistry of photography holds a certain charm that captivates many, but to explore its depths beyond the convenience of digital requires a journey back in time to the age of film. With its unique aesthetic and meticulous process, film photography not only pushes you to understand the very essence of capturing light but also immerses you in an authentic photographic experience. This read is designed to guide enthusiasts and hobbyists alike through the rewarding path of film photography. From comprehending the basic principles that govern the interaction between light and film to mastering the vital components of a film camera. We delve into the artistic aesthetics of film, explore the fascinating process of development and conclude with a deep dive into advanced techniques for those ready to push boundaries.
Understanding the Basics of Film Photography
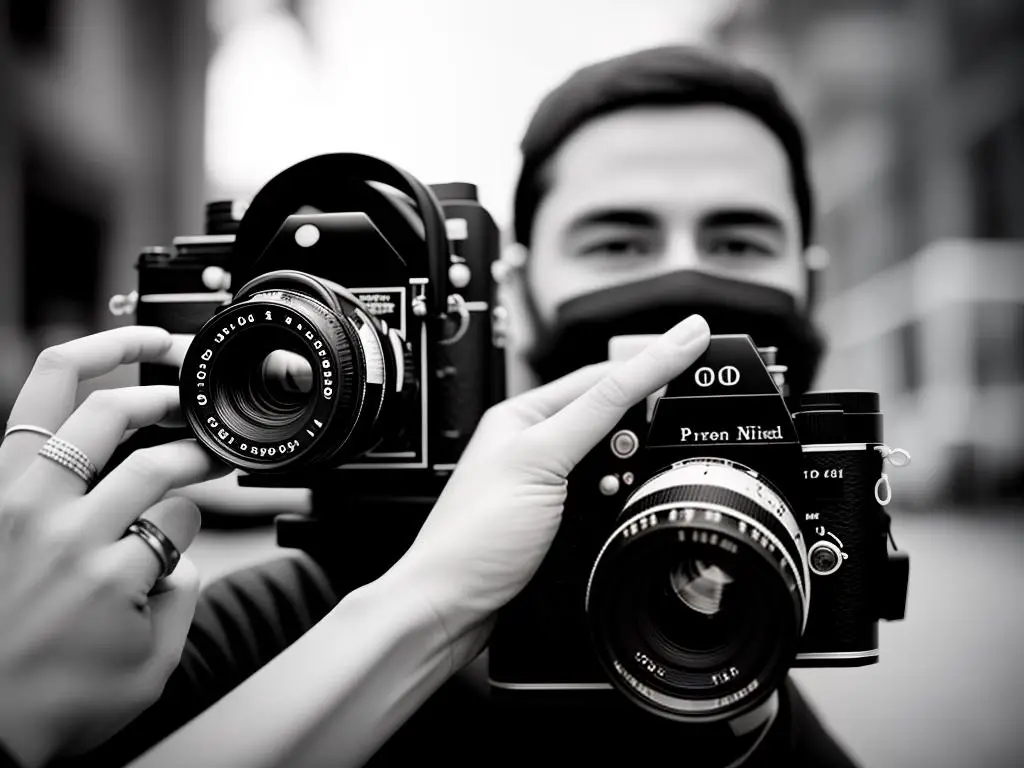
Film Photography: An Introduction
Film photography conjures feelings of nostalgia, a callback to a period when every shot mattered. Unlike digital photography, where one can churn out thousands of photos without much thought, film photography thrives on precision, consideration, and expertise.
What is Film Photography?
Film photography refers to the method of capturing images using light-sensitive film. The film is exposed to light by the camera, which imprints an image onto the film based on the amount and nature of the light passing through the camera’s lens. The rule of film photography is simple, too little or too much light, and the photograph will be under or overexposed.
The Mechanics of Film Cameras
Film cameras may appear archaic and complicated, but their operations are reasonably straightforward. It all centers around the shutter button, which when pressed opens the camera’s shutter and exposes the film to light briefly. This exposure forms a latent image on the film. This latent image is then developed in a darkroom, creating a negative, which can then be printed into a photograph.
Types of Films Available
There is a vast range of film types each offering unique results, which adds another layer to the art of film photography. The primary difference comes with black-and-white or color stocks. Black-and-white film photography provides a traditional and grounded aesthetic, allowing photographers to play with contrasts and lighting.
In contrast, color films – which come in a multitude of saturations and color balances – provide wide-ranging creative options. Aside from color, films are also categorized by their sensitivity to light, also known as film speed or ISO. A higher ISO film is more sensitive to light and hence better suited for darker scenes, while lower ISO films are better for brighter conditions.
Locking in the Light: How Film Responds to Light
Each film has a unique way of responding to light, referred to as the film’s latitude. Some films have a wide latitude, meaning they can handle over and underexposure quite well, while others have a narrow latitude and must be exposed accurately. This latitude greatly influences the look of your photos and can significantly contribute to your shooting style.
Film and Digital Photography: A Continuum, Not a Contest
A widespread myth is that film and digital photography are at odds with each other. This couldn’t be further from the truth. While the aesthetics and processes of each format are noticeably different, each has its place in the world of photography.
Digital photography is expeditious, practical and the dominant mode in this fast-paced world — it provides photographers the ability to review their shots instantly and edit on a myriad of software.
On the other hand, film photography is a return to the very roots of photography. It requires a thoughtful process – from conceptualizing the image, selecting the film, setting the camera, getting the exposure right, developing, and printing. This slow process can be a meditative experience and often results in unique results that add an organic warmth that can be challenging to achieve in digital photography.
Diving into film photography as an enthusiast or hobbyist involves appreciating that it’s a fusion of science and artistry. While it demands patience, the end product is uniquely rewarding, offering a personal and artistic sense of satisfaction. Having a clear grasp of the fundamentals offers the perfect starting point for this exciting journey into the realm of film photography.

Technical Skills Required
Mastering the Art of Film Loading
In your expedition of film photography mastery, your initial challenge lies in understanding how to correctly load the film into your camera. This includes gently sliding the film canister into the camera, carefully extending the film leader to fit the camera’s take-up spool. Always ensure the film’s sprocket holes align with the sprocket teeth of your camera. Attention to detail is crucial during film loading to avoid accidental exposure or damaging the film.
The Triumvirate: Aperture, Shutter Speed, and ISO
In film photography, three core settings work together to create a perfectly exposed photo—the aperture, shutter speed, and ISO. Varying these settings will change how light or dark the image is, as well as influence specific stylistic aspects of your photos.
The aperture controls how much light enters the camera through the lens, with a larger aperture allowing more light, and a smaller aperture allowing less. It’s also responsible for the depth of field in an image, impacting how much of the scene is in sharp focus.
Shutter speed is the time frame your film is exposed to light. A fast shutter speed freezes motion in a frame, while a slow one creates a blurred effect, portraying movement.
ISO represents the film’s sensitivity to light, with a lower ISO producing less grain and better quality images but requiring more light. Conversely, a higher ISO film is more sensitive to light and works better in low-light conditions but produces grainier photos.
Perfecting the Art of Manual Focusing
Being proficient in film photography mandates a solid understanding of manual focusing, which provides more control and precision than auto-focusing systems on digital cameras today. Manual focusing involves adjusting the focus ring of your camera until your subject is clear in your viewfinder. It will also allow you to decide the main point of interest in your shot.
Understanding Film Development
After one captures images on a film roll, the next step in the process involves developing the film to bring out those latent images. The development process careful sequence of chemical baths, which converts the film’s exposed silver halide crystals into black metallic silver to generate the negative. Proper temperature control, timing, and agitation techniques are vital while developing film. Keep in mind that chemicals used in the process of developing film can be hazardous, thus always take precautions.
Magical Metering Techniques
Metering is another fundamental skill crucial in achieving the perfect exposure. It allows you to measure the amount of light in a scene and set your aperture, shutter speed, and ISO accordingly. Depending on your camera, it could have an in-built light meter or require an external one. Keep in mind that reflective light from your subject can influence meter readings, therefore it’s essential to meter from different parts of a scene for a balanced exposure.
Embarking on the journey of film photography, you will find that certain skills comprise the crucial bedrock towards capturing alluring and perfectly framed shots. This artistic endeavor, like any other, requires patience, practice, and a genuine enthusiasm for the distinctive allure that film photography holds. The film offers an ageless allure that digital means simply cannot replicate, making the learning and perfecting of these skills a worthy pursuit.
The Aesthetics of Film Photography
Grasping the Aesthetics of Film Photography
Film photography pushes us to harness our creative instincts to produce images that leave a lasting impact. This is not just about pinpointing the precise subject or environment; it’s about comprehending film photography’s visual language. It means appreciating the rich texture of film grain, leveraging color or monochrome film to evoke varying moods and effects, and mastering the use of natural light to your advantage.
Composing Shots in Film Photography
Much similar to the age-old game the children used to play, assembling stones of different shapes and sizes in pockets, choosing the smoothest, roundest ones and guarding them against others, composing a shot requires careful consideration. It’s about identifying the elements that will make your photograph compelling, arranging them in a way that guides the eyes of your viewers, and making sure nothing significant is left out, or unnecessarily included. This is where rules like the ‘rule of thirds’ or ‘golden ratio’ come into play but remember, rules are meant to be broken and sometimes, the most striking images are the ones that defy convention.
The Role of Film Grain
While many in the digital realm strive for crisp, noise-free images, film photographers often embrace grain. Film grain can add a tactile quality to images, give them an evocative, almost painterly quality. Analogous to how Bobby Martin, Harry Jones, and Dickie Delacroix made a great pile of stones in a corner, the grains in your film shots gather to construct a unique aesthetic, imparting mood and depth to the shots.
Choosing Between Color and Black-and-White Films
Just like the boys and girls standing apart in their respective groups, color and black-and-white films yield distinctly different results. While color photography captures the world as we see it, making it more relatable and versatile, black-and-white photography distills a scene down to its contrasting elements, making it timeless and profound. A picture taken in color can be lighthearted, dramatic, or sentimental, but the same image when captured in black and white can evoke a whole new mood, often deeper and more intense.
Using Natural Light
Natural light, when used effectively, can add a sense of authenticity and warmth to your images. This is much like how the small children clung to the hands of their older brothers or sisters, seeking comfort and protection. Light in film photography is not merely about illuminating your subject, but about using it as a tool to elevate the mood, create contrasts, or to emphasize particular facets of the scene.
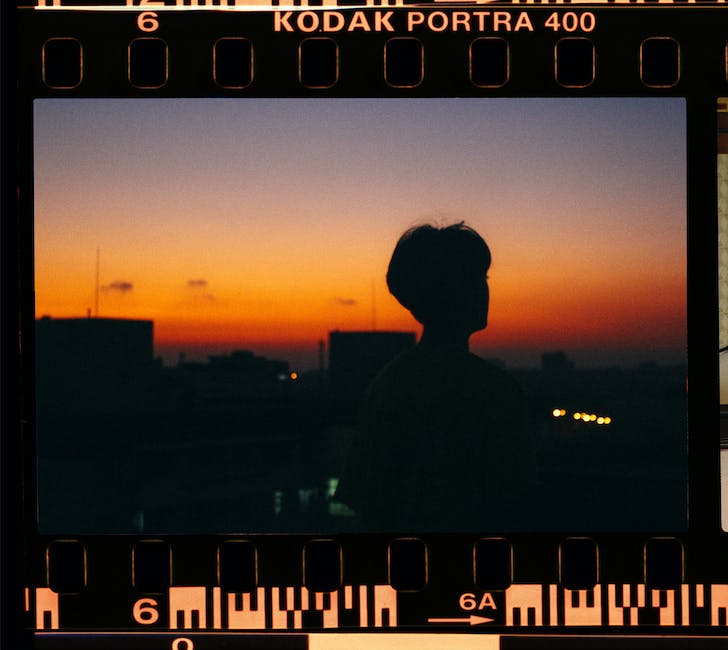
Understanding Different Film Types
Different film types can drastically affect the final look of a photograph. It’s as if each type of film has its own personality, responding differently to varying light conditions, and producing images with unique color palettes. From films that produce vibrant, saturated colors like Fuji Velvia, to those that deliver classic, subdued tones like Kodak Portra, your choice of film can be the determining factor in achieving your desired aesthetic.
Embarking on the Exciting Venture of Film Photography
Embarking on the exciting venture of film photography is nothing short of an adventure. It challenges an individual to not only master the intricacies of the camera but also to push their personal aesthetic and creative limits. After all, when you capture an intentionally arranged scene, releasing the shutter grants a wave of euphoric victory.
Processing and Developing Film
Equipment Needed to Develop Film at Home
Embarking on the thrilling journey of film photography requires having all the necessary equipment on hand. Let’s delve into what this entails:
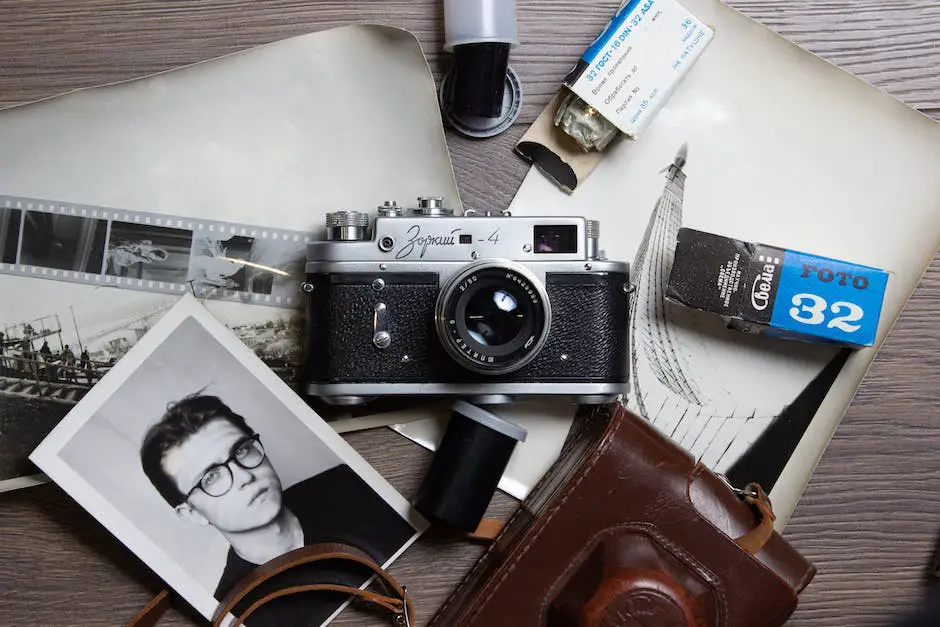
- Film Camera and Film Rolls – As obvious as it may seem, you can’t develop film without first capturing images. Hence, your primary items would be a film camera and film rolls.
- Film Developing Tank – This light-proof tank ensures a carefully controlled environment for processing your film without damaging it from exposure to light.
- Changing Bag – Acting as a pocket-sized darkroom, this light-proof bag helps you to load your film into the developing tank securely.
- Chemicals (Developer, Stop Bath, Fixer, and Wetting Agent) – The developer contributes to unveiling the image, the stop bath brings a halt to the developing process, the fixer makes the image permanent, and the wetting agent prevents water spots from damaging the film as it dries.
- Thermometer – Accurate temperature is pivotal while developing film, and a thermometer is the tool that helps maintain this.
- Graduated Cylinders – To measure the chemicals you will use, these tools are essential.
- Scissors & Film Clips – Scissors are useful for film cutting tasks, while film clips help keep the film strips secure during the drying stage.
Step-by-step Walkthrough of the Development Process
Delving into film development requires precision and awareness of small details, and here’s a step-by-step guide to aid you along this intricate process:
- Preparing the Film: Wearing gloves and working under no light conditions, remove your film from its canister and cut off the leader.
- Loading the film into the tank: Next, you load the film into your developing tank reel.
- Mixing the Chemicals: Follow the instructions on your chemicals for proper dilution and temperature.
- Developing the Film: Pour your developer solution into the tank and agitate as per instructions.
- Rinsing and Stopping Development: Rinse the film carefully with water before adding the stop bath solution.
- Fixing the Film: By adding a fixing solution, you prevent the film from further development and make your image permanent.
- Final Rinse and Drying: After another water rinse, use the wetting agent and rinse once more before living it to dry.
Troubleshooting Common Issues
A few pitfalls you might encounter while developing film at home include:
- Unclear Images: This could be due to underdevelopment, so ensure you adhere strictly to development times.
- Overly Dark Images: Overdevelopment may be the culprit here. Reduce your development times as needed.
- Streaks/Spots on Film: These often occur when agitation is too harsh or inconsistent. Practice steady, gentle agitation during development.
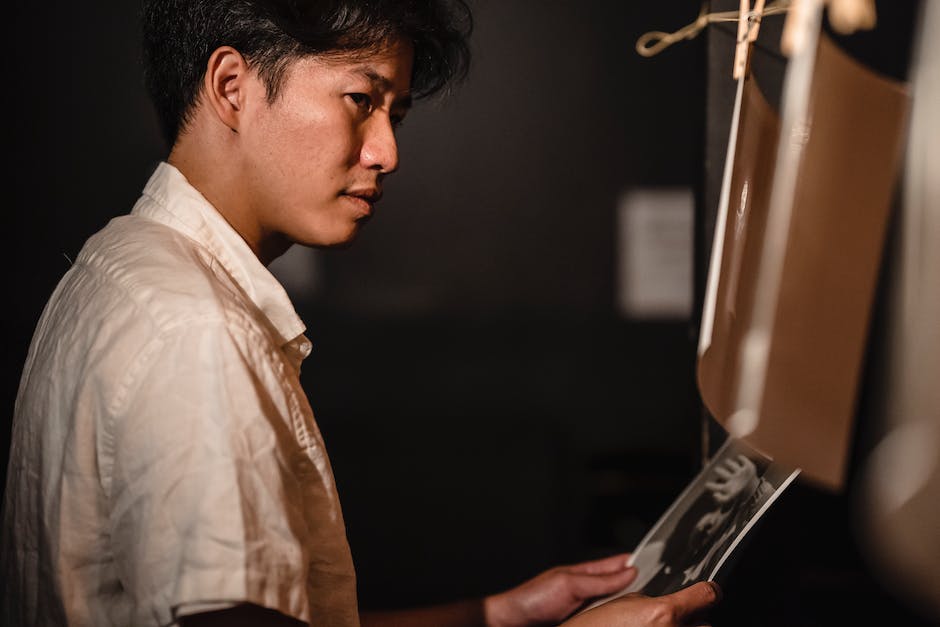
Diving into Film Photography: Scanning Negatives
After processing your film, the next inevitably crucial step is digitizing. It entails the use of a film scanner capable of scanning your negatives and effectively converting them into digital images. High-quality scanners often come with in-built software that allows for adjustments such as contrast, resolution, and brightness. With a high-resolution scan, you achieve the best detail on your pictures. Remember to preserve your images in an archival-quality format such as TIFF for easy accessibility in the future.
Advanced Film Photography Techniques
Mastering the Art of Long Exposure in Film Photography
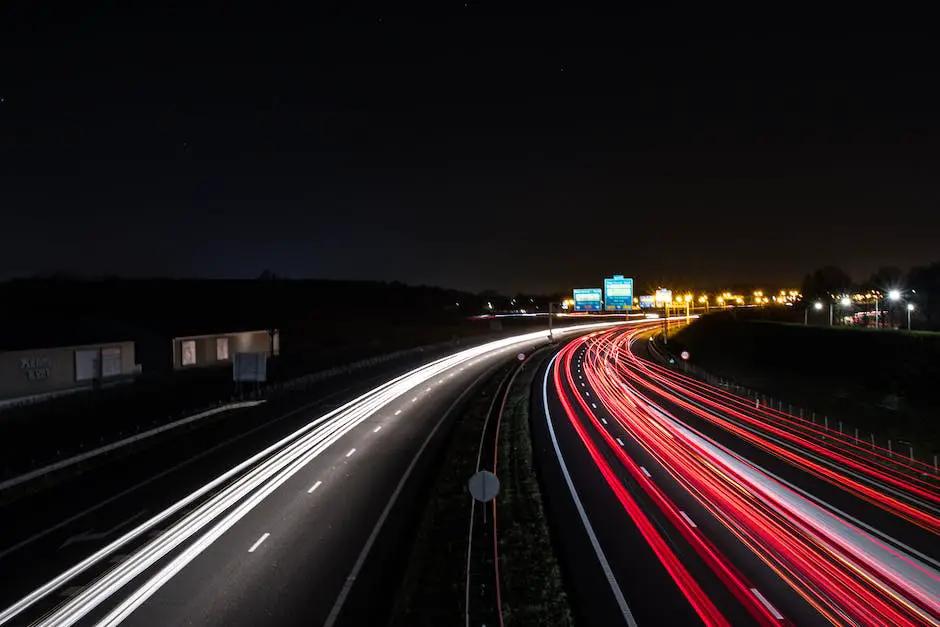
One captivating aspect of photography that you can explore with your newly digitized images is long exposure. This concept has much to do with comprehending how light and time interrelate. The technique primarily involves allowing the camera’s shutter to remain open for an extended period. Consequently, the film comes into contact with more light, effectively creating surreal scenes where all mobile objects appear blurred while non-moving elements stay sharp and focused. You’ll find long exposure very useful in capturing scenes with a subtle sense of motion such as the flow of water, the drift of clouds, traffic light trails, or the passage of stars.
To excel in long-exposure shots, here’s what you need to do; Utilize a sturdy tripod to keep the camera steady during the exposure; select a slower film speed, represented by a lower ISO value; continuously experiment with various shutter speed and aperture settings; consider using a shutter release cable to avoid any shake that might disrupt the exposure. A considerable degree of patience is also of essence since exposures can range from mere seconds to multiple hours.
The Power of Filters in Film Photography
Photography filters enhance, correct, or create dramatic effects in your photographs. For film photography, some of the commonly used filters include:
- Color Correction Filters: These are used to balance the color temperature in a photo, making the tones warmer or cooler.
- Contrast Filters: Used in black and white film photography, they affect the contrast of different colors thus changing darkness or brightness of those colors in the black and white film.
- Neutral Density (ND) Filters: These reduce the amount of light entering the lens and are essential for executing long exposures in bright conditions without overexposing the film.
Always remember that the use of filters should be sparing and subtle — the aim is to enhance, not change the reality.
Experimenting with Double Exposures
Double exposure is a creative technique wherein two or more images are superimposed onto a single frame. It can provide an ethereal, dream-like effect that explores the art of surrealism.
To create a double exposure shot on a film camera, take your first photo and then, instead of advancing the film, take another photo on the same frame. This technique may require a bit of practice to make sure the images align properly and that one image does not overpower the other. Alternatively, some cameras offer a ‘multiple exposures’ feature, making the process simpler.
Always remember that double exposures work best when one of the images has large areas of white or light colors, as white allows for the second image to appear more clearly.
Creating Mood and Stylistic Effects
Crafting a mood or effect in film photography often involves understanding the interplay between light, color, and composition. Soft, diffused light and neutral or cooler colors often create a serene or melancholic mood. In contrast, harsh light and warmer shades can produce drama and tension.
Techniques such as shooting during the Golden Hour (the hour after sunrise or before sunset) can help in creating beautiful, emotional images owing to the unique lighting conditions. Employing techniques like color gels, shooting through textured materials or even using different types of film stock can help in creating a specific mood or stylistic effect.
Film Photography: Trusting Your Unique Vision
Film photography is a craft like no other, rich with possibilities and endless potential for experimentation. As you explore these advanced techniques, always trust your unique vision and allow it to guide your creative pursuits. After all, the ultimate goal should be creating compelling images that reflect your unique perspectives and unattainable through the predictability and perfection of a digital camera.
As your journey into film photography continues, in pursuit of discovering your lens-centric voice, remember that every roll of film is a canvas, each frame an opportunity to tell a story. This narrative may be shaped by the subtle grain, altered by the tones of black and white or painted with a splash of color. Yet, the fundamental composition of your masterpiece is guided by the principles of light and shadow, depth and focus. Embrace the slow, meticulous process of film photography as it ensnares you in its grasp, letting you construct, frame by frame, moments frozen in time. Armed with new insights on the ins and outs of film photography, now is the time to bring forth your narrative, one shot at a time.
Originally posted 2023-10-27 22:05:22.