Embarking on the journey towards mastery in product photography taps into a harmonious blend of art and science. This odyssey of self-discovery allows enthusiasts to explore the fundamentals of light and shadow, delve deep into the enigmatic realms of composition, product staging, shooting angles, and product and prop arrangements. Understanding not just the subject but the space around it, the very canvas of your shot, and the selection of complementary backgrounds breathes life into your product photography. A comprehensive grasp on camera anatomy, lens types, and fundamental settings such as shutter speed, aperture, and ISO further clear the path to create stunning visuals. It’s this deep understanding that simultaneously constructs and deconstructs your perception of this specialized genre of photography.
Understanding Key Aspects of Product Photography
A Journey Into Product Photography
Like a quiet gathering of children at the beginning of summer, eager but hesitant to delve into their newfound freedom, a novice photographer must take a moment to understand their surroundings and tools before sinking into the vibrant and intricate world of product photography. This art involves not just bringing a product to life, but telling its story, painting a picture of its existence in the real world, and presenting it in an irresistible manner to potential customers.
Understanding Light and Shadow
A good product photograph is all about harnessing the power of light, almost as though you were sequestering the brightest, roundest stones to defend against the shadows. Consider light as the main subject of your photo – the product is merely the medium that light interacts with. Understand how different kinds of light (soft light, hard light, side light etc.) can dramatize or soften the product’s features. Pay close attention to shadows; they add depth and create a three-dimensional effect.
Unlocking Composition and Product Staging
Next, think of your product staging as the boisterous play that the children leap into after their quiet discussion. Create an environment, setting up the product and props in inviting or stimulating ways, set for the viewer to interact with. Utilize the rule of thirds, leading lines, and framing to guide your viewer’s eye to the product. These are all essentials of good composition that can transform an ordinary photograph into a testament of creativity and skill.
Mastering Shooting Angles and Product Arrangement
The shooting angle, very much like the playful whispers among the girls by the corner, can insinuate subtleties about the product. A lower angle can make the product appear dominant while a top-down angle (also known as bird’s eye view) can present it in a unique and stylish way. Be mindful of the product and prop arrangement; while the boys may be choosing the shiniest stones, you have to choose the most complementary props that carefully draw attention to the product without overpowering it.
Choosing Complementary Backgrounds
Indeed, even the dusty floor that the younger children play on has a role in enhancing the playground’s atmosphere. Similarly, backgrounds can influence the mood of a product shot. They should complement the product and reinforce the theme of the photograph without attracting undue attention.
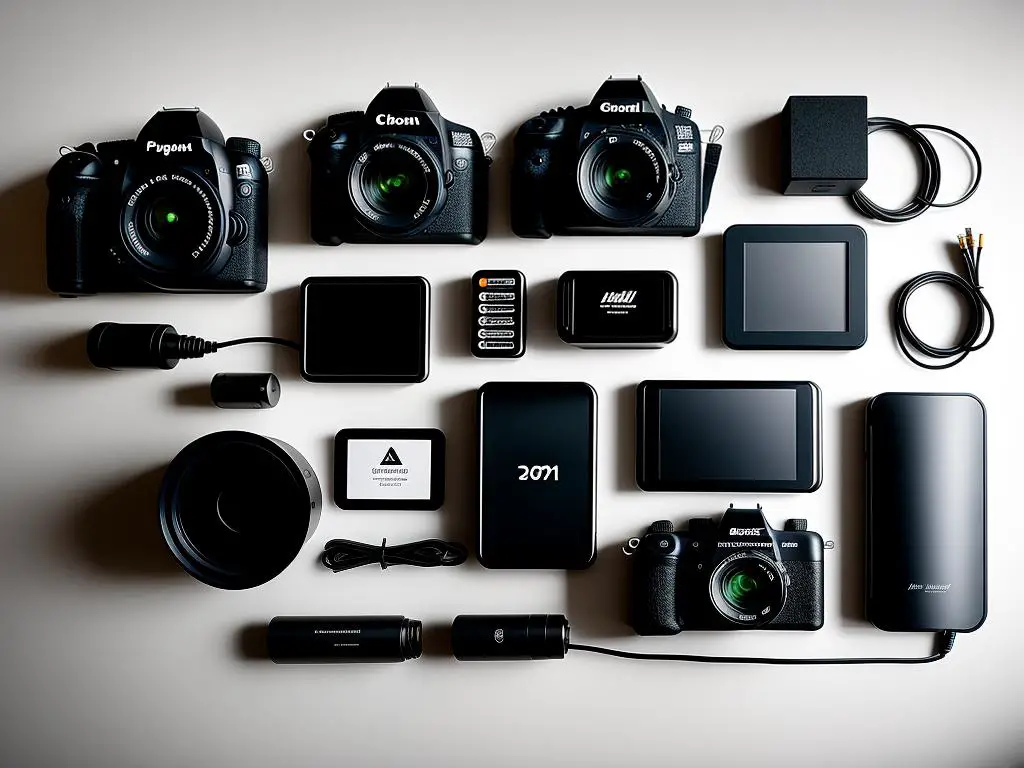
Brushing up on Camera Anatomy and Settings
Lastly, understanding your camera and its settings is akin to understanding the rules of a game. Familiarize yourself with the different parts of the camera, including the lens, aperture, shutter speed, and ISO settings. Manipulating these elements would allow you to control the amount of light that enters your camera and the way your image is captured. For example, a wide-open aperture produces a shallow depth of field (i.e., a blurry background), while a fast shutter speed can help freeze motion.
Take your time, stay patient, and enjoy this creative process. Product photography is not just about achieving the perfect shot, but also about immersing yourself in the engrossing journey of creating art.

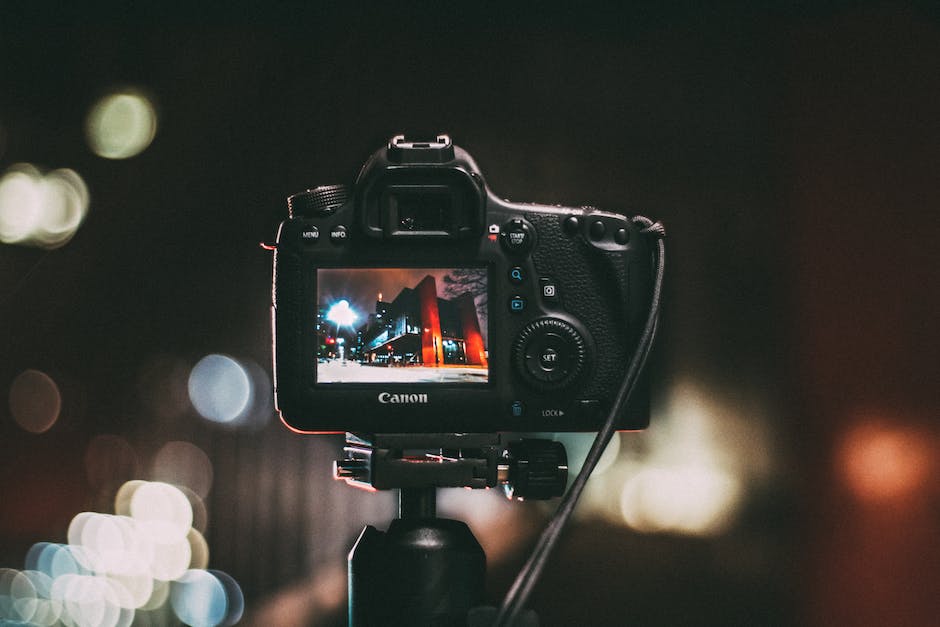
Photo by keithmisner on Unsplash
Working on Lighting Techniques
The Impact of Light in Product Photography
The realm of product photography is one filled with challenges and endless possibilities. One of the most crucial aspects of this field is understanding the role light plays in creating compelling photographs. Light, in its various forms and intensities, can transform an ordinary object into an extraordinary visual story. Let’s delve into the exciting world of lighting techniques in product photography.
Natural vs. Studio Lighting in Product Photography
In product photography, light comes in two primary forms: natural and studio. Natural light, as the name suggests, emanates from the sun. It can create a beautifully soft and, quite obviously, natural look, making it an excellent choice for certain types of products, such as organic products, food, or objects showcasing texture and color.
Studio lighting, on the other hand, requires investment in equipment but allows an unprecedented amount of control over the photographic environment. With studio lighting, you can depict a product the way you want, without being at the mercy of weather conditions or the time of day. Studio lights can be manipulated to create specific effects, highlight specific parts of the product, and generally construct a controlled atmosphere.
Understanding Your Equipment
When working with studio lighting, getting to know your equipment is an absolute must. Here’s a brief overview of some tools you’ll be using frequently:
- Diffusers: Diffusers work by spreading light evenly across your product. They filter and soften the harsh light to mitigate shadows and give your product a balanced look.
- Reflectors: Reflectors bounce light back onto your product, filling in shadows and increasing brightness. They’re especially useful in natural lighting, where you don’t have as much control over the light source.
- Flashguns: Also known as speedlights, flashguns are portable flashes that can illuminate your product directly or bounce light off other surfaces for a more diffused look.
Exploring Light Techniques
Now that we have a basic understanding of the equipment let’s take a look at some common lighting techniques employed in product photography:
Backlighting
Typically, we think about lighting from the front, but backlighting is a powerful tool in a photographer’s arsenal. By illuminating the product from behind, you can create a glow that highlights the shape and silhouette of your item, adding depth and dimension to your photo.
Side Lighting
As the name suggests, side lighting comes from one side of the product. This technique is great for showcasing the texture of a product as it creates a contrast between light and shadow. It adds depth and detail making the product appear more three-dimensional.
Bounce Lighting
Bounce lighting involves redirecting light off a surface—like a wall or a reflector—onto your product. Bounced light is less direct, leading to softer shadows and diffused lighting. This technique is excellent for creating a subtle, natural-looking photo.

Post-production Techniques
Product photography is a critical aspect of marketing any physical product. The quality of the product image can significantly influence a customer’s purchasing decision. The process does not end at just taking pictures; it extends to post-production, where images are optimized to draw customers’ attention.
- Open the photo with Photoshop.
- Under the ‘Image’ tab, select ‘Adjustments’. A dropdown menu full of editing options (like brightness/contrast, levels, color balance) will appear.
- Experiment with these adjustments to improve your photo’s light balance, contrast, and color.
Remember, each photo is unique and may require different adjustment levels.
- Open your image in Photoshop.
- Select the Crop tool from the toolbar, or press C on your keyboard.
- Drag the corners of the crop box to select the part of the image you wish to keep.
- Press the Enter key to apply the crop.
The aim is to remove unnecessary elements from the scene and highlight the product.
- Import your photo into Lightroom.
- Navigate to the Develop module.
- Under the ‘Basic’ panel, adjust the ‘Temp’ slider for temperature and ‘Tint’ for tint.
- Edit exposure, contrast, highlights, shadows, whites, blacks, clarity and vibrance to attain the desired look.
Experiment with each setting until you achieve a balanced, accurate representation of the original product’s colors.
- Open your image in Photoshop.
- Select the Quick Selection tool from the toolbar and use it to select the product.
- After your product is selected, go to ‘Select’ and click on ‘Inverse’.
- Hit ‘Delete’ on your keyboard to remove the background.
This may require more finesse for complex objects; don’t hesitate to zoom in and clean up any rough edges.
- Open your image in Photoshop.
- Choose the Spot Healing Brush Tool from the toolbar.
- Select the area you want to fix, like dust, scratches, or blemishes, and click over it.
- Photoshop will automatically replace the selected area with surrounding texture.
Voila, your product image now looks more appealing!
These post-production techniques combined will ensure your product images look professional and attractive. Practice and explore further to discover more creative ways to enhance your image quality.

Practical Application
The Art of Product Photography
Start by immersing yourself in the world of product photography. Peruse product images online, analyze catalogs, pay close attention to product shots on websites and in marketing materials. Research what works and what doesn’t, then make plans to incorporate successful strategies into your own efforts.
Setting Up Your Product Photography Studio
In the comfort of your home or garage, create a makeshift studio for your product photography. Most importantly, you need good light. It’s okay if you don’t have professional studio lights. You can work wonders with natural light. Use a room with a high amount of natural light coming in, or shoot near a window during the day.
Clear up a space where you can set up your products. You do not need a fancy table as long as you have a clean, uncluttered, flat surface. You might want to use a white paper or fabric for a backdrop, or you could experiment with different textures and colors.
Choosing and Positioning Your Product
Select a range of products to begin your practice. They could be your favorite books, a bowl of fruits, your favorite pair of shoes, or even an intricately designed teapot, for example. Try to select products with different shapes, sizes, and colors for variety.
Align your product thoughtfully on your setup. Use a tripod if you have one to ensure the product remains the focus and that the camera stays steady. Remember, the goal is to highlight the details, texture, and color of the product.
Lighting and Angles
The lighting and angle can make or break a product photograph. Experiment with different types of lighting such as direct, diffused, backlit, and side-lit. Observe the shadows and highlights that each lighting setup creates on your product. Play around with different angles as well. Shoot from above, from the side, and even from below. Try close-ups and wider shots. Each angle offers a distinct perspective on the product.
Reviewing and Improving Your Work
Once you have a variety of shots, spend time reviewing and critiquing your work. Examine each photo for clarity, composition, lighting, and color. Note which photos you like best and try to pinpoint why they are effective. Conversely, be aware of any shots that are less successful and figure out what could be improved.
Ongoing Product Photography Practice
The key to mastering product photography is to practice constantly. With each shoot, you’ll learn more about the best ways to showcase a product. Try out different set-ups, backgrounds, lighting conditions, and post-processing methods. Don’t be afraid to break the rules and think outside the box. With time, you will develop your unique style and become adept at capturing the essence of a product in a photograph.
With each shot, every lighting adjustment, and every pixel transformed in post-production, you forge a unique path towards product photography proficiencies. There is an unparalleled satisfaction in seeing theoretical aspects come alive in a practical context. Embracing software solutions like Adobe Photoshop and Lightroom not only enhance your images but also unlock limitless creativity. As you experiment with different product types, diverse lighting conditions, and varied set-ups, every critique of your work becomes a stepping stone for your continual enhancement. Therefore, your passion and persistent endeavors are the twin flames guiding your way to become a skilled product photographer.
Originally posted 2023-10-29 22:05:19.