Photography is a powerful medium to capture moments, tell stories, and evoke emotions. The heart of photography lies in mastering two key components – aperture and shutter speed. Understanding these two elements will not only improve your skills but will also enable you to take your photography to new heights. In this essay, we will take a deep dive into the world of aperture and shutter speed, unravel their relationship, and learn how to use them effectively in different situations.
Understanding Aperture
Introduction: Understanding Aperture
Aperture is a critical aspect of photography, as it has a significant impact on the images you capture. By learning the basics of aperture, its role in photography, and how it affects depth of field and exposure, you can improve your photography skills and capture better photos in various situations.
The Basics of Aperture
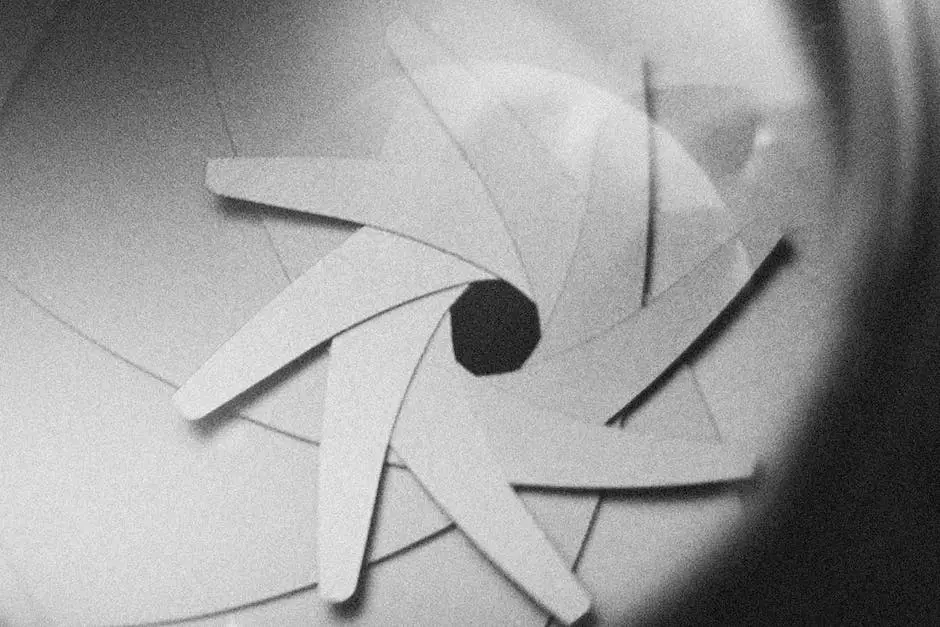
Aperture refers to the size of the opening in a camera lens, which allows light to enter and hit the camera’s sensor. When you capture an image, the aperture either opens up to allow more light in (large aperture) or narrows down to limit the amount of light reaching the sensor (small aperture).
Aperture size is measured using “f-numbers” or “f-stops,” which represent the ratio of the lens’s focal length to the size of the aperture. A lower f-number (e.g., f/1.4, f/2.8) indicates a larger aperture, while higher f-numbers (e.g., f/8, f/16) indicate smaller apertures. It’s essential to remember that a lower f-number corresponds to a more significant amount of light entering the camera, and vice versa for higher f-numbers.
Aperture’s Role in Photography
Aperture impacts two significant aspects of photography: depth of field and exposure.
- Depth of Field: Depth of field refers to the amount of an image that is in focus. A shallow depth of field means that a small portion of the image is in focus, while the rest is blurred. This effect can be achieved by using a larger aperture (low f-number). In contrast, a deep depth of field means that more of the image is in focus, which can be achieved by using a smaller aperture (high f-number).
- Exposure: Exposure is the amount of light that reaches the camera’s sensor and determines whether your image will be too dark, too bright, or correctly exposed. Aperture affects exposure since larger apertures allow more light to enter, resulting in a brighter image, while smaller apertures limit light, resulting in a darker image. Balancing aperture, shutter speed, and ISO settings is crucial to achieve the desired exposure.
Using Aperture for Various Situations
- Portraits: For portrait photography, a large aperture (low f-number) helps separate the subject from the background by creating a shallow depth of field. This focuses attention on the person’s face, while the background becomes softer and less distracting.
- Landscapes: When capturing landscape images, you typically want a deep depth of field to ensure that everything in the scene is in focus. Using a smaller aperture (high f-number) will provide a greater depth of field and keep both foreground and background elements sharp.
- Low Light: In low light situations, a larger aperture (lower f-number) can be helpful since it allows more light into the camera. This can result in a brighter image without relying on longer shutter speeds or higher ISO settings, which may introduce unwanted motion blur or noise.
- Sports or Action Photography: Aperture plays a less critical role in sports or action photography, as the primary concern is often fast shutter speeds to freeze motion. However, using a larger aperture (low f-number) can still be beneficial, as it allows for faster shutter speeds by letting in more light.
The aperture priority mode (denoted by “A” or “Av” on your camera) is an excellent way to practice using different aperture settings. This mode allows you to select your desired aperture, and the camera will automatically adjust the shutter speed to achieve the correct exposure. Experimenting with aperture priority mode and different f-numbers can help you develop a deeper understanding of aperture and improve your photography skills.
Understanding Shutter Speed
Introduction to Shutter Speed
Shutter speed is an essential aspect of photography that plays a crucial role in determining the overall exposure and the ability to capture motion in your images. Learning how to select the correct shutter speed will help you achieve your desired results, whether it’s freezing action or creating the perfect blur in your photos.
Understanding Shutter Speed
Shutter speed refers to the amount of time the camera’s shutter is open to expose the sensor to light. It’s usually measured in fractions of a second (e.g., 1/200, 1/100, and so on) or, in the case of longer exposures, full seconds (e.g., 1″, 2″, 5″, etc.). The longer the shutter is open, the more light gets into the camera and the higher the chance of capturing any movement in the scene as motion blur.
Shutter speed is one of the three main elements (along with aperture and ISO) that make up the exposure triangle. These elements work together to create the right balance of light in your images.
Shutter Speed and Motion Blur
Shutter speed has a strong influence on how motion appears in your photographs. A slow shutter speed will cause moving objects in your scene to appear blurred, while a fast shutter speed will “freeze” the action, making your subjects look sharp and crisp.
To illustrate how shutter speed affects motion blur:
- A 1/2000 shutter speed will produce a crisp, clear image of a moving car or a running athlete.
- A 1/60 shutter speed will likely cause some motion blur in the image, particularly in the moving subject.
- A 2″ shutter speed will create significant motion blur, making moving objects look almost ghostly.
Choosing the Right Shutter Speed
To select the correct shutter speed, you must consider your shooting scenario and what you want to achieve with your photograph. Here are some guidelines for common situations:
Freezing Action
When photographing fast-moving subjects like sports, wildlife, or children, a high shutter speed (1/500 or faster) will help freeze the action and prevent motion blur.
Portraits
For portrait photography, a shutter speed between 1/60 and 1/200 is generally sufficient to capture sharp images, assuming the subject isn’t moving rapidly.
Landscapes
In landscape photography, where there’s often little or no movement, a slower shutter speed (1/30 or slower) can help you achieve a greater depth of field by allowing you to use a smaller aperture.
Low-Light Scenes
When shooting in low light, you might need to use a slower shutter speed to gather enough light for a proper exposure. In these cases, using a tripod to keep the camera steady can help prevent camera shake and blur in your image.
Experiment and Practice
The best way to master shutter speed is to experiment and practice. Try photographing various subjects in different lighting conditions and adjusting the shutter speed to see how it affects the outcome. As you gain more experience, you’ll develop a better understanding of what shutter speeds work best for specific situations and the creative possibilities that come with them.
Aperture and Shutter Speed Relationship
Introduction to Aperture and Shutter Speed
Aperture and shutter speed are two of the most crucial elements in photography, as they directly affect the amount of light that enters your camera and, consequently, the exposure of your images. Understanding the relationship between aperture and shutter speed will allow you to make informed decisions about your camera’s settings, ensuring properly exposed images in different lighting conditions. In this guide, we will explore the connection between aperture and shutter speed, how to use them in conjunction, and gain insights into balancing and compensating for differing lighting conditions.
Understanding Aperture
Aperture refers to the size of the opening in the camera’s lens through which light passes to reach the camera’s sensor. A larger aperture allows more light, while a smaller aperture permits less light. Aperture is represented by “f-stops” or “f-numbers,” which can be confusing because a smaller number indicates a larger aperture (e.g., f/1.8), and a larger number signifies a smaller aperture (e.g., f/16).
In addition to controlling the amount of light, the aperture also affects the depth of field in a photograph. A larger aperture (smaller f-number) will result in a shallow depth of field, with a sharp subject and blurred background, ideal for portraits. A smaller aperture (larger f-number) provides a deeper depth of field, with more elements in focus, suitable for landscapes.
Understanding Shutter Speed
Shutter speed refers to the duration the camera’s shutter remains open, allowing light to reach the camera’s sensor. A faster shutter speed (e.g., 1/1000) means the shutter is open for a shorter period, while a slower shutter speed (e.g., 1/15) lets the shutter stay open for a more extended period.
Fast shutter speeds help to freeze motion, making them ideal for capturing sports or fast-moving subjects. Slow shutter speeds can produce motion blur, which can be creatively used to convey movement or used in low light situations with a tripod to avoid camera shake.
Balancing Aperture and Shutter Speed for Proper Exposure
Aperture and shutter speed work together to determine the exposure of an image. When you increase the aperture size (smaller f-number), you allow more light in, potentially resulting in overexposure. To compensate for this, you would need to increase the shutter speed, reducing the duration the shutter is open and thus decreasing the amount of light hitting the sensor.
Conversely, when you decrease the aperture size (larger f-number), you allow less light in, potentially resulting in underexposure. In this case, you would need to decrease the shutter speed, increasing the duration the shutter is open and allowing more light to reach the sensor.
Adjusting Aperture and Shutter Speed in Different Lighting Conditions
-
Bright lighting conditions: In bright sunlight or when photographing subjects with high reflective surfaces, you will need to use a smaller aperture (higher f-number) to restrict the amount of light entering your camera. This may require a faster shutter speed (e.g., 1/500) to maintain proper exposure and avoid overexposure.
-
Low-light conditions: When shooting in low light scenarios, such as indoor or evening photography, a larger aperture (lower f-number) can help you capture more light. This will often require a slower shutter speed but remember to stabilize your camera on a tripod or other surface, as slow shutter speeds can result in camera shake and blurry images.
-
Action photography: Capturing fast-moving subjects requires a fast shutter speed (e.g., 1/1000) to freeze the motion. To achieve proper exposure with such a high shutter speed, you may need to use a larger aperture (smaller f-number) to let in sufficient light.
-
Landscape photography: For landscapes, prioritize a smaller aperture (larger f-number) to ensure a deeper depth of field where everything in the scene is in focus. Depending on the lighting conditions, you may need to adjust your shutter speed accordingly to maintain proper exposure.
By understanding and experimenting with the relationship between aperture and shutter speed, you will be better equipped to capture high-quality, well-exposed images in a variety of lighting and subject scenarios. As you practice, pay attention to the results you achieve when adjusting these settings, and you’ll continuously improve your ability to capture stunning photographs.
Practice and Application
Introduction
Aperture and shutter speed are key elements of photography, as they control the exposure and, ultimately, the final look of your images. By understanding how to manipulate these settings, you can create stunning photographs with different effects or achieve perfect exposure in various lighting conditions. In this tutorial, we will go through the steps to practice and apply your knowledge of aperture and shutter speed using your camera.
Understand Your Camera
Before you can start taking photos, it’s crucial to become familiar with your camera’s controls and modes. In particular, look for these settings:
- Aperture Priority Mode (usually denoted by an “A” or “Av” on your camera’s mode dial)
- Shutter Priority Mode (usually denoted by an “S” or “Tv” on your camera’s mode dial)
- Manual mode (usually denoted by an “M” on your camera’s mode dial)
These modes will give you more control over your aperture and shutter speed settings, allowing you to experiment and analyze your results.
Aperture Practice
- Set your camera to Aperture Priority mode. This mode will let you control the aperture, while the camera automatically adjusts the shutter speed.
- Choose a subject to photograph, ideally something with multiple levels of depth (e.g., a row of trees or a table with various objects).
- Start with a wide aperture (small f-number, e.g., f/2.8) and take a photo. Notice how the background appears blurry, creating a shallow depth of field.
- Gradually increase the aperture (bigger f-number, e.g., f/8, f/11) and observe how the depth of field becomes deeper, making more objects in the frame appear in focus.
- Analyze your images side by side and take note of the differences in the depth of field. This will help you understand how aperture affects the focus and depth in your images.
Shutter Speed Practice
- Set your camera to Shutter Priority mode. This mode allows you to control the shutter speed while the camera automatically adjusts the aperture.
- Choose a subject with motion, such as a person walking, a car driving by, or water flowing.
- Start with a fast shutter speed (e.g., 1/500 seconds) and take a photo. Notice how the subject appears frozen in time, with no motion blur.
- Gradually decrease the shutter speed (e.g., 1/250, 1/60, 1/15) and observe how the motion blur increases.
- Compare your images and make a note of the different shutter speeds and their effects on motion. This will help you understand how shutter speed affects the portrayal of movement in your photos.
Manual Mode Practice
- Set your camera to Manual mode to gain full control over both aperture and shutter speed.
- Choose a challenging lighting situation, such as a backlit scene or a room with mixed lighting.
- Start by adjusting the aperture and then the shutter speed, aiming for what you believe to be the best exposure for the scene.
- Take a photo and analyze the results. If the image is underexposed (too dark) or overexposed (too bright), adjust the aperture and shutter speed accordingly and take another shot.
- Continue experimenting with different combinations of aperture and shutter speed settings until you achieve the desired exposure and effects.
Continuous Improvement
As with any skill, practice is crucial to mastering aperture and shutter speed. Challenge yourself with different subjects, lighting conditions, and creative effects. Review your images regularly, evaluating the exposure and understanding how aperture and shutter speed affected the final outcome. Through consistent practice and analysis, your ability to create beautiful, well-exposed photographs will continually improve.
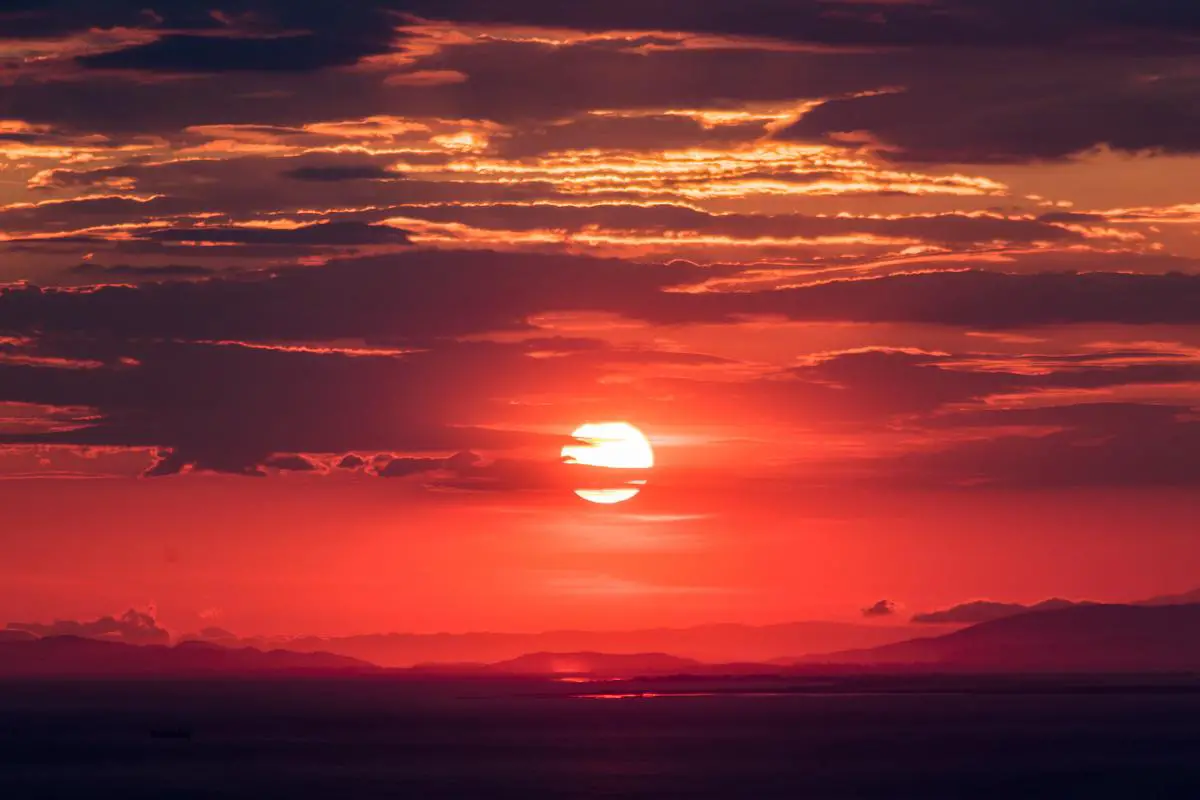
Photo by jeisblack on Unsplash
As you continue to explore the world of photography and hone your skills, always remember that practice makes perfect. Keep experimenting with different aperture and shutter speed settings, analyze your results, and apply what you’ve learned to capture stunning images. Embrace the journey of discovery, and remember that with the right understanding of these key elements, the possibilities are endless. Now, go out there and create some amazing memories through the lens of your camera!
Originally posted 2023-06-15 10:45:05.