Undeniably, GoPro cameras have revolutionized the way we document our adventures. From high-paced sports to tranquil landscapes, this small piece of equipment is a powerhouse of features, not least among them is the ability to overlay speed on your video footages. This fascinating acquisition of data and its representation enhances the reality of the experience encapsulated in the videos. The following discussion delves into the basics of GoPro usage, its GPS functionality, understanding the telemetry and speed overlay, and highlights the post-production process involving video editing and overlay placement. Embrace the thrill, not just with raw footage, but by adding another layer of reality using the speed overlay feature.
GoPro Basics
Understanding Your GoPro Device
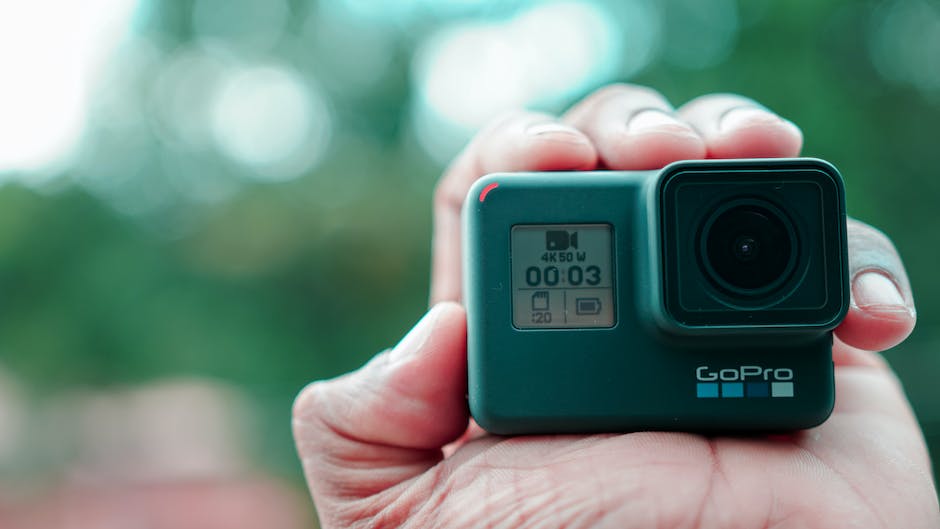
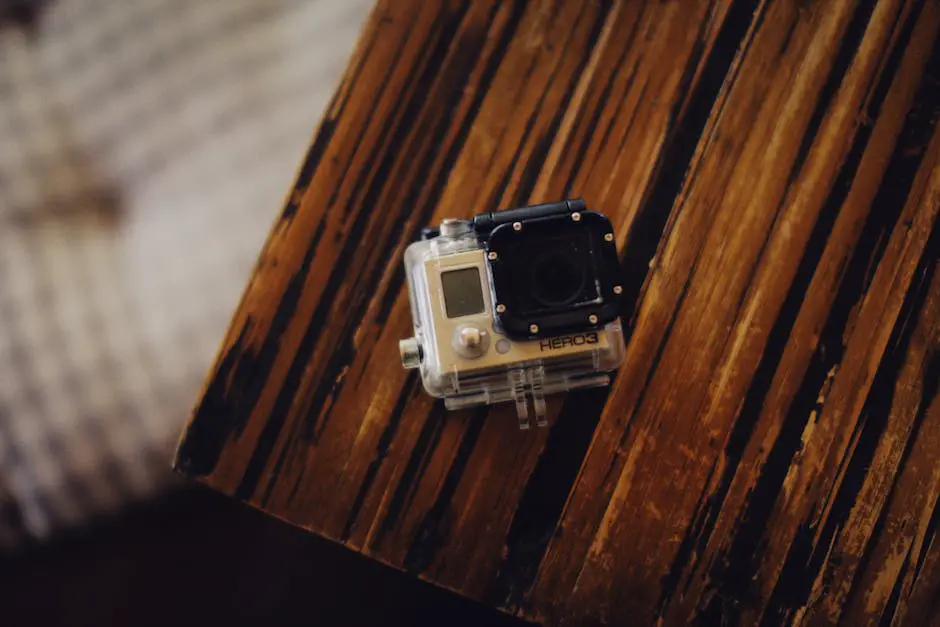
The first step to mastering your GoPro device is to familiarize yourself with its basic functioning. Begin by identifying the various parts of the device. Usually, you will find a power/mode button on the front side, a shutter button on the top, and a small status screen on the front. You might also find WiFi and setting/tag buttons on the side. Grasping where these buttons are and what they do will play a crucial role in navigating the GoPro.
Setting Up Your Camera
Before using your GoPro, ensuring the proper setup is essential for capturing high-quality footage. Start by charging your GoPro fully using a USB cable. Insert the memory card and press the power/mode button to turn on the device. To set the view, navigate to the camera settings and choose from wide, medium, or narrow, according to your preference. Set the frame rate and resolution as per your filming needs.
Using Different Modes
Your GoPro camera comes equipped with multiple modes. The video mode is for capturing standard video footage, time-lapse mode for creating time-lapse videos, photo mode for taking single photos, burst mode for capturing multiple photos within seconds, and night mode for low-light shooting. You can navigate between these modes using the power/mode button and select a mode using the shutter button.
Recording Videos
After setting up the GoPro and familiarizing yourself with its modes, you can now start recording videos. To record a video, navigate to the video mode and press the shutter button. Your GoPro will start recording, and the status display will show the recording time. Press the shutter button again to stop recording. It’s that straightforward!
Setting Up Speed Overlay
With a grasp over the GoPro’s basics, you can now progress to capturing speed overlay footage. To do this, ensure that your GoPro’s GPS is on. Next, record your video as usual. When reviewing the footage in post-production via the GoPro desktop application, select the ‘Gauges’ option and from the dropdown menu, choose ‘speed’. This overlays a speedometer onto your video, using data captured through the GoPro’s GPS system.
Manipulating these basic steps can aid in capturing footage that is not just beautiful to the eye, but also informative and clear – something only GoPros can achieve effectively. So go ahead, explore and experiment with your new device. A world of creative possibilities awaits.
GoPro’s GPS Functionality
Activating GPS Function
The first step in accessing the speed overlay feature is activating the GPS function on your GoPro. This process can differ slightly depending on the model of GoPro you own, but generally, you can do this by accessing the Settings menu on your camera. From there, locate and select the GPS or Wireless Connections setting. Make sure the GPS is turned ‘On’. This will allow your GoPro to start gathering data on your location, speed, and altitude as you record your videos.
Understanding GPS Tracking
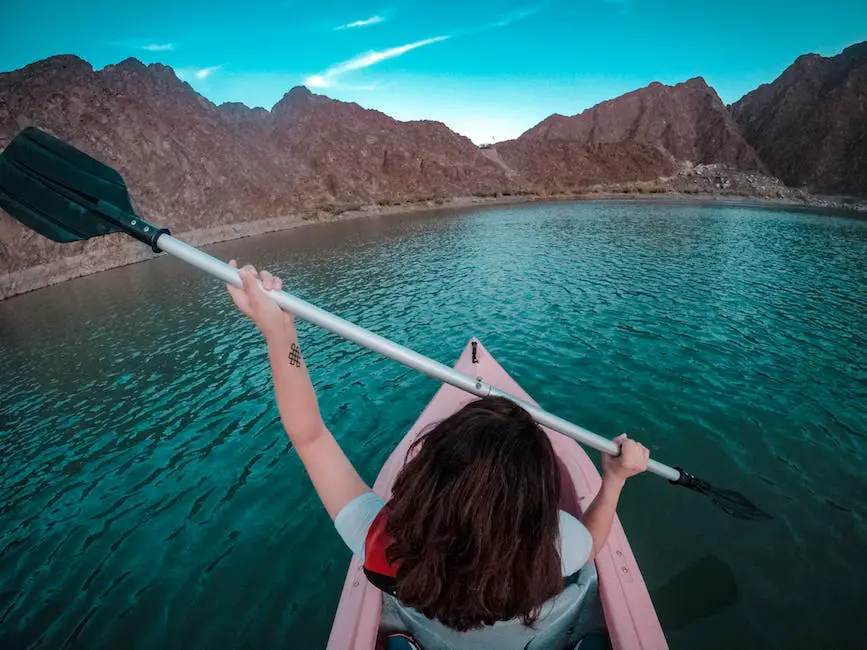
The GPS function on your GoPro records pertinent data like your geographic location, speed, and altitude in real time as you’re filming. This data can be overlaid onto your video during the editing process, adding a level of detail that can seriously enhance your footage. The speed overlay feature, for example, allows your video to showcase how fast you were traveling at any given moment. This is a favorite feature among action sports enthusiasts, adventurers, and hobbyists alike.
Recording With GPS On
Now that you have activated GPS, when you start recording videos, the camera will also begin recording all the GPS data. At the start, it might take a few moments for the camera to acquire a GPS signal, especially if you are in a location with a weak signal. Once the signal is strong, the icon for GPS will stop flashing and remain solid, indicating that the GoPro is successfully recording your GPS data.
Using Speed Overlay in GoPro Quik
To utilize the speed overlay feature, you’ll need the GoPro’s Quik software. Once you’ve finished recording your video, import the footage onto your computer and open it in the GoPro Quik application. In the gauges section, you’ll find the speedometer icon, simply click on it to add the speed overlay to your video. You can even customize when and where this data is shown and select whether speed is shown in miles or kilometers per hour.
Ensuring Optimal GPS Function
Remember, the GPS functionality can be affected by your surroundings. For best results, make sure you have a clear view of the sky and are not surrounded by tall buildings, dense trees, or indoors, as these can interfere with the GPS signal strength and accuracy. It’s important to ensure your GoPro has the latest firmware updates installed to guarantee optimal GPS function and accuracy.
By understanding and using the GPS function on your GoPro, you can add a new level of detail and excitement to your videos. The speed overlay feature allows you to showcase your adventures in an insightful and engaging way.
GoPro’s Telemetry and Speed Overlay
Understanding GoPro’s Telemetry Function
The telemetry function in a GoPro is a feature powered by its built-in GPS. The GPS, once turned on, will start to gather a variety of information, such as your location, altitude, and speed. This data is then stored with the video file when recording, establishing a detailed ‘map’ of your movements and actions during filming. GoPro’s functionality allows you to tap into your adventurous spirit by capturing and storing this real-time data.
How to Use GoPro’s Telemetry
Firstly, you need to ensure that your GoPro’s GPS function is enabled. To do this, swipe down from the main screen, tap ‘Preferences,’ scroll down to ‘Regional’ and toggle on ‘GPS’. When GPS is active and connected, a small icon with a circle will appear on the screen. Once activated, while recording, the GoPro will simultaneously log GPS data related to your movements and actions.
Once the GPS data are gathered, you can view the raw information by locating the .gpx file that’s stored alongside your footage. This file can be opened by various software, but it’s not easy to interpret it without a specific program like GoPro’s Quik app or third-party software like Dashware or RaceRender.
Overlaying Speed onto GoPro Videos
The real magic of GoPro’s telemetry function is in overlaying the recorded data onto your videos. The most straightforward way for you to do this is by using GoPro’s Quik desktop app. Once your video footage is imported into Quik, click on the ‘Adjust Gauges’ icon. Here, you can choose to overlay different telemetry data – speed, in this case. In the speed section, you can customize the look of your speed overlay by choosing different styles and units of measurement. After positioning the overlay where you want it on the video, you can then export the video with the overlay baked in.
Keep in mind that the placement of the overlaid telemetry should be strategic to avoid obscuring important elements within your footage. The speed overlay is a tool that can enhance your storytelling, especially when recording high-speed activities such as racing, cycling, skiing, or flying. With a clear understanding of how GoPro’s telemetry function works and with a little creativity, you can craft thrilling, immersive videos accentuated with real-time speed data.

Video Editing and Overlay Placement
Step 1: Importing Your GoPro Videos
Before we can begin to experiment with speed overlays, the first thing you need to handle is to import your GoPro videos to your computer. Connect your GoPro to your computer using a USB cable, then locate the video files on your GoPro’s memory card. Drag and drop these files into a folder on your computer for easy accessibility. If you prefer, you can also use a card reader to achieve the same purpose.
Step 2: Using the GoPro’s Quik Desktop Application
Once the files are safely on your computer, it’s time to open your GoPro’s Quik desktop application. If you don’t have it installed already, download the software from the official GoPro website.
Now, from the home screen of Quik, locate and click on the media tab. Here, you’ll find the ‘add media’ option. Use this function to import the videos you moved to your computer earlier.
Step 3: Add Overlays
When the video is successfully imported into GoPro’s Quik application, it’s time to add some overlays. The Quik has a built-in option for this purpose, labeled as ‘Adjust Gauges’. By navigating the ‘Gauges’ feature in the editing tab, select ‘speed’ to introduce a speed overlay to your video. You can then adjust the size and position of the overlay.
Step 4: Positioning the Overlays
Positioning your speed overlay correctly is essential to preserving the visual integrity of your video. A poorly placed overlay can obstruct crucial moments in your footage or make things much harder to see.
The lower corners tend to be the go-to positions for most overlays since they’re less likely to interrupt the viewer’s focus. But, remember to always preview your final product and adjust the placement to suit your specific video’s needs.
Step 5: Saving and Finishing Up
Once you’re satisfied with your overlay’s positioning, save your work. After saving, you can further tinker with your overlay or move on to the next clip. If you’re finished, you can export your video to share it with the world.
Bonus Tips
- Start with a single, simple overlay to get a feel for how they impact your video.
- Keep your overlays relevant to the video content.
- Be mindful about your overlay positioning, ensuring that they don’t distract from the main video content.
- Continually experiment and get creative with ways you can utilize overlays.
Mastering the speed overlay feature in your GoPro camera offers a myriad of possibilities in video creation. It immerses your audience deeper into the experience by providing real-time data, such as speed, embedded into your eye-catching footages. To achieve this proficiently, understanding GoPro basics and GPS functionality is key. Acquiring knowledge of GoPro’s telemetry function and the art of video editing further enhances your ability to create compelling narratives out of your adventures. The tools are within your grasp, it’s time to venture out, record your explorations and unfold stories that go beyond visual stimulation by including insightful speed overlays.
Originally posted 2023-08-26 02:09:41.