
Setting up a GoPro dash cam can greatly enhance your driving experience, providing you with a comprehensive record of your journeys and capturing memorable moments on the road. This step-by-step guide will walk you through understanding your specific GoPro dash cam model, assembling and powering the device, setting up the GoPro app, configuring camera settings, adding GPS and speed information, mounting accessories for optimal visibility, reviewing and editing footage, troubleshooting, and maintaining your camera for long-lasting performance.
Understanding Your GoPro Dash Cam Model: A Step-by-Step Guide
Learning about the different GoPro dash cam models will allow you to make an informed decision when purchasing a dash cam that best suits your needs. In this guide, we will discuss the various GoPro dash cam models, their specific features, and the compatibility of accessories and mounts.
Step 1: Familiarize yourself with the available GoPro dash cam models
GoPro provides numerous models designed for various purposes. Below are some popular options to consider for dash cam usage:
- GoPro HERO9 Black
- GoPro HERO8 Black
- GoPro HERO7 Black
- GoPro MAX
Step 2: Compare the features of each GoPro model
Understanding the distinct features between the models will help you decide which one is right for your needs. Some key features to consider are:
- Video Resolution: Higher resolution offers better video quality. The HERO9 Black, for example, offers up to 5K video resolution, whereas the HERO7 Black provides up to 4K.
- Image Stabilization: Stabilization technology reduces shakiness in recorded footage. The HERO9 and HERO8 both feature HyperSmooth 3.0, while the HERO7 has HyperSmooth 2.0.
- Battery Life: Longer battery life allows you to record more footage. The HERO9 Black has a 41% larger battery compared to the previous models.
- Field of View: Wider FOV captures more of the scene. The GoPro MAX has a 360-degree FOV in addition to the regular wide view.
- Connectivity: Wi-Fi and Bluetooth capabilities allow for easier control and sharing of footage.
Step 3: Explore available GoPro mounts and accessories for dash cam use
Certain accessories and mounts will make setting up your GoPro dash cam easier. Some popular options include:
- Suction Cup Mount: This mount attaches to your windshield or dashboard, allowing your GoPro to record from various angles.
- Adhesive Mount: This mount is suitable for attaching your GoPro to a flat surface on your dashboard.
- GoPro USB Power Adapter: This adapter connects to your car’s 12V power outlet, providing continuous power to your dash cam.
- GoPro Protective Housing: A protective housing will shield your camera from dirt and debris while in use.
Step 4: Check compatibility between your chosen GoPro model and accessories
It’s crucial to make sure your chosen accessories and mounts are compatible with your specific GoPro model. You can verify compatibility on the GoPro website or through product descriptions on third-party retailers.
Step 5: Purchase your preferred GoPro dash cam model and accessories
Once you have researched and understood the differences between the various GoPro models, their features, and the necessary accessories, proceed to purchase your preferred choice. Following this guide will help ensure that you select the best model based on your needs, and have a seamless experience setting up and using your new GoPro dash cam.
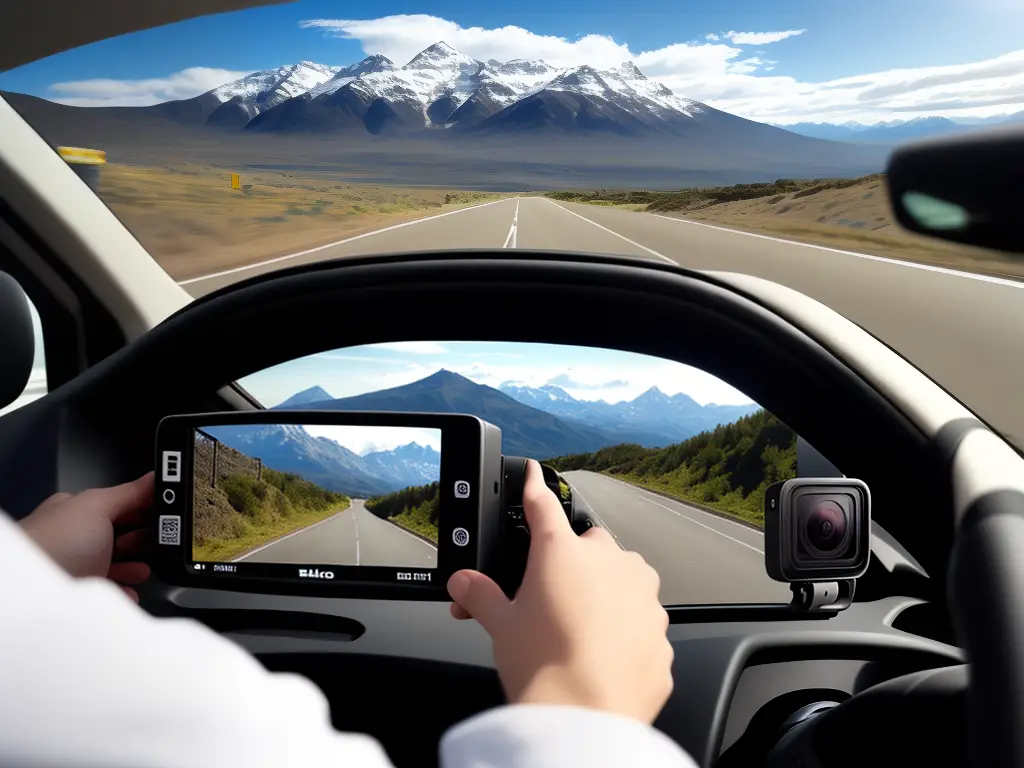
Setting Up Your GoPro Dash Cam
Assembling your GoPro dash cam is a simple process that can be done with a few easy steps. Follow this guide to set up your dash cam and start recording your drives in no time!
-
Prepare your GoPro camera: First, make sure your GoPro camera is fully charged and that a compatible memory card is inserted.
-
Assemble the suction cup mount: The suction cup mount is what will attach the GoPro camera to the windshield of your car. The mount generally consists of a suction cup, an arm, and the attachment for the camera. If it is not already assembled, connect the arm to the suction cup and tighten it securely.
-
Attach the GoPro to the mount: The GoPro camera has a holder which will slide into the attachment on the arm of the suction cup mount. Slide the GoPro holder into place and securely fasten it using the provided thumbscrew. Make sure it is tightened enough to hold the camera in place while driving.
-
Clean the windshield: Before attaching the mount to the windshield, ensure that the area where you plan to place the suction cup is clean and dry. This will ensure that the suction cup has a strong grip on the windshield.
-
Attach the mount to the windshield: With the suction cup mount assembled and the windshield clean, press the suction cup firmly onto the windshield, making sure there are no air bubbles trapped underneath. Once the suction cup is in place, flip the lever (if your mount has a lever) to create a stronger vacuum seal.
-
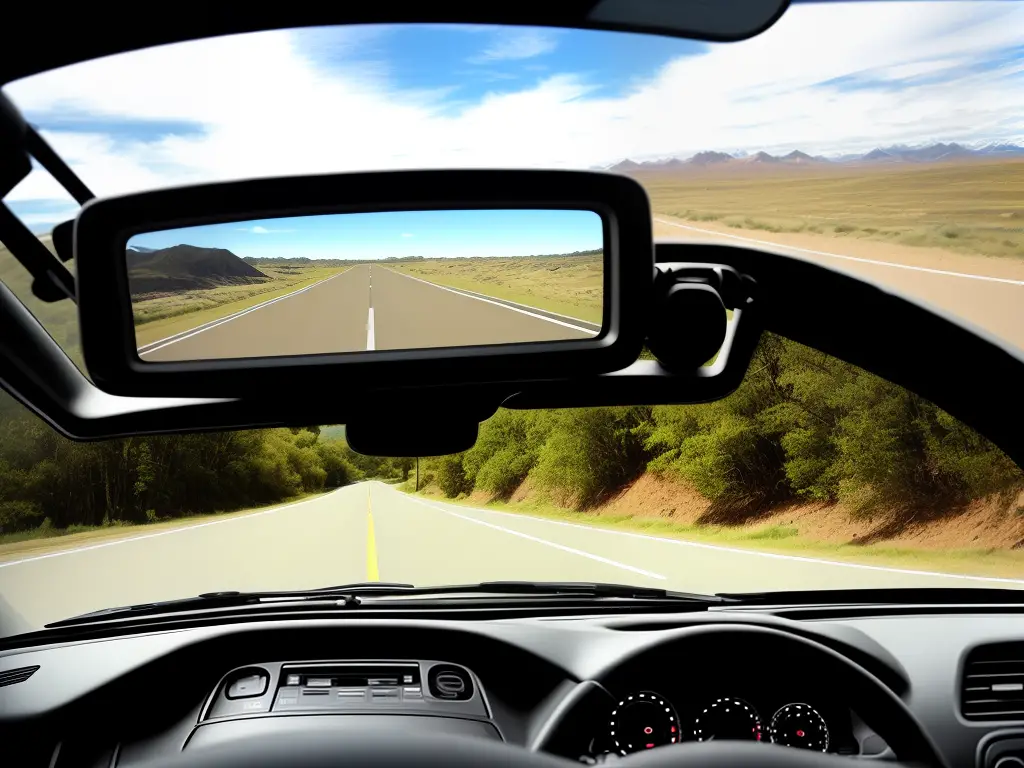
Position the camera: Adjust the GoPro camera so it faces the direction you want to record while driving. Generally, you’ll want it to point straight ahead to capture the road in front of you. Adjust the arm and angle of the camera until you achieve the desired position, then securely tighten all the adjustment points to ensure the camera remains in place.
-
Connect the power source: To ensure your GoPro can record for extended periods without running out of battery, connect it to a power source. You can use a power bank or connect it to your car’s USB or 12V port using a compatible cable. If you’re using a cable, make sure it doesn’t obstruct your view or interfere with driving.
-
Turn on and test the camera: With everything set up, turn on your GoPro and start recording a test video to make sure it’s functioning properly. Check the alignment and positioning of the camera to ensure it’s capturing the desired view of the road.
-
Enable loop recording: In the GoPro settings, turn on loop recording. This will ensure that when the memory card fills up, the camera will automatically overwrite the oldest videos, allowing you to continuously record without having to manually delete old footage.
You have now successfully set up your GoPro dash cam! Drive safely and enjoy peace of mind knowing your journeys are being captured in high-quality video.
Setting Up Your GoPro Dash Cam: A Step-by-Step Guide
GoPro dash cams are versatile and user-friendly, enabling you to capture the road ahead and document important moments during your drive. Before you can start using a GoPro dash cam, it is important to ensure the camera is powered properly. In this guide, we will outline the steps to set up your GoPro dash cam and explore different power options available for this device.
Step 1: Choose a GoPro Dash Cam
Select a GoPro dash cam model that best suits your needs. GoPro HERO models are commonly used as dash cams, including the HERO7, HERO8, and HERO9. Each camera features unique specs and capabilities, so choose the one that matches your requirements and budget.
Step 2: Attach the GoPro to the Windshield Mount
Purchase a suitable windshield mount for your GoPro dash cam, like the GoPro Suction Cup Mount or a third-party alternative. Attach the suction cup firmly to the windshield, and then connect the GoPro to the mounting arm. Make sure the camera is properly secured and facing the right direction.
Step 3: Turn on the GoPro Dash Cam
Press the power button on your GoPro to turn it on. You should see the LED status light up, indicating that the camera is ready to use.
Power Options for Your GoPro Dash Cam
Now, let’s explore the different power options for your GoPro dash cam.
Option 1: USB Power Supply
You can utilize the USB-C cable that comes with your GoPro camera to power it through your vehicle’s USB port. If your vehicle lacks a USB port, you can use a 12V USB car charger, which plugs into your vehicle’s cigarette lighter or 12V power outlet. Simply connect the USB-C cable to your GoPro and the other end to the USB port or car charger.
Option 2: Power Bank
If you want a more portable power source, consider using a power bank. Ensure that the power bank has an output of at least 3.5V and a sufficient capacity to last the duration of your drive. Connect the USB-C cable to the GoPro camera and to the power bank.
Option 3: Hardwiring the Camera to Your Vehicle
For a more permanent power solution, you can hardwire your GoPro dash cam to your vehicle’s electrical system. This process involves connecting the GoPro to a fuse box using a hardwiring kit. It is advisable to have a professional do the hardwiring, as it requires knowledge of your vehicle’s electrical system and can potentially void car warranties if done improperly.
Step 4: Configure Settings and Start Recording
Once your camera is powered, access the settings menu and configure the video resolution, frame rate, and recording loop mode. You can also enable voice control or use the GoPro app to control your dash cam remotely. When you’re ready, press the record button to start capturing your drive.
Conclusion:
Now you know the various power options for your GoPro dash cam and how to set it up. Choose the power solution that works best for you and enjoy the added security and documentation benefits that come with using a dash cam in your vehicle.
Setting Up Your GoPro App: A Step-by-Step Guide
The GoPro app lets you control your camera remotely, access your cloud-stored videos and photos, and easily share your favorite moments with friends and family. Follow these steps to set up the GoPro app on your phone and get the most out of your GoPro Dash Cam.
Step 1: Download the GoPro App
- Open the Google Play Store (for Android users) or the App Store (for iOS users) on your smartphone.
- Search for “GoPro App” in the search bar.
- Locate the GoPro App in the search results and tap on it.
- Tap the “Install” button for Android users or “Get” button for iOS users. Wait for the app to download and install on your device.
Step 2: Turn On Your GoPro Camera and Enable Wireless Connections
- Press and hold the “Mode” button on your GoPro camera until it turns on.
- Press the “Menu” button to navigate the settings options.
- Locate the “Wireless Connections” option and select “On” to enable the feature.
Step 3: Connect Your Smartphone to Your GoPro
- Open the GoPro App on your smartphone.
- If it’s your first time using the app, sign up for an account or log in using your existing GoPro account credentials.
- Tap the “Add Camera” or “Connect Your Camera” button on the app’s home screen.
- Follow the on-screen prompts to allow the app access to your device’s camera, notifications, location, and files. These permissions are necessary for the app and camera to communicate and share media.
- On the “Choose Your GoPro” screen, select your GoPro camera model from the list provided.
- Follow the on-screen instructions to connect your smartphone to your GoPro camera. This process usually involves connecting your smartphone to your GoPro’s Wi-Fi network. The app will provide instructions, including necessary passwords.
Step 4: Navigating the GoPro App Features and Settings
Once your GoPro camera is connected to the app, you can access numerous features and settings, such as:
- Camera Control: Gain access to your GoPro’s settings and features, such as video and photo modes, time-lapse, burst, and night mode. You can also view a live preview of what the camera is capturing in real-time.
- Media Library: Browse, view, and organize your saved photos and videos stored on your GoPro, SD card, or cloud storage. You can also download and save media directly to your phone for easy sharing.
- Sharing: Instantly share your favorite photos and videos with friends, family, or on social media platforms such as Instagram, Facebook, and more.
- GoPro Plus: Access GoPro Plus features if you have a subscription, including unlimited cloud storage, discounts on GoPro products, and more.
- App Settings: Customize the app settings to your preferences, such as notifications, video quality, storage locations, and more.
Setting Up Your GoPro Dash Cam: A Step-by-Step Guide
To use your GoPro as a dash cam, it’s essential to understand the specific settings required for optimal functionality. Here’s a step-by-step guide to set up your GoPro with the best possible settings for dash cam use.
Step 1: Select the Right GoPro Model
For an effective dash cam set up, we recommend using a GoPro HERO5 and later models, as these have features such as image stabilization, which provide better quality videos for this purpose.
Step 2: Update GoPro Firmware
Ensure your GoPro has the latest firmware to optimize its performance and compatibility. You can update the firmware using the GoPro app or by visiting the official website: https://gopro.com/update
Step 3: Mount Your GoPro
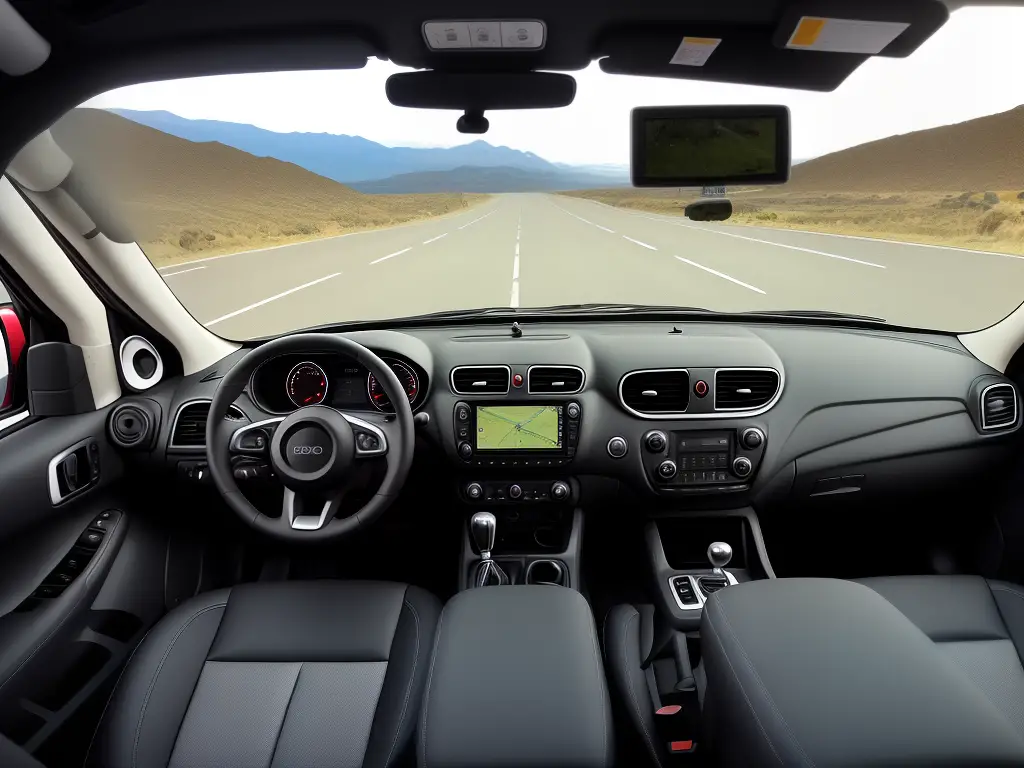
Mount your GoPro securely on your vehicle’s windshield or dashboard using a suction cup mount or adhesive mount. Make sure that the camera angle captures a broad view of the road ahead and doesn’t obstruct your view as a driver.
Step 4: Power Supply
To keep your GoPro continuously recording, connect it to your vehicle’s USB power source or use a car charger adapter in the cigarette lighter port.
Step 5: Configuring Video Settings
Now that your GoPro is mounted and powered, it’s time to configure the video settings for optimal dash cam use.
- Resolution: Set the resolution to 1080p. This is a good balance between video quality and file size for dash cam use.
- Frame Rate: Select 30fps (frames per second) for smoother video playback.
- Field of View (FOV): Choose a wide or linear FOV to capture the broadest view of the road ahead without too much distortion.
- Image Stabilization: Enable this setting if your GoPro model supports it, as it helps reduce motion blur and shakiness in your videos.
Step 6: Configure Additional Camera Settings
1. Looping Video: Navigate to the looping video setting and turn it on. This allows your GoPro to record continuously in short intervals (e.g., 5, 20, or 60 minutes). When the memory card is full, the oldest recorded files will be automatically overwritten, ensuring continuous recording.
2. Auto Turn-On/Off: Using the GoPro app or your camera’s menu, enable the automatic turn-on and turn-off functionality; this will ensure your camera starts recording when your vehicle is turned on and stops when it is turned off.
3. Date and Time Stamping: Ensure your GoPro has the correct date and time settings so that it properly timestamps your videos for easy identification and future reference.
Step 7: Insert a Memory Card
Use a high-quality microSD card (Class 10 or UHS-I) with a minimum of 64GB capacity to store your videos. Format your memory card within the GoPro settings before use.
Now that your GoPro is configured for optimal dash cam use, you are ready to hit the road with an extra layer of security and the ability to capture memorable moments on your journeys. Remember to periodically review and save important footage to prevent it from being overwritten.
Adding GPS and Speed Information to Your GoPro Dash Cam Footage: A Step-by-Step Guide
Before we begin, ensure you have a GoPro HERO model that supports GPS data (such as HERO5 Black or newer). Follow these steps to add GPS and speed information to your footage:
-
Enable GPS on your GoPro Camera:
- Turn on your GoPro camera.
- Swipe down from the top of the screen to enter the settings menu.
- Tap on the ‘Preferences’ option (represented by a gear icon).
- Scroll down and tap on ‘Regional’.
- Toggle the ‘GPS’ switch to ‘On’.
- Return to the main screen of your GoPro camera.
-
Record your footage:
- Mount your GoPro camera securely to your vehicle’s dashboard or windshield using a suction cup mount, ensuring it has a clear view of the road ahead.
- Press the ‘Record’ button on your camera to start recording your drive.
- Your GoPro will now record the GPS and speed data along with the video footage.
-
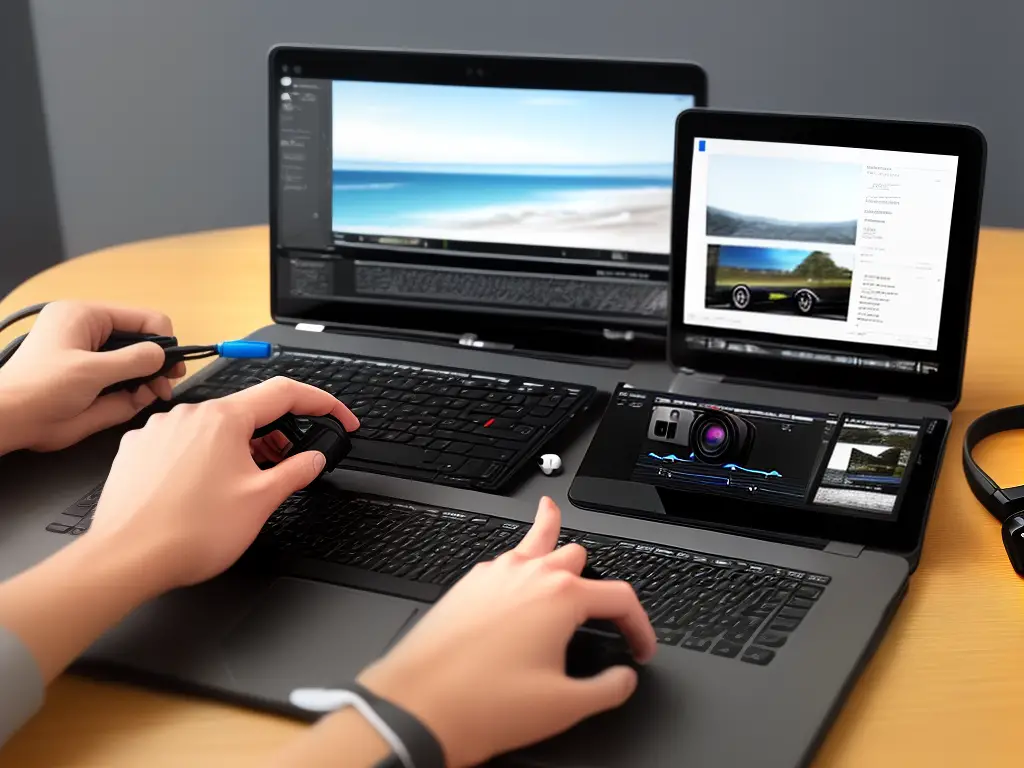
Transfer your footage to your computer or phone:
- Connect your GoPro camera to your computer or phone using the provided USB cable.
- Download the GoPro Quik app on your computer or phone if you have not done so already.
- Open the GoPro Quik app, and import the recorded footage from your camera into the app.
-
Add GPS and speed overlays to the video:
- In the GoPro Quik app, select your recorded footage from the media library.
- Click the ‘Adjustments’ tab, followed by ‘Add Overlay’.
- Choose the GPS and speed data overlay options (e.g., ‘Speedometer’ or ‘GPX Path’).
- Drag and drop the overlays onto the video timeline, adjusting the position and size as desired.
- Repeat the process for adding any additional overlays you wish to include.
-
Export your video with GPS and speed information:
- Once you are satisfied with your overlay placement, click on ‘Export’ in the GoPro Quik app.
- Choose your desired video resolution and format, and then click on ‘Save’.
-
Share your video:
- You can now share your video online or store it on your computer or phone with the added GPS and speed data.
By following these instructions, you can create a comprehensive driving record with GPS and speed information using your GoPro dash cam. Enjoy capturing your journey and having a detailed account of your drive!
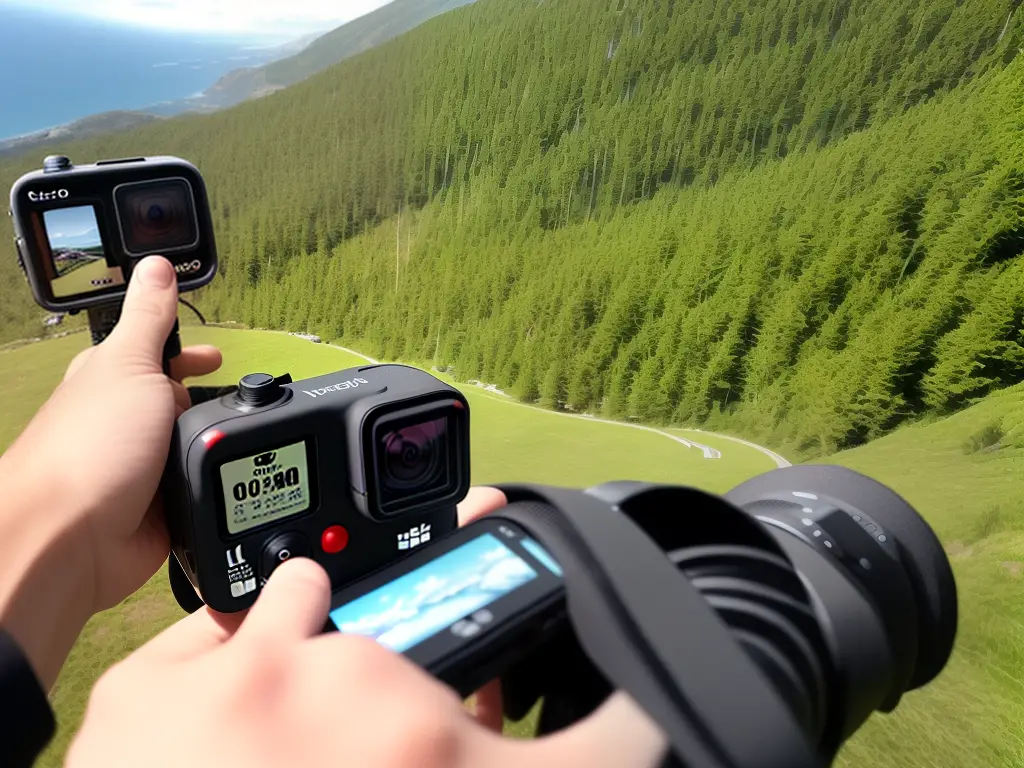
Setting Up Your GoPro Dash Cam: A Step-by-Step Guide
To ensure you get the most out of your GoPro dash cam, it’s important to explore various mounting options and accessories that can both improve visibility and minimize obstruction. Follow this step-by-step guide to set up your GoPro dash cam with the best mounting accessories for optimal visibility:
- Choose the right GoPro accessories: Before deciding on the best mounting option for your GoPro dash cam, make sure you have the right accessories, including:
- GoPro camera (GoPro HERO models work best as dash cams)
- GoPro suction cup mount
- GoPro J-hook or swivel mount
- GoPro frame or protective housing
- GoPro adapter (if needed)
- MicroSD card (Class 10 or higher)
- Select the best mounting location: The optimal location for mounting your GoPro dash cam will depend on your car’s windshield and dashboard design. Generally, the best position is the middle of the windshield behind the rearview mirror. This provides a wide-angle view of the road, while ensuring the camera doesn’t obstruct your line of sight. To comply with local regulations, make sure the camera doesn’t block more than a 5-inch by 5-inch area on the driver’s side or a 7-inch by 7-inch area on the passenger’s side.
- Clean the mounting area: Before attaching any mount, ensure the mounting area is clean and free of dust, grime, or residue. Use a glass cleaner and a microfiber cloth to wipe down the windshield where you plan to attach the suction cup mount.
- Assemble the mounting accessories: Attach the GoPro camera into the frame or protective housing, and connect the J-hook or swivel mount to the camera. If your GoPro requires an adapter, attach it to the camera as well.
- Attach the suction cup mount: Press the suction cup firmly onto the chosen mounting location, ensuring there are no gaps or air pockets under the suction cup. Press down on the lock lever to secure the suction cup in place.
- Attach the GoPro camera: Connect the J-hook mount or swivel mount to the suction cup mount’s arm. Adjust the mount’s arm to position the GoPro camera with the best view of the road, ensuring that it doesn’t impede your visibility while driving.
- Adjust the camera angle: Use the swivel or J-hook mount to fine-tune the GoPro’s angle, ensuring that it captures a clear and wide view of the road without showing too much of your car’s hood. Test its view at various times of day and in different lighting conditions to ensure optimal visibility.
- Check for obstruction: Sit in the driver’s seat and make sure the GoPro and its mount don’t obstruct your view of the road. Adjust the mounting location or camera angle if necessary.
- Insert the MicroSD card: Insert a compatible MicroSD card into your GoPro camera to store your footage. Ensure the card is a Class 10 (or higher) for optimal video recording.
- Power up your GoPro dash cam: Plug the GoPro into your car’s USB port or a compatible power source using a compatible cable. Make sure your GoPro turns on and starts recording when your car is turned on. If not, adjust the GoPro’s settings as needed.
Now your GoPro dash cam is set up with the best mounting accessories for optimal visibility and minimal obstruction. Enjoy safe driving and quality recordings of your journey!

Reviewing and Editing Your GoPro Dash Cam Footage: A Step-by-Step Guide
To effectively review and edit your GoPro dash cam footage, you will need to transfer, view, and edit your clips using GoPro software. Here’s a step-by-step guide on how to do this, along with exporting and sharing your edited footage.
Step 1: Transfer your footage
- Turn off your GoPro.
- Connect your GoPro to your computer using the USB cable provided.
- Turn on your GoPro.
- Your computer should automatically detect the GoPro as a storage device.
- Open the device’s folder and locate the “DCIM” folder containing your videos.
- Copy the video files you want to edit and transfer them to a preferred location on your computer.
Step 2: Install GoPro software (Quik)
- Visit GoPro’s website (www.gopro.com) and download the latest version of the Quik app: https://gopro.com/en/us/shop/softwareandapp/quik-%7C-desktop/GoPro-Desktop-App.html
- Install the software on your computer following the on-screen instructions.
Step 3: Import your footage into Quik
- Launch the Quik app on your computer.
- Click on the “+” icon in the top-left corner.
- Browse and select the video files you transferred earlier.
- Click “Open” after selecting the files to import them into the Quik app.
Step 4: View and edit your footage
- In the Quik app, locate the video clip you want to edit.
- Double-click on the video to start playback.
- Use the buttons below the playback screen to pause, rewind, and fast forward your footage.
- Click on the “Scissors” icon to trim your video. Move the sliders to select the start and end points of your clip.
- Add highlights to your video by clicking the “Highlight” button (star icon) during playback. This will mark important moments in your footage for quick reference.
- Use the editing tools on the right side of the screen to adjust the video’s speed, exposure, contrast, and other settings.
Step 5: Save your edited footage
- Once you’re satisfied with your edits, click the “Save” button in the top-right corner of the Quik app.
- Choose a file format and quality for your edited video.
- Click “Export” and select a location on your computer to save the exported video file.
Step 6: Share your edited footage
- After exporting your edited video, you can share it directly from the Quik app.
- Select the “Share” button (arrow icon) next to your exported video.
- Choose your preferred sharing platform (i.e., YouTube or Facebook).
- Follow the on-screen prompts to log in and upload your video to the selected platform.
By following this guide, you will be able to review and edit your GoPro dash cam footage effectively. Utilize the various features of the GoPro software to create a polished and informative video that can be easily shared with others.
Troubleshooting Common Issues: GoPro Dash Cam
When setting up and using your GoPro dash cam, you may encounter some common issues during the installation or usage process. Here are some of these problems, along with methods for resolving them.
1. Camera not turning on:
- Ensure the camera is properly charged or connected to a power source, such as your car’s USB port or 12V socket, using a compatible cable.
- Check for any damages to the cable, and replace it if necessary.
- If the camera still doesn’t turn on, try resetting it by pressing and holding the power button for about 10 seconds.
2. Poor video quality:
- Ensure the camera lens is clean and free from any smudges or dirt. Clean the lens with a soft, lint-free cloth if necessary.
- Adjust the camera settings to the highest possible resolution and frame rate, considering your specific GoPro model.
- Ensure the camera is securely mounted and not shaking or vibrating during driving.
3. Camera not recording:
- Check if the microSD card is properly inserted and has sufficient storage space available. Format the card in the camera if needed.
- Make sure the camera is set to loop recording or has enough space to record new videos. Change the recording settings if necessary.
- If the problem persists, try using a different microSD card.
4. Camera not connecting to the smartphone app:
- Ensure your GoPro camera and smartphone are compatible with each other and that you have the latest version of the GoPro App installed on your phone.
- Make sure your smartphone’s Bluetooth and Wi-Fi settings are turned on.
- Turn off both the camera and smartphone, then turn them back on and try reconnecting.
- If the issue persists, try resetting the camera’s Wi-Fi settings according to the instructions provided in the user manual.
5. Audio issues:
- Make sure the camera’s microphone and speaker are both clean and unobstructed.
- Adjust the audio settings in the camera, such as enabling or disabling wind noise reduction or setting the microphone level.
- If the problem continues, try updating the camera’s firmware to the latest version as instructed in the user manual.
6. GPS not working:
- Ensure your GoPro model is compatible with GPS functionality.
- Turn on the GPS in the camera settings.
- Ensure a clear line of sight to the sky so that the camera can establish a proper connection to GPS satellites.
- If the GPS still doesn’t work, try resetting the camera settings or updating the firmware.
7. Camera overheating:
- Turn off the camera and let it cool down for a few minutes before attempting to use it again.
- Ensure the camera is not in direct sunlight and operating in a well-ventilated area.
- Reduce the recording resolution, frame rate, or other power-intensive settings.
- If the problem persists, contact GoPro support for further assistance.
In conclusion, understanding and addressing these common issues will ensure a smooth installation and usage experience with your GoPro dash cam. If you still experience difficulties after troubleshooting, refer to your camera’s user manual or contact GoPro support for help.
GoPro Dash Cam: Maintenance and Care for Long-lasting Performance
To ensure that your GoPro dash cam functions efficiently and serves you for a long time, proper maintenance and care is essential. In this guide, you will learn the vital steps required to take care of your GoPro dash cam and keep it in optimal working condition.
Step 1: Clean the exterior of the camera
- Make sure your GoPro dash cam is powered off and unplugged from any external power source.
- Use a soft, lint-free cloth to gently wipe the exterior of the camera.
- For stubborn dirt or fingerprints, slightly dampen the cloth with water and gently clean the affected area.
- Avoid using harsh chemicals or solvents, as these can damage the camera’s exterior and internal components.
Step 2: Clean the camera lens
- Use a lens cleaning tissue or a microfiber cloth specifically designed for camera lenses.
- Gently wipe the lens in a circular motion, starting from the center and moving outwards.
- Avoid using abrasive materials or excessive force when cleaning the lens, as this can result in scratching or other damage.
Step 3: Remove and clean the SD card
- Power off your GoPro dash cam before removing the SD card.
- Press the SD card gently to release it from the slot, and then carefully slide it out.
- Clean the SD card’s metal contacts using a clean, dry cloth. Do not touch the contacts with your fingers, as the oils from your hands can cause damage.
- Reinsert the SD card into the GoPro dash cam when finished cleaning.
Step 4: Keep your camera’s software updated
Regularly updating your GoPro dash cam’s software ensures that you have the latest features and it helps in improving the overall performance of your camera. Check for software updates on the GoPro website or app and follow the provided instructions to install them.
Step 5: Ensure proper temperature and storage conditions
- Avoid exposing your GoPro dash cam to prolonged periods of direct sunlight or extreme temperature fluctuations.
- When the dash cam is not in use, store it in a dry, cool place away from heat sources or direct sunlight.
- You may use a protective case to shield the camera from dust, moisture, and other environmental elements.
Step 6: Monitor battery health
- Always use the original charger or a GoPro-approved charger when recharging your dash cam’s battery.
- To prevent battery issues, do not overcharge the unit or leave it connected to a charger for extended periods of time.
- If the battery is removable, check for any signs of leakage or bulging regularly, and replace it if necessary.
By following these maintenance and care tips, you can ensure that your GoPro dash cam provides you with reliable, high-quality performance for an extended period. Remember that regular care and maintenance are crucial to keep your device functioning optimally and safeguard your investment.
By following this detailed guide, you’ll be well-equipped to set up and use your GoPro dash cam effectively. Stay safe on the road and enjoy capturing stunning footage of your driving adventures while having peace of mind knowing that your GoPro dash cam provides an invaluable record of your trips, tailored to your unique needs and preferences.