
Embarking on the journey to develop film from point and shoot cameras can be an exciting and rewarding experience for enthusiasts and hobbyists alike. This immersive process delves into various aspects of photography, ranging from understanding film basics and point and shoot camera overviews to mastering the developing process and ensuring optimal storage and preservation. By gaining a wealth of knowledge and hands-on experience, you can capture and preserve your most cherished moments with a truly unique and personal touch.
Understanding Film Basics
Welcome to the world of film photography! Mastering the art of developing film is a fulfilling and rewarding practice that can further deepen your understanding and appreciation for photography. Before diving into developing film from point and shoot cameras, it’s essential to grasp the basic knowledge of different types of film, film speed, film size, and popular film brands. This guide will provide an overview of these topics.
1. Types of Film:
a. Black and White film:
Black and white film, as the name suggests, consist of shades of grey from black to white. They contain silver halide crystals that create the shades when exposed to light. Black and white film is less sensitive to color wavelengths, which means you can use different color filters to adjust the contrast of your image. In addition, black and white film is easier to develop at home compared to color film.
b. Color film:
Color film is popular as it captures life in its most realistic form. Its layers consist of three light-sensitive emulsion layers (red, green, and blue), each coated on a single strip. These layers work together to produce a full-color rendering of your subject. Developing color film is more complicated than black and white film since it requires extra chemicals for processing.
c. Slide film:
Also known as reversal film or positive film, slide film produces a positive image on a transparent base. The developed slides can be viewed with a projector, backlit screen, or through a loupe. Slide films have rich, vibrant colors and high contrast, but they require precise exposure control, as they have a lower tolerance for over or underexposure. Slide film is processed using the E-6 process, which requires specific chemicals different from the ones used for black & white and color films.
2. Film Speed (ISO):
ISO stands for International Standards Organization, which indicates the film’s sensitivity to light. Lower ISO film (e.g., ISO 100, 200) is less sensitive to light and thus needs a longer time or brighter light conditions for proper exposure. Lower ISO film produce finer grain and higher image quality. Conversely, higher ISO film (e.g., ISO 800, 1600) is more sensitive to light and better for low light conditions. However, higher ISO film typically produces images with more noticeable grain.
3. Film Size:
a. 35mm film:
35mm film is the most common and accessible film size available. It comes in rolls and is suitable for various cameras, including point and shoot cameras, SLR, and rangefinders. 35mm film generally yields 24 or 36 exposures per roll.
b. Medium format film:
Medium format film, also known as 120 film, produces larger negatives, resulting in better image quality and more detail. It is primarily used in medium format cameras. The images tend to be square or rectangular, depending on the camera, and a roll generally yields 12 to 16 exposures.
c. Other film formats:
There are several other, less common film formats like large format (4×5, 8×10, etc.), 110 film (pocket cameras), and APS (Advanced Photo System). Each format has its specific camera types and purposes.
4. Film Brands:
There are various film brands available in the market, each having its characteristics and color rendition. Popular film brands include:
a. Kodak – Known for its warm tones, Kodak is popular among portrait photographers. Popular film stocks include Kodak Portra, Kodak Ektar, and Kodak Tri-X (black and white).
b. Fujifilm – Fujifilm is famous for its cool tones with a greenish tint, especially in shadows. Some popular film stocks include Fujifilm Pro 400H and Fujicolor C200.
c. Ilford – Ilford is renowned for black and white film. Its unique tones, finest grain, and exceptional sharpness make it a favorite among black and white film photographers. Popular choices include Ilford HP5, Ilford Delta, and Ilford FP4.
Conclusion:
Understanding these film basics is essential in your journey to develop film from point and shoot cameras. Many factors, such as film type, speed, size, and brand, can affect the final image. Gaining knowledge about these factors will help you make informed decisions when choosing film for different shooting conditions and desired results. Explore, experiment, and have fun with the magic of film photography!
Image description: A black and white photograph of a person, with different shades of grey from black to white, taken using black and white film.

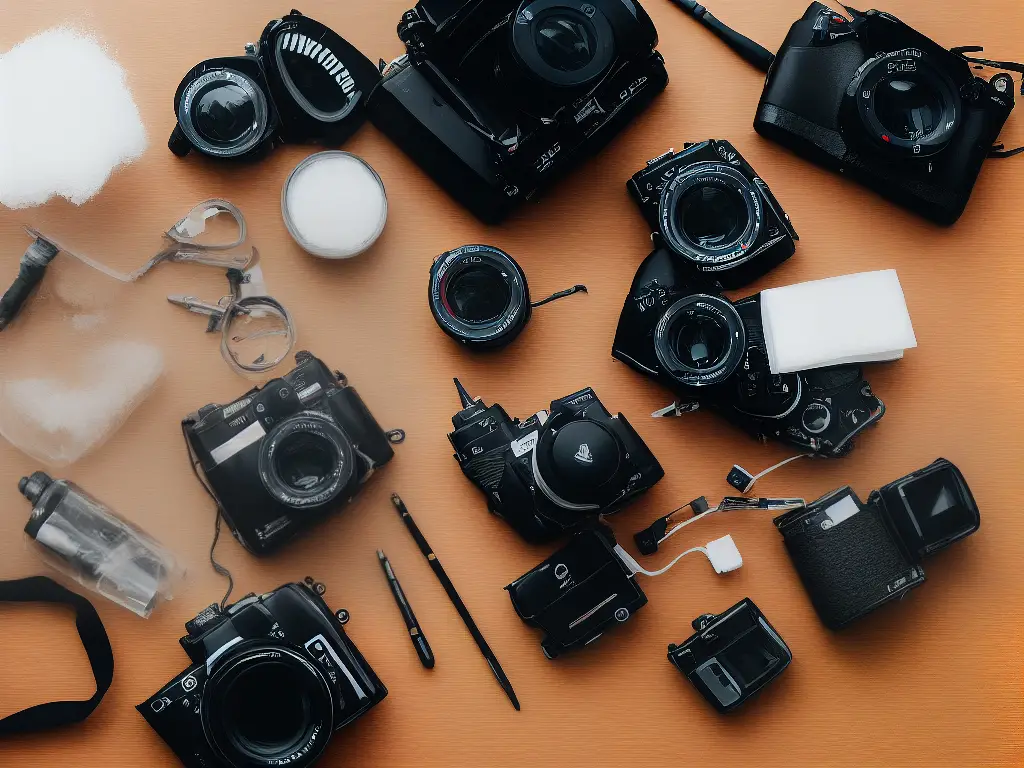
Point and Shoot Camera Overview
The point and shoot camera is a versatile and user-friendly option for photography enthusiasts. It is designed for simplicity, allowing even beginners to capture high-quality images without learning complex techniques. This article will guide you through the basics of a point and shoot camera, its operation, common settings, and the differences between various models.
1. What is a point and shoot camera?
A point and shoot camera, also known as a compact camera, is a small, portable camera designed for easy, automatic operation. It allows users to take photos without adjusting complex settings manually. Most point and shoot cameras have auto-focus and auto-exposure features that handle the technical aspects of photography, allowing you to focus on framing and composing your shots.
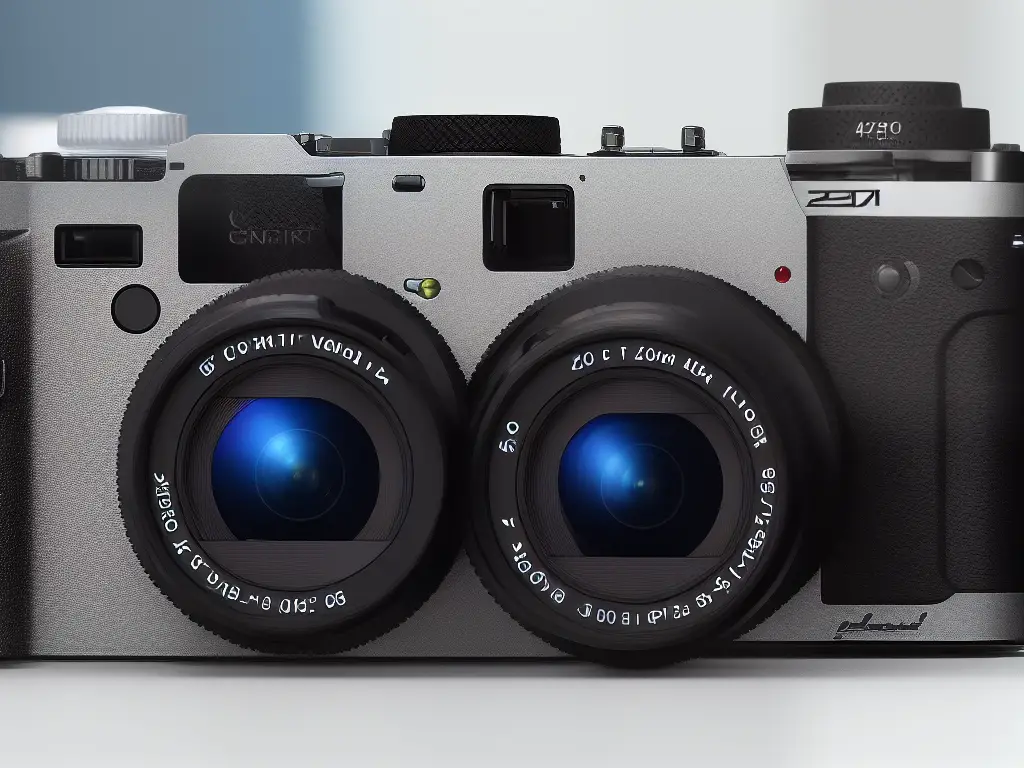
2. Point and shoot camera anatomy
- Lens: The lens is the most crucial part of the camera, responsible for capturing light and focusing it onto the image sensor. Some point and shoot cameras have a fixed lens, while others offer a zoom lens for flexibility in framing.
- Flash: Most point and shoot cameras come with a built-in flash for low-light situations. Some cameras allow you to adjust flash settings or use external flashes for better control.
- Viewfinder/ LCD screen: While some cameras have an optical viewfinder to frame shots, most point and shoot cameras have an LCD screen that displays the image you’re capturing.
- Controls and buttons: Point and shoot cameras have minimal buttons for easy operation. Common controls include the shutter-release button (to take a picture), zoom toggle, mode switch, and a multi-directional pad for navigating menus and selecting options.
3. Common Settings in Point and Shoot Cameras
- Automatic Mode: In this mode, the camera automatically adjusts settings such as aperture, shutter speed, and ISO to produce well-exposed, focused photos.
- Scene Modes: These pre-set modes optimize the camera settings for specific situations like portrait, landscape, sports, and low-light photography.
- Exposure Compensation: This setting allows you to adjust the brightness of the image by increasing or decreasing the exposure.
- White Balance: Adjust the color temperature to make the colors in your photos look more natural under different lighting conditions.
- ISO: It determines the image sensor’s sensitivity to light. Lower ISO values give cleaner images with less noise, while higher ISO values are suited for low-light situations but may result in grainier photos.
- Image Quality and Size: Choose between different image resolutions and compression settings according to your preferences.
4. Differences Between Point and Shoot Cameras
There are various factors to consider when choosing a point and shoot camera including:
- Sensor size: Cameras with larger sensors generally produce better image quality, especially in low-light conditions.
- Megapixel count: Higher megapixel cameras capture more details in your photos, but the difference may not be significant for casual shooting.
- Zoom range: Cameras with higher zoom capabilities allow for versatile framing options without moving closer or farther away from the subject.
- Video capabilities: Some point and shoot cameras can capture high-quality video, making them a versatile option for both photos and videos.
- Additional features: Additional features like built-in Wi-Fi, GPS, or waterproofing can make point and shoot cameras more suitable according to your needs.
Point and shoot cameras offer a convenient and straightforward way to capture high-quality photos with minimal effort. Understanding your camera’s features and settings will help you make the most out of your photography. By selecting the right camera based on your preferences and requirements, you’ll be ready to start capturing and developing your own memories.
Film Processing Equipment
Developing film from point and shoot cameras can be a rewarding hobby for photography enthusiasts. By learning how to process film, you have full control over the final outcome and a better understanding of the art of photography. This guide will provide step-by-step instructions, details on necessary equipment, and tips on handling chemicals for both black and white and color film processing.
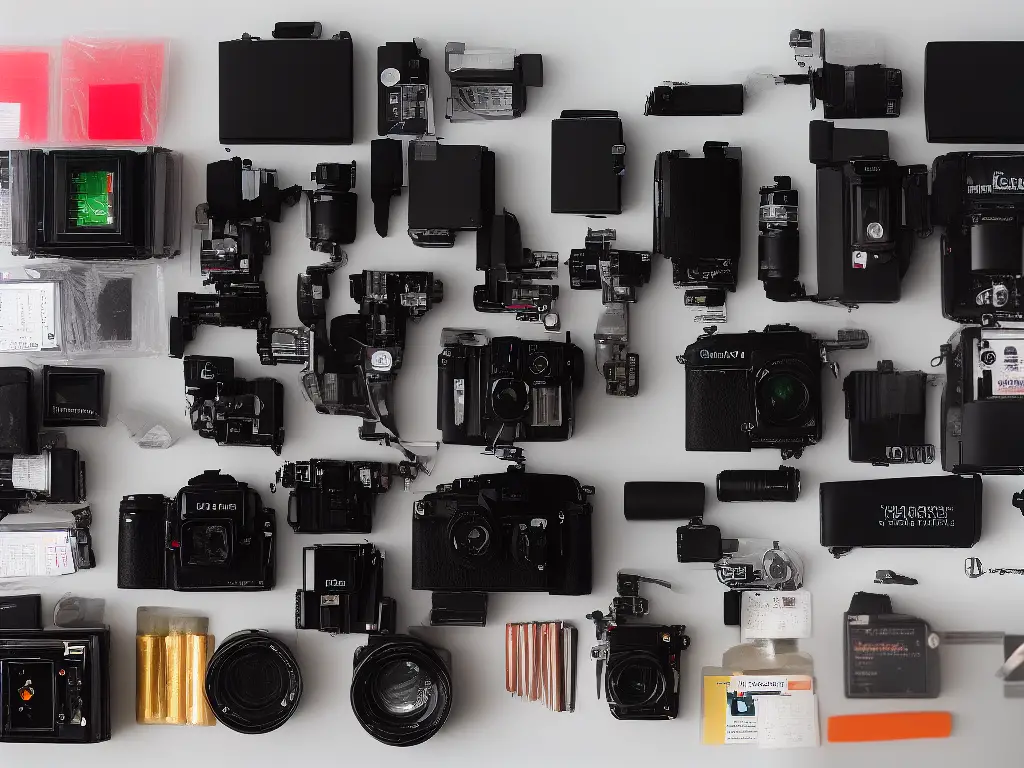
Equipment Needed:
- Developing Tank – This container is used to hold the film and chemicals during the processing. It is light-tight, ensuring the film is not exposed to any additional light during the processing.
- Film Reels – The film is wound onto these reels which are placed in the developing tank. Ensure you have the correct size reel for the film you are processing (e.g., 35mm or 120).
- Film Clips – These clips hold the film in place during drying.
- Graduated Cylinder or Measuring Jug – Used to measure the required amounts of chemicals.
- Thermometer – Ensuring the proper temperature for the chemicals is important for the development process.
- Timer – Accurate timing is crucial for the various stages of film processing.
- Scissors – For cutting the film leader and removing it from the camera.
- Bottle Opener or Film Picker – For opening the film canister.
- Gloves, Apron, and Eye Protection – Safety equipment when handling chemicals.
- Chemicals – Developer, Stop Bath, Fixer, and optionally, a wetting agent. You will need different chemicals for black and white film and color film processing.
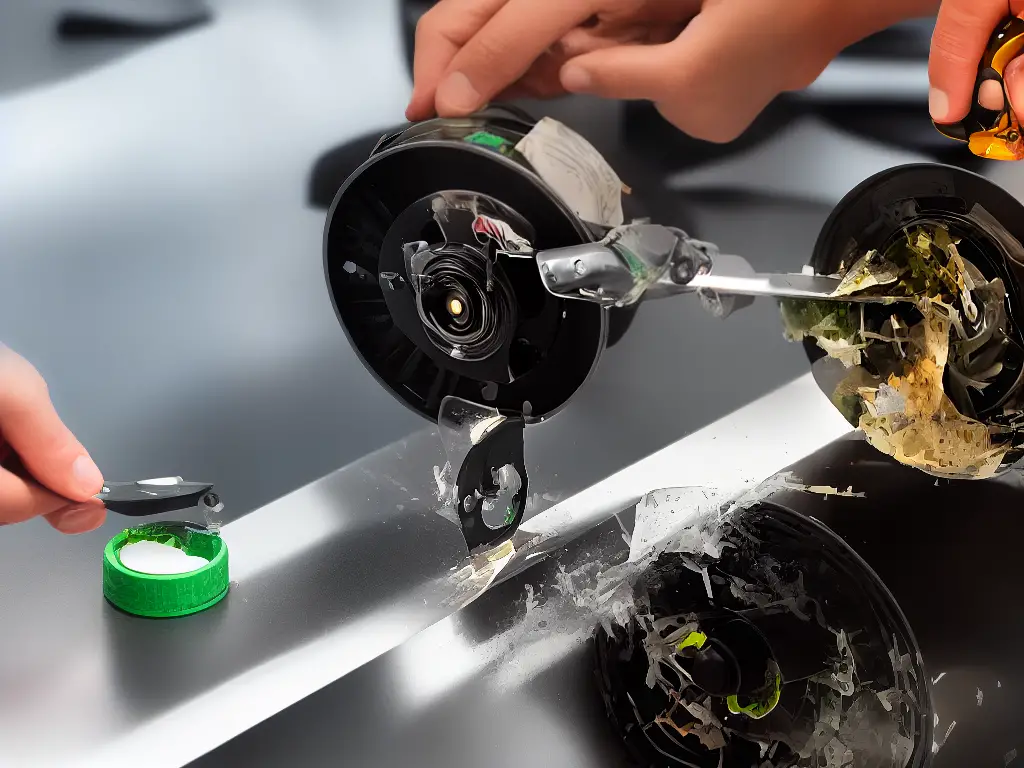
Step 1: Loading the Film Onto the Reel
- In a totally dark room or using a changing bag, open the film canister with the help of a bottle opener or film picker.
- Cut the film leader and unroll the film from the spool. Be careful not to touch the emulsion side of the film.
- Hold the reel and begin to feed the film onto it until the entire film is wound around the reel.
- Place the loaded reel into the developing tank and close the lid tightly.
Step 2: Mixing the Chemicals
- Follow the instructions provided by the chemical manufacturer regarding the dilution and temperatures required.
- Use the graduated cylinder or measuring jug to mix the chemicals according to the recommended dilution ratios.
- Prepare each chemical in separate containers and ensure they are properly labeled to avoid confusion.
Step 3: Developing the Film
- Consult the film manufacturer’s instructions to determine the development time for your specific film.
- Pour the developer into the developing tank and start the timer simultaneously.
- Agitate the tank gently throughout the development process as per the film manufacturer’s instructions.
- When the timer goes off, quickly pour out the developer.
Step 4: Stop Bath and Fixing
- Immediately pour the stop bath into the developing tank for the recommended time (usually around 30 seconds to 1 minute). Agitate gently, then pour it out.
- Pour the fixer into the tank and agitate as per instructions. Fixing times may vary (usually between 2-5 minutes), follow the chemical manufacturer’s guidelines.
- Remove the fixer and dispose of it according to local environmental regulations.
Step 5: Washing, Rinsing, and Drying
- Wash the film with running water for at least 5 minutes or follow the film manufacturer’s recommended washing time.
- If using a wetting agent, pour it into the developing tank and let the film soak for about 30 seconds, then pour it out.
- Carefully remove the film from the reel and use the film clips to hang it in a dust-free environment to dry. Allow the film to dry completely before cutting and scanning or printing.
With practice, you will become more comfortable and efficient at developing film from point and shoot cameras. Experimenting with different films, chemicals, and processing techniques will enhance your skills as a film photographer and allow you to fully express your creative vision.”
Film Developing Process
Film developing is a fun and creative process that allows you to bring your point and shoot camera photos to life. With a little practice, you can easily develop your black and white, color, and slide film. This guide will provide a step-by-step process to help you understand and master film developing.
Materials you’ll need:
- Film (from your point and shoot camera)
- Developing tank (with reel)
- Chemicals (developer, stop bath, fixer, and optional wetting agent)
- Graduated cylinders or measuring cups
- Thermometer
- Timer or clock
- Scissors
- Bottle opener or film leader retriever
- Clothing or binder clips
- Darkroom, changing bag, or light-tight space for loading film
Step 1: Load the film onto the reel
Working in complete darkness, use your bottle opener or film leader retriever to carefully remove the film from its canister. Then, cut off the leader (the narrow part at the beginning of the film) using scissors. Next, gently thread the film onto the reel by securing the film’s end into the reel and spiraling the film onto the reel evenly. Once the entire film is on the reel, place it inside the developing tank and screw on the lid.
Step 2: Mix the chemicals
In a well-ventilated area, prepare your developer, stop bath, and fixer according to the manufacturer’s instructions. Use graduated cylinders or measuring cups to measure the correct amounts of water and chemical concentrates. To ensure accurate developing times, use a thermometer to measure the temperature of the solutions. Developer temperature should be between 68°F and 75°F (20°C to 24°C) for most films. If necessary, adjust the temperature using hot or cold water.
Step 3: Developing process
Begin by pouring the developer solution into the developing tank. Start your timer as soon as the developer is in the tank. Gently agitate the film by rotating or inverting the tank, according to your developing tank’s instructions, for the first 30 seconds. Then, agitate the film for 10 seconds every minute during the remaining developing time specified by the film and developer recommendations. When the timer runs out, immediately pour the used developer back into its container (or discard it if you’re using a one-shot developer).
Step 4: Stop bath
After the developing process, pour the stop bath solution into the developing tank. Agitate the film continuously for 30 seconds to one minute (follow the instructions for the specific stop bath you’re using). Once finished, pour the stop bath back into its container.
Step 5: Fixing
Pour the fixer solution into the developing tank. Agitate the film continuously for the first minute, then agitate for 10 seconds every minute for the duration specified by the fixer’s instructions (typically 5-10 minutes). Once fixing is complete, pour the fixer back into its container, as it can be reused several times.
Step 6: Rinsing
Remove the lid from the developing tank and rinse the film with running water for at least 5 minutes (or use the ‘Ilford method’: fill the tank with water, invert it 5 times, dump water, fill, invert 10 times, dump, fill, invert 20 times, dump).
Step 7 (optional): Wetting agent
To avoid water spots on your negatives, add a few drops of wetting agent (like Photo-Flo) to a small amount of water and pour it over the film. Let it sit for a minute, then gently agitate the film.
Step 8: Dry the negatives
Carefully remove the film from the reel and use a clothing or binder clip to hang it up to dry in a dust-free area. You can use another clip at the bottom of the film to prevent curling. Allow the film to dry for several hours or overnight. Once the film is completely dry, gently cut it into frames, and store the negatives in protective sleeves.
Conclusion:
Now you’re ready to print or scan your developed film! With practice, you’ll refine your technique and develop a process that works best for you. Remember to adjust developing times and temperatures if you’re working with different film types, and always follow the manufacturer’s instructions for each chemical.
Darkroom Safety
Developing film from point and shoot cameras in a darkroom can be a fun and fulfilling hobby. However, it is crucial to take proper safety measures when handling chemicals and working in a darkroom environment. Follow these instructions to ensure your safety while learning how to develop film.
1. Ventilation
Chemicals used in the film development process can produce harmful fumes, so proper ventilation is crucial for safety. Ensure your darkroom has a working exhaust fan or an adequate source of fresh air. Keep windows and doors open if possible, and consider setting up a fan to circulate air around your workstation.
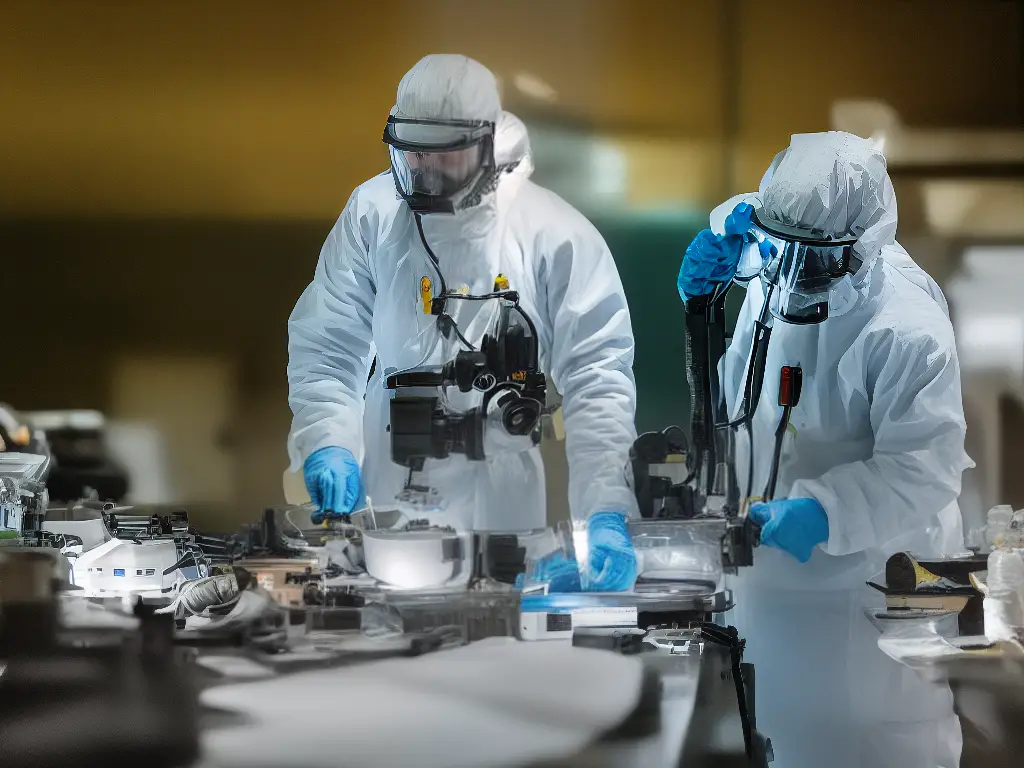
2. Protective Gear
To avoid direct contact with chemicals, always wear gloves, goggles, and an apron when developing film. Nitrile gloves are a good choice for handling chemicals, as they provide excellent protection. You should also consider wearing closed-toe shoes to prevent spills from reaching your feet.
3. Chemical Handling
To prevent accidents, always read and follow the instructions provided on chemical containers. Be cautious when opening and closing containers, and never mix chemicals unless specified in the instructions. To minimize exposure to vapors, mix chemicals in a well-ventilated area away from your main workspace.
4. Lighting
Since it is necessary to work in low light conditions while developing film, use a safelight to help you see without damaging the film. Choose a safelight recommended for the specific type of film you are using. Keep your workspace well-organized to avoid accidents in the low light environment.
5. No Eating or Drinking
Do not eat or drink in the darkroom to avoid ingesting harmful chemicals. Make sure to wash your hands thoroughly after working in the darkroom and before eating or drinking.
6. Chemical Storage and Disposal
Store chemicals in original containers with tightly sealed lids, clearly labeled with their contents. Keep chemicals out of reach of children and pets, and away from heat sources. When disposing of chemicals, follow proper disposal procedures as stated on the product labels. Contact your local waste disposal facility for information on how to properly dispose of darkroom chemicals.
7. Emergency Response
Familiarize yourself with the proper steps to take in case of an emergency. Have a first aid kit and an eyewash station readily available, and know the location of the nearest water source. Keep a fire extinguisher nearby, and learn how to use it correctly. Also, know the contact information for your local poison control center.
8. Training and Supervision
If you’re new to film development, consider taking a workshop or course to learn proper techniques and safety practices. Additionally, always have someone experienced with darkroom work available to supervise, guide, or assist you, especially when starting out.
By following these safety instructions, you can learn to develop film from point and shoot cameras in a safe and enjoyable manner. Developing film can be a rewarding and creative pursuit, so take the necessary precautions to ensure a safe and successful experience.
Fixing and Washing Film
Developing your reel from a point-and-shoot camera is a rewarding and fulfilling process. Nevertheless, fixing and washing your film is essential for achieving permanent, chemical-free memories. This guide offers detailed instructions to help you navigate these crucial steps and ensure your treasured images endure.
Materials and Equipment:
- Fixer solution (pre-mixed or fixer concentrate to be mixed with water)
- Hypo clearing solution (pre-mixed or concentrate to be mixed with water)
- Distilled water (for final washing)
- Three developing trays or containers (one for the fixer, one for the hypo clearing solution, and one for water)
- Film squeegee or clean, lint-free cloth
- Film drying clips or clothespins
- Timer or stopwatch
- Protective gloves
Fixing the Film:
- Prepare the fixer solution according to the manufacturer’s instructions. If using a concentrate, mix it with water in the correct proportions. Pour the fixer solution into one of your developing trays or containers.
- Wearing protective gloves, carefully remove your film from the developer solution, allowing any excess developer to drain back into its container.
- Immerse the film in the fixer solution, covering the entire surface of the film. Gently agitate the film for the first 30 seconds, and then agitate for a few seconds every minute. Follow the recommended fixing time indicated on the fixer packaging (usually 5-10 minutes).
- Once the fixing process is complete, carefully lift the film from the fixer solution and allow any excess fixer to drain back into the container.
Washing the Film:
- Transfer the film to a developing tray or container filled with room temperature water. Gently agitate the film in the water for about one minute. Pour out the water and refill the container with fresh room temperature water. Repeat this step two more times.
- Prepare the hypo clearing solution according to the manufacturer’s instructions. Pour the solution into one of your developing trays or containers.
- Immerse the film in the hypo clearing solution for 2-3 minutes. Gently agitate the film continuously during this time.
- Rinse the film in running water for about 10 minutes, ensuring that the film is in continuous motion during the rinse to remove any residual chemicals.
- Perform a final rinse using distilled water to prevent any mineral deposits from forming on the film.
Drying the Film:
- Remove the film from the distilled water rinse and carefully squeegee off any excess water using a film squeegee or clean, lint-free cloth. Run the squeegee or cloth gently down the film from top to bottom.
- Hang the film for drying in a dust-free area, using film drying clips or clothespins to attach it to a line or drying rack. Ensure there is adequate space between each frame to allow proper air circulation.
- Depending on the room temperature and humidity, the film should take approximately 2-3 hours to dry completely. Do not touch the emulsion side of the film while it is still wet, as this may cause fingerprints or smudges.
- Once your film is completely dry, it is now ready to be cut, sleeved and/or scanned, allowing you to appreciate the fruits of your labor!
To sum it up, this guide is an effective tool to enhance your understanding of film development processes. By following these detailed instructions, you can ensure your hobby continues to flourish while providing you with permanent memories.

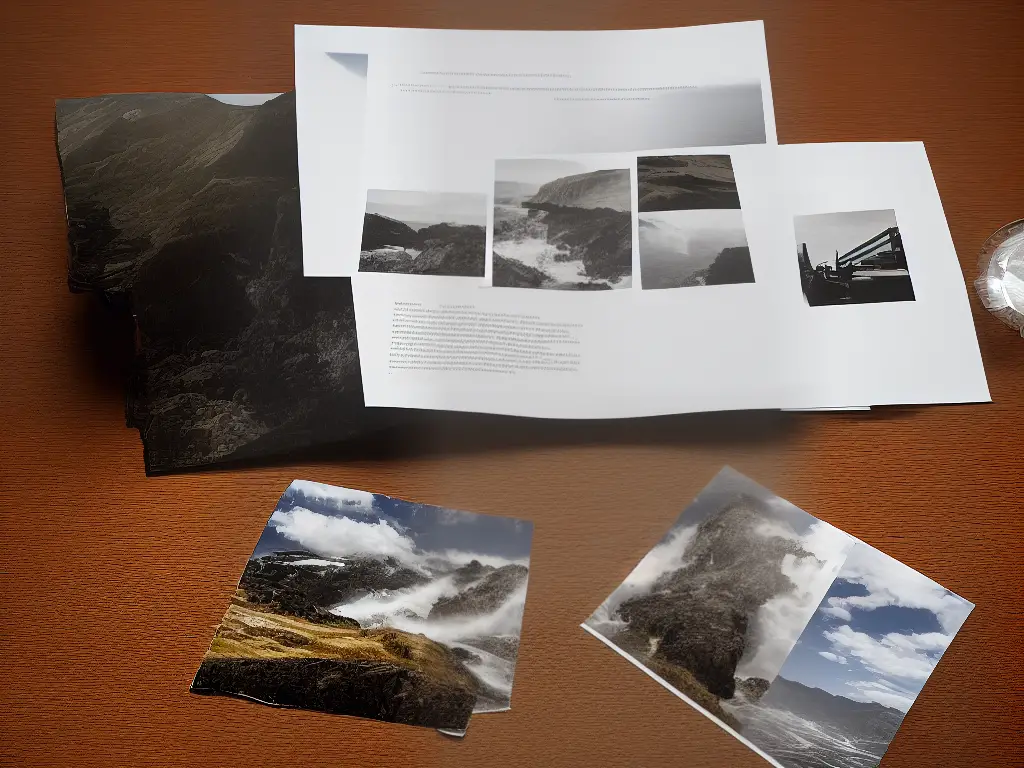
Scanning and Digitizing Film
If you have old film negatives or slides lying around the house, you may want to preserve them by digitizing them. Not only does this help you organize and protect your memories, but it also allows you to share them online with friends and family. Here’s how you can digitize your film negatives or slides using a film scanner:
Preparing the Negatives or Slides
- Remove any dust, dirt, and fingerprints from the negatives or slides using a soft brush, microfiber cloth, or compressed air.
- For stubborn spots or marks, use a film cleaning solution.
- Allow the negatives or slides to dry before scanning.
Choosing the Right Film Scanner
- Consider factors such as resolution, dynamic range, and the type of film formats the scanner supports.
- A dedicated film scanner is recommended for the best quality scans.
Setting Up Your Scanner
- Install the scanner’s software and driver on your computer and connect it using the appropriate cable.
- Select the scanning mode that suits your film type and film format.
Cleaning the Scanner
- Clean the scanner’s glass and film holders using a microfiber cloth or a soft brush to avoid dust and dirt being picked up.
Scanning Your Film
- Place the negatives or slides onto the scanner’s film holder, and insert the holder into the scanner.
- Open your scanner’s software on your computer and adjust the settings.
- For resolution, a minimum of 2400 dpi is recommended for good image quality.
- Choose the file format that suits your needs (e.g., TIFF or JPEG).
Scanning and Previewing the Images
- Initiate the scanning process and preview the scanned images on your computer.
- Adjust the settings and rescan if necessary to improve image quality.
Saving and Editing Your Digital Images
- Save the scanned files to your computer using a descriptive naming scheme and organized folder structure.
- Edit your digital images in your favorite photo editing software.
Printing and Enlarging Film
Developing film from point and shoot cameras is a fun and rewarding hobby. Once you have developed your negatives, the next step is to print and enlarge your photos. In this guide, we will cover the basics of darkroom printing and enlarging, as well as an introduction to different types of photographic paper and the chemistry involved in the printing process.
Materials and Equipment:
- Enlarger (a device that projects a magnified image of your negative onto the photographic paper)
- Darkroom safelight (usually red or amber, providing low-level lighting that doesn’t affect the photographic paper)
- Photographic paper (in various sizes, finishes, and contrast grades)
- Developing trays (minimum of three: one for developer, one for stop bath, and one for fixer)
- Chemicals (developer, stop bath, and fixer)
- Print tongs (to handle the photographic paper safely)
- Timer
- Darkroom or completely dark space
- Clean workspace
- Running water
Steps for Printing and Enlarging Film:
-
Set up your darkroom: Find a completely dark space to set up your darkroom. A small room or large closet with no windows is ideal. Set up your enlarger, developing trays, and safelight. Make sure you have a clean and uncluttered workspace.
-
Mix your chemicals: Using the manufacturer’s instructions, mix your developer, stop bath, and fixer in separate containers. Pour each solution into their respective developing trays.
-
Select your negative: Choose a well-exposed and properly developed negative to print. The negative should be free from defects, such as scratches or dust, to ensure a quality print.
-
Set up the enlarger: Place the negative in the negative carrier and insert it into the enlarger. Adjust the enlarger’s lens to your desired aperture setting and make sure it is focused. Turn on the enlarger to project the image onto the easel, where the photographic paper will be placed.
-
Choose your photographic paper: Photographic papers come in various finishes (glossy, semi-glossy, or matte), contrast grades (low, medium, or high), and sizes. Choose a paper that suits your preferences and adjust the size of your projected image to fit the paper.
-
Expose the paper: Under safelight conditions, place the photographic paper on the easel under the enlarger, ensuring it is flat and properly aligned. Set the timer to the desired exposure time and turn on the enlarger to expose the paper. Remember that the exposure time must be determined by test prints and experimentation, as each negative and paper combination will require different settings.
-
Develop the print: Once the paper is exposed, use the print tongs to move the paper into the developer tray. Gently agitate the tray for even development until the image appears on the paper. Follow the manufacturer’s recommended development time for the specific paper and developer you are using.
-
Stop the development: Using the print tongs, move the paper from the developer tray to the stop bath tray. Agitate the paper for about 30 seconds to neutralize the developer and halt the development process.
-
Fix the print: Transfer the print to the fixer tray and agitate it for the recommended fixing time, usually around 3-5 minutes. This process makes the print permanent and light-safe.
-
Rinse the print: After fixing, rinse the print in running water for about 5-10 minutes to remove any residual chemicals. This process is crucial for the long-term stability of the print.
-
Dry the print: Place the wet print on a drying surface or screen, image side up. Allow it to air dry completely. Do not use a hairdryer, as this can cause uneven drying and damage to the print.
-
Evaluate and repeat: Examine the dried print for overall image quality, tonal range, and contrast. If the print is not to your satisfaction, adjust the exposure time, aperture, or contrast grade of your paper, and repeat the process.
Once you have mastered the basics of printing and enlarging film, you can explore more advanced techniques, experiment with different papers, and fine-tune your process to achieve the unique and beautiful photographs that only film and darkroom processes can provide. Happy printing!
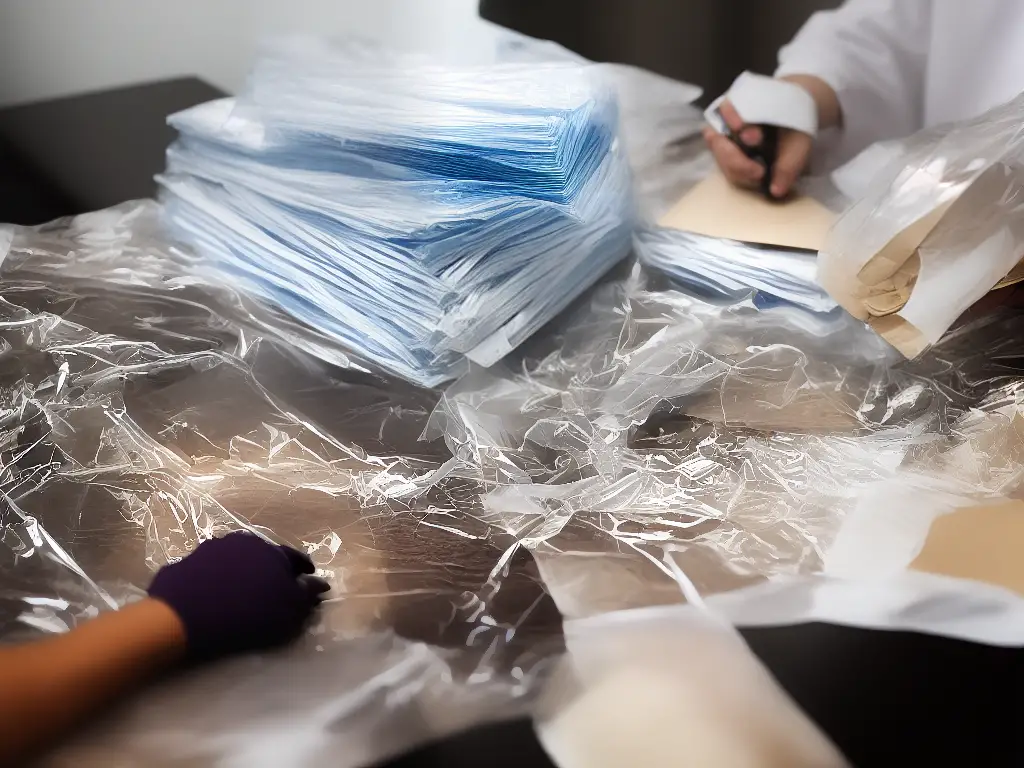
Film Storage and Preservation
As an enthusiast or hobbyist, it’s important to learn proper techniques for preserving and storing your film negatives to ensure their longevity and maintain their quality. This guide aims to provide step-by-step instructions on how to properly store and preserve film negatives from point and shoot cameras, so you can enjoy your photos for years to come.
Materials Needed:
- Archival Sleeves
- Acid-free Binder or Box
- Cotton Gloves
- Scissors
- Temperature and Humidity Controlled Environment
- Archival Plastic Sheets (optional)
Instructions:
-
Handle with Care
When handling your film negatives, always wear cotton gloves to prevent oils from your skin from damaging the film. Hold your negatives by their edges, avoiding touching the emulsion side (the shiny side) with your fingers.
-
Cleaning the Film (if necessary)
If your negatives appear dirty or have dust particles, first try to remove the dirt using a soft brush or compressed air. If more intensive cleaning is required, use a specially-designed film cleaner and follow the manufacturer’s instructions.
-
Cutting and Organizing (Optional)
If your negatives are in strips, you can cut them into individual frames for easier storage. Keep the negatives organized in the order in which you shot them, so you can easily locate specific photos later.
-
Archival Sleeves
Place your film negatives into acid-free, archival quality sleeves. These sleeves are designed to protect your negatives from dust, dirt, and other contaminants that may damage the film over time. Ensure that the sleeves are the correct size for your negatives.
-
Protective Sheets (Optional)
For added protection, you can insert your sleeved negatives into archival plastic sheets with pockets. This provides an additional layer of protection and makes it easier to flip through your negatives when looking for a specific image.
-
Acid-free Storage
Store your negatives in an acid-free binder or box to prevent any damage from acids that can be present in some storage containers. Acid-free materials will help maintain the quality of your film for a longer period of time.
-
Ideal Storage Environment
Store your negatives in a temperature and humidity-controlled environment. The ideal temperature is 68°F (20°C) or lower, and humidity should be maintained between 30 – 40%. Excessive heat and humidity can cause damage to your negatives over time. Avoid direct sunlight and store the binder or box in a dark, cool, and dry place, such as a closet or cabinet.
-
Labeling and Documentation
To make it easier to locate specific images in the future, label your binders or boxes with relevant information, such as the date, location, and subject matter of your photographs. You can also create a digital catalog of your negatives by scanning them into your computer and organizing them in a software program or spreadsheet.
Troubleshooting and Tips
Fogged or cloudy negatives:
– Cause: The film was exposed to light before or during the developing process.
– Solution: Ensure that you load and unload the film in a dark room or use a changing bag to prevent exposure to light.
Uneven development or streaks on the negatives:
– Cause: Agitation was not done properly or developer solution was not fully covering the negatives during the process.
– Solution: Make sure to agitate the film gently and evenly during development, as per the guidelines of the specific developer. Also, ensure that there is enough developer solution to fully cover the negatives.
Dull or low contrast negatives:
– Cause: Overexposure of the film or incorrect development time.
– Solution: Check the exposure settings on your point and shoot camera to ensure it matches the film speed. Follow the development time recommendations from the film manufacturer.
Very dark or high contrast negatives:
– Cause: Underexposure of the film or improper development time.
– Solution: Ensure that the point and shoot camera exposure settings are correct for the film speed you’re using. Also, carefully follow the development time recommendations from the film manufacturer.
Scratched negatives:
– Cause: Mishandling the film, either while loading/unloading or during development.
– Solution: Handle the film carefully and wear gloves to avoid scratching the negatives. Check the reels and tanks for any rough edges before using them for development.
Dust or dirt on the negatives:
– Cause: Inadequate cleaning or storing the negatives in a dusty environment.
– Solution: Clean the negatives gently after the development process, and store them in a clean, dust-free environment.
Color shifts and uneven color in your negatives (for color film):
– Cause: Inaccurate temperature control or incorrect mixing of the chemicals.
– Solution: Be precise with temperature control while developing color film, and follow the guidelines provided by the film manufacturer for mixing the chemicals.
Tips to improve your film developing skills:
1. Practice: Developing film is a skill that improves with practice. Start with inexpensive film or spare negatives to gain experience and to feel more comfortable with the process.
2. Organize your workspace: Keep your chemicals, tools, and workspace organized to streamline the process and prevent accidents.
3. Follow guidelines: Manufacturers provide detailed guidelines for their films and chemicals. Make sure you follow them accurately to get the best results.
4. Temperature control: Temperature plays a crucial role in the developing process, particularly for color film. Use a thermometer and maintain the recommended temperature to avoid issues with color shifts and contrast.
5. Take notes: Keep a logbook with all the details of each film development process, including the type of film, chemicals used, processing times, and temperatures. This helps you track your progress and make improvements.
6. Proper storage of chemicals: Store your chemicals in a cool, dark place, and ensure they are correctly labeled to avoid mix-ups during the process.
7. Seek advice from fellow hobbyists or professionals: Join online forums and communities or ask experienced photographers for advice and tips to improve your film developing skills.
By following the steps mentioned above and continuing to practice, you’ll soon be well-equipped to address common film developing issues and enhance your skills in developing film from point and shoot cameras.
Throughout this comprehensive exploration, you’ll be equipped with valuable insights and practical tips to hone your film developing skills. By familiarizing yourself with the necessary equipment, chemicals, and techniques, you’ll be well-prepared to tackle any challenges that may arise. Ultimately, mastering the art of film development with point and shoot cameras will not only elevate your photography expertise, but it will also open up a world of creative possibilities for capturing life’s memorable moments in the most authentic and timeless manner.