
Embarking on the journey into the fascinating world of film photography can be both rewarding and educational. As you immerse yourself in this timeless art form, you will discover various types of film cameras, learn essential techniques, and explore the process behind developing your own prints. In this article, we will guide you through the fundamentals of film photography to help you master the craft and create stunning, captivating images.
Understanding the different types of film cameras
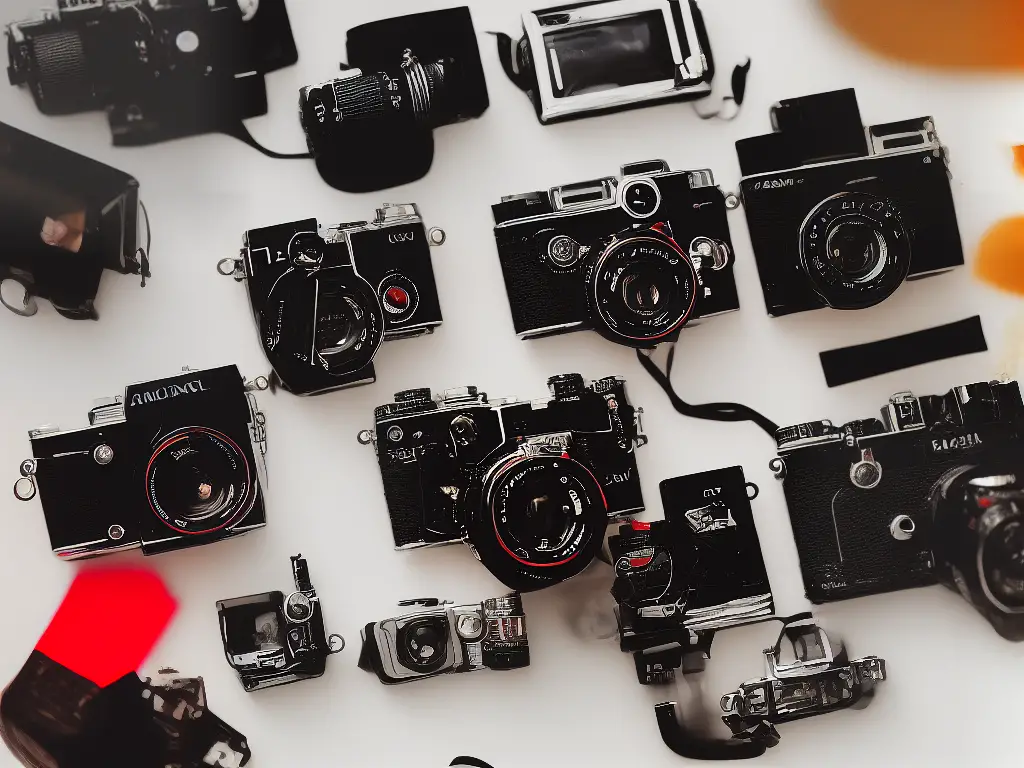
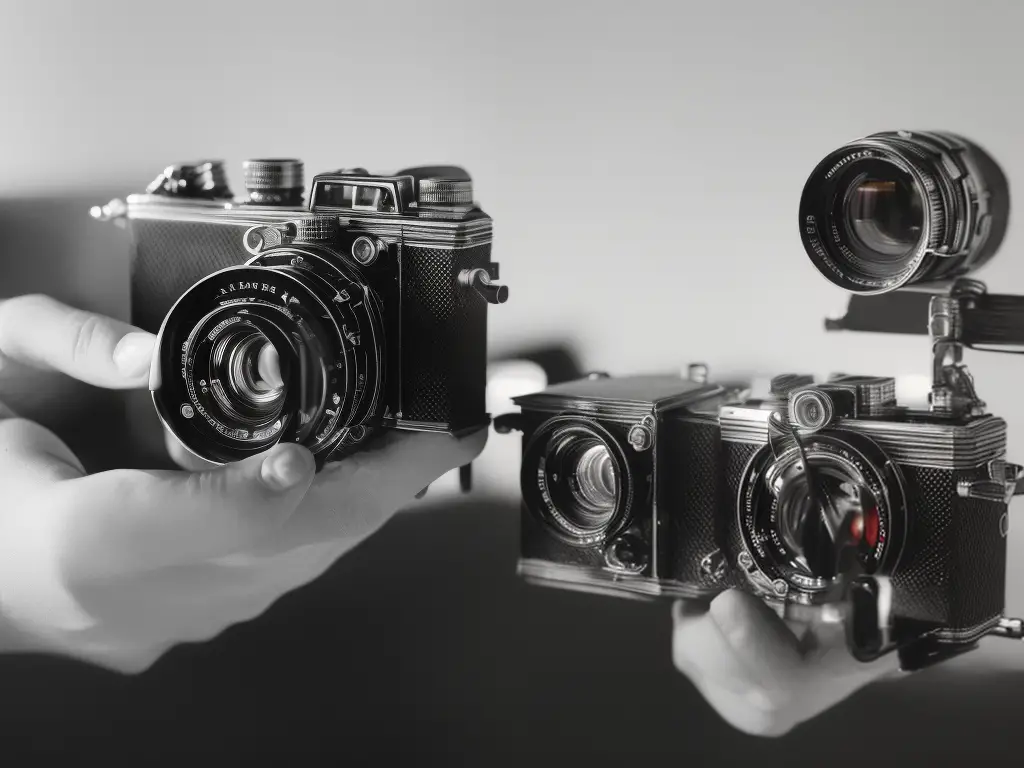
Single-Lens Reflex (SLR) Cameras
Single-Lens Reflex (SLR) cameras are the most popular type of film camera due to their versatility and ease of use. They have a single lens for viewing and capturing images, and they use a mirror and prism system to allow the photographer to see exactly what the lens sees.
Advantages of SLR Cameras
- Accurate and bright viewfinder for precise framing and focusing
- Wide range of interchangeable lenses for various photography styles
- Depth-of-field preview option to see the effect of aperture settings
- Through-the-lens (TTL) metering for precise exposure control
Disadvantages of SLR Cameras
- Relatively bulky and heavy compared to other film camera types
- Mirror slap can cause slight camera shake and vibration
- Incompatibility between certain lenses and camera bodies from different manufacturers
Twin-Lens Reflex (TLR) Cameras
Twin-Lens Reflex (TLR) cameras use two separate lenses – one for capturing the image and one for viewing the scene through the waist-level viewfinder. The two lenses are mounted vertically, and the viewfinder lens projects the image onto a focusing screen.
Advantages of TLR Cameras
- Unique waist-level perspective for creative composition
- Parallax-free focusing at close distances
- Quiet and stable operation due to the absence of a mirror
- Medium format film capability for larger, more detailed negatives
Disadvantages of TLR Cameras
- Limited choice and interchangeability of lenses
- Dim waist-level viewfinder in low light situations
- Difficulty to focus on fast-moving subjects
- No depth-of-field preview option
Rangefinder Cameras
Rangefinder cameras have a separate optical viewfinder and a unique focusing mechanism. A rangefinder measures the distance between the camera and the subject, allowing accurate manual focusing. Unlike SLR cameras, rangefinder cameras do not have a mirror, making them compact and quiet.
Advantages of Rangefinder Cameras
- Compact and lightweight design for easy portability
- Quiet operation ideal for candid and street photography
- Accurate manual focus using a bright, clear viewfinder
- No mirror blackout, which allows continuous viewing while shooting
Disadvantages of Rangefinder Cameras
- Parallax error, especially at closer focusing distances
- Limited lens compatibility and selection compared to SLR cameras
- Inability to preview depth of field
- No through-the-lens metering, requiring external light meters
Film types and formats
Film photography is an art form that uses light-sensitive film to capture images, which are then processed to produce photographs. As a photography enthusiast, it’s essential to understand the different types of film formats and how they affect your final images. This guide will introduce you to various film formats such as 35mm, 120, and large format, as well as provide insights on the differences in image quality, grain, and color reproduction.
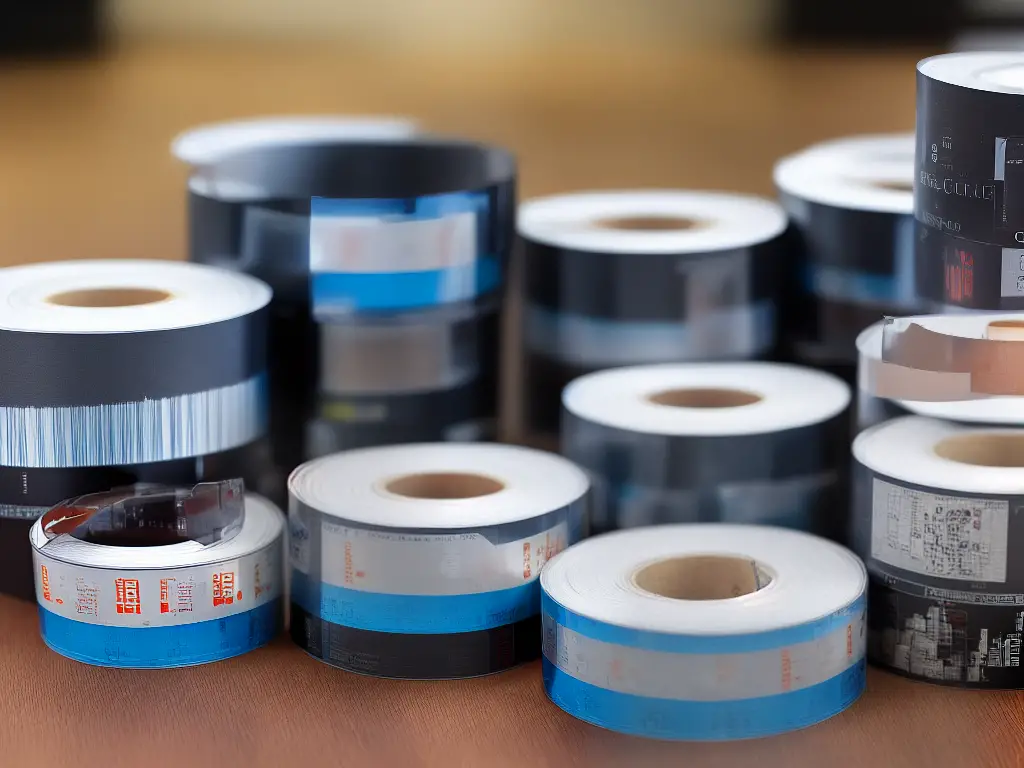
1. 35mm Film
- Description: 35mm film is the most popular and widely used film format in photography. Named for its width, which measures 35mm, it comes in rolls and is commonly referred to as “135film”.
- Image Quality: The 35mm film offers good overall image quality, suitable for a wide range of applications such as street photography, portraits, and landscape photos. However, its relatively small size can limit the image’s resolution, especially when enlarged.
- Grain: Since 35mm film has a smaller surface area, the grain can be more noticeable in the final image, especially at higher ISO values.
- Color Reproduction: 35mm film is available in both color and black-and-white varieties, with varying levels of color saturation and contrast depending on the specific film stock used.
2. 120 Film (Medium Format)
- Description: 120 film, also known as medium format film, is larger than 35mm film and offers improved image quality and detail. It’s typically used by professionals or serious hobbyists seeking higher image resolutions.
- Image Quality: Due to the larger negative size, 120 film offers higher image resolution and more detail than 35mm film. This makes it ideal for applications where image quality is of utmost importance, such as fine art or commercial photography.
- Grain: The larger surface area of the 120 film means that the grain is less evident when compared to 35mm film. This results in smoother images, particularly when enlarging the photos.
- Color Reproduction: Like 35mm film, 120 film is available in both color and black-and-white varieties. Color rendition tends to be more accurate and vivid in medium format film due to its larger size.
3. Large Format Film
- Description: As the name suggests, large format film is the largest of the film formats, with sheet film sizes ranging from 4×5 inches to 20×24 inches. It’s predominantly used by professional photographers for applications where extremely high image quality is required, such as fine art, landscape, and architectural photography.
- Image Quality: Large format film offers the highest overall image quality among film formats, providing incredible detail, resolution, and tonal range.
- Grain: The grain in large format film is virtually non-existent, resulting in extremely smooth images with excellent definition and clarity, even at extreme enlargements.
- Color Reproduction: With its large surface area, large format film can produce very accurate and vibrant colors, rendering even the subtlest shades and hues in a scene.
Understanding the different film types and formats is crucial in determining the right choice for your photography needs. Each format has its advantages and limitations in terms of image quality, grain, and color reproduction. As a photography enthusiast, take the time to experiment with different formats to find the one that best suits your artistic vision and desired results.
Remember that each film stock has its unique characteristics, which can further impact the final image. Don’t hesitate to explore various film stocks within each format to discover the best combination to achieve your desired photographic outcomes.
Loading and unloading film
1. Gather your materials: Ensure that you have the correct film type for your camera. Most common film types are 35mm, medium format, or large format. You will also need your camera and a dark, dust-free environment.
2. Open the camera back: Locate the release mechanism for your camera’s back, usually a small button or latch on the side or bottom of the camera body. Press or slide this to release and open the back. Some cameras have a removable back, while others have a hinged design.
3. Prepare the film: Remove the film from its protective canister or packaging, handling it only by the edges to avoid fingerprints or dust. Handle the film in a dimly lit area, as direct sunlight can potentially fog the film.
4. Load the film: Locate the film spool (the part that holds the film) and the film take-up spool, usually on opposite ends of the camera. Place the film in the film spool chamber, ensuring that the film leader (the small protruding portion of the film) is facing out and ready to be fed into the take-up spool.
5. Wind the film: Insert the film leader into the take-up spool’s slots or grooves, making sure it’s secure. Slowly wind the film advance lever or knob to roll the film onto the take-up spool. Pay attention to any frame counter or other indicators on the camera; some cameras will automatically advance to frame one, while others require manual advancing.
6. Close the camera back: Safely close and latch the camera back, ensuring not to disturb the film position. Advance the film one or two more times to ensure it’s securely loaded. Your camera is now ready to use!
1. Finish shooting: When you’ve reached the end of the roll, indicated by the frame counter or resistance when trying to advance the film, it’s time to unload the film.
2. Rewind the film (35mm only): For 35mm film, first press the film rewind release button, usually located on the bottom of the camera body. Then, use the film rewind crank or knob to rewind the film back into its original canister until you feel no more resistance.
3. Open the camera back: Locate the release mechanism for your camera’s back (as in step 2 for loading the film) and open it.
4. Remove the film: For 35mm film, simply lift out the canister. For medium or large format, carefully lift the film spool out of the camera, avoiding any contact with the film’s surface.
5. Seal the film: For 35mm film, securely replace the film canister’s cap. For medium or large format, make sure to properly seal the film by folding the protective paper around it and bending or applying adhesive tabs, if present.
6. Store or develop the film: Keep the film in a cool, dark place until you’re ready to have it processed. Remember to label it with any pertinent information, like the date or subject matter of the photos.
Congratulations, you have successfully loaded and unloaded film in your camera! Practice these techniques to become more proficient and enjoy the unique and beautiful results of film photography.
Exposure triangle
The exposure triangle is a fundamental concept in photography, and mastering it is essential for taking well-exposed photographs. The exposure triangle consists of three elements: aperture, shutter speed, and ISO. These three elements work together to control the amount of light that reaches the film or sensor in your camera.
Aperture
Aperture refers to the size of the opening in the lens, which controls the amount of light entering the camera. Aperture is measured in f-stops (e.g., f/2.8, f/4, f/5.6). A larger aperture (smaller f-stop number) lets in more light, while a smaller aperture (larger f-stop number) lets in less light.
Shutter Speed
Shutter speed determines the length of time the camera’s shutter is open, allowing light to hit the film or sensor. Shutter speed is measured in seconds (e.g., 1/60, 1/125, 1/250). A slower shutter speed lets in more light, while a faster shutter speed lets in less light.
ISO
ISO refers to the sensitivity of the film or sensor to light. A higher ISO (e.g., 800, 1600) makes the film or sensor more sensitive to light, while a lower ISO (e.g., 100, 200) makes it less sensitive.
To achieve a well-exposed photograph, you need to find the right balance between aperture, shutter speed, and ISO. This balance will depend on the lighting conditions, as well as your artistic vision for the final image. Here are some tips for using the exposure triangle:
- In low light situations, you may need to use a larger aperture (smaller f-stop number), slower shutter speed, or higher ISO to achieve a well-exposed image.
- If you want to capture motion (e.g., a fast-moving subject), use a faster shutter speed. Keep in mind that this may require you to adjust the aperture and ISO accordingly to maintain proper exposure.
- If you want a shallow depth of field (i.e., a blurred background), use a larger aperture (smaller f-stop number). This will require compensating with shutter speed or ISO to maintain proper exposure.
- When shooting stationary subjects, use a tripod to stabilize the camera. This will allow you to use a slower shutter speed without introducing camera shake.
The best way to learn how to use the exposure triangle is through practice and experimentation. Take your camera out and try different combinations of aperture, shutter speed, and ISO to see how they affect the final image. As you gain experience, you will become more comfortable adjusting these settings to achieve the desired exposure and artistic effect. Remember that film photography can be less forgiving than digital photography in terms of exposure, so it’s essential to develop a solid understanding of the exposure triangle. With practice, you will be able to use these elements effectively to create beautifully exposed photographs that reflect your creative vision.
Manual exposure control
To master film photography, it is essential to learn manual exposure control, which allows you to have complete control over the exposure settings in your camera. This will ensure that your photos are properly exposed, resulting in images with good detail, contrast, and color. In this tutorial, we will guide you through the basics of using an in-built light meter and external light meters, as well as how to adjust the exposure settings for optimal results.
Materials:
- Film camera with manual exposure control
- Film
- External light meter (optional)
Step-by-Step Instructions:
- Understand the Exposure Triangle: The three factors that determine the exposure of a photograph are aperture, shutter speed, and ISO. To achieve a well-exposed photo, you have to find the right balance between these three factors.
- Aperture: Aperture is the size of the opening in the camera’s lens, which controls the amount of light that enters the camera. The aperture size is given in f-stops (e.g. f/1.8, f/5.6, f/16, etc). A larger f-number represents a smaller aperture opening and will allow less light to enter the camera.
- Shutter Speed: Shutter speed is the length of time that the camera’s shutter remains open, allowing light to hit the film/sensor. Slower shutter speeds (e.g. 1″, 1/30, 1/60) allow more light to enter, while faster shutter speeds (e.g. 1/250, 1/500, 1/1000) allow less light to enter.
- ISO: ISO is the film’s sensitivity to light. Lower ISO numbers (e.g. 100, 200) mean less sensitivity, requiring more light for an accurate exposure. Higher ISO numbers (e.g. 400, 800, 1600) mean greater sensitivity, requiring less light for an accurate exposure.
- Load your film into the camera and set the ISO: Load the film according to your camera’s instructions and set the ISO on your camera to match the film’s ISO rating.
- Identify the built-in light meter: Most cameras have a built-in light meter, which will help you to determine the best exposure settings for the scene you are trying to capture. This can usually be represented by a needle, LED lights, or a digital screen within the viewfinder. Consult your camera’s manual to locate and understand the light meter.
- Choose your aperture and shutter speed: Based on your artistic vision for the photo, decide whether you want more or less depth of field (controlled by the aperture) and whether you need to freeze motion or show motion blur (controlled by the shutter speed). Start by setting one or the other, then adjust the remaining factor while watching the light meter.
- Using the light meter to determine exposure:
- In-built light meter: Frame your shot and half-press the shutter button to activate the light meter. Adjust the aperture or shutter speed until the light meter indicates the exposure is correct (usually when the needle or indicator is at the center or “zero” position).
- External light meter: If you’re using an external light meter, follow the manufacturer’s instructions to measure the light level in your scene. The light meter will provide you with the suggested aperture and shutter speed settings. Adjust your camera’s settings accordingly.
- Take the photo: When your light meter shows the correct exposure and your composition is ready, fully press the shutter button to take the photo.
- Adjust exposure settings as needed: As you move to different lighting conditions or scenes, remember to re-check your light meter and adjust your exposure settings accordingly. Experimenting with different combinations of aperture, shutter speed, and ISO will allow you to develop a better understanding of manual exposure control.
Conclusion: Learning to use manual exposure control is essential to mastering film photography. By understanding the exposure triangle and learning to read and adjust your camera’s light meter, you will be able to consistently capture well-exposed images with optimal detail and contrast. With practice, these techniques will become second nature, allowing you to focus on the creative aspects of your photography.
Focusing techniques
Focusing is essential in film photography as it helps you achieve sharp and clear images. There are various focusing techniques that you can practice to improve your skills. Here are step-by-step instructions on how to use single-point, zone, and manual focus techniques:
- Single-point focus
This technique is suitable for beginners and involves focusing on one specific point in the frame.
- Set your camera to single-point focus mode. You can find this option in your camera’s settings or focus mode dial.
- Look through the viewfinder and choose your focus point. Your camera’s focus points are represented by small squares or dots in the viewfinder.
- Compose your shot with your chosen focus point over your subject. If your subject is in the center, place the central focus point over it. If the subject is off-center, place one of the outer focus points atop it.
- Press and hold the shutter button halfway down to activate the autofocus system. The camera will automatically focus on the chosen point.
- Once the camera confirms focus (usually indicated by a green light or a beep), press the shutter button fully to take the photo.
- Zone focus
This technique works well for shooting subjects that are constantly moving, such as sports or wildlife.
- Set your camera to zone focusing mode. You may find this in your camera’s settings or focus mode dial.
- Select a group of focus points within the viewfinder. The camera automatically selects the most appropriate one based on your subject’s position.
- Compose your shot so that your subject is within the selected zone.
- Press and hold the shutter button halfway to activate the autofocus system. Your camera will automatically track and focus on the subject within the zone.
- Once the camera obtains focus, press the shutter button fully to capture the photograph.
- Manual focus
This technique offers complete control over focus, allowing you to fine-tune the process for precise results. Manual focusing is ideal for macro photography, astrophotography, or other situations where autofocus may struggle.
- Switch your camera to manual focus mode, usually by setting your lens’ focus switch to “M” or “MF.”
- Look through the viewfinder and compose your shot.
- While keeping an eye on your subject, slowly rotate the focus ring on your lens until the desired part of the scene is in focus. Many cameras offer focus peaking or focus magnification features to assist in this process.
- Double-check your focus by activating your camera’s depth of field preview button, if available. This will help you ensure that your intended subject is sharp.
- Once satisfied with the focus, press the shutter button to take the photo.
Practice these techniques regularly to improve your focusing skills and capture sharper, clearer film photographs. Remember, practice makes perfect, so take your time and experiment with different situations to master each technique.

Composition
Film photography can be a beautiful and personally rewarding endeavor, but it’s essential to master some basic techniques to create visually appealing and impactful images. Composition plays a critical role in creating an attractive and engaging photograph. In this guide, we will explore various principles of composition, including the rule of thirds, leading lines, and symmetry.
Rule of Thirds
The rule of thirds is a common and useful guideline for creating well-balanced and interesting images. To practice this rule, visualize your scene divided into nine equal parts created by two equally-spaced horizontal and vertical lines.
- Place your subject or focal point along one of these lines or at the intersection of the lines. This helps create an image that’s more natural and aesthetically pleasing than centering the subject.
- Tips for using the rule of thirds:
- Align your subject’s eyes on the top line if you’re taking portraits.
- Place the horizon along the top or bottom horizontal lines for landscape photos.
- Remember that the rule of thirds is a guideline, not a strict rule. Some images may demand a different composition, but using the rule of thirds can provide a starting point.
Leading Lines
Leading lines are lines that draw the viewer’s eye into the image and can help create a sense of depth, dimension, and movement.
- Use natural or architectural elements to create leading lines, such as roads, rivers, fences, bridges, or buildings.
- Tips for using leading lines:
- Experiment with different angles and perspectives to find the most effective leading lines.
- Use lines to guide the viewer’s eye toward your subject or a focal point.
- Try combining leading lines with the rule of thirds for a strong composition.
Symmetry
Symmetry is another useful principle of composition, creating harmony and balance in your images. To achieve symmetry, arrange elements in your frame so that they mirror each other along a central axis.
- You can find symmetry in both natural and man-made environments, such as reflections in water, the arrangement of buildings, or the repetitive patterns in nature.
- Tips for using symmetry:
- Look for opportunities to create symmetry in your frame and be mindful of any elements that break the symmetry.
- Use a tripod to ensure accurate alignment when composing symmetrical images.
- Remember that while symmetry often makes an image striking, sometimes slight asymmetry can create an even more interesting photograph.
Understanding and applying basic composition principles can greatly improve your film photography skills and help you create visually appealing and impactful images. Always be mindful of the rule of thirds, leading lines, and symmetry when you compose your shots. However, don’t be afraid to break the rules and experiment with different compositions to find your unique visual style.

Lighting and metering
Film photography is a fascinating art form that relies on understanding and manipulating light to create stunning images. By learning the basics of lighting and metering, enthusiasts and hobbyists can unlock the true potential of their film cameras. In this guide, we will explore the fundamentals of lighting, how to properly meter your film photographs to ensure correct exposure, and tips on controlling natural and artificial light sources.
Part 1: Understanding Lighting in Film Photography
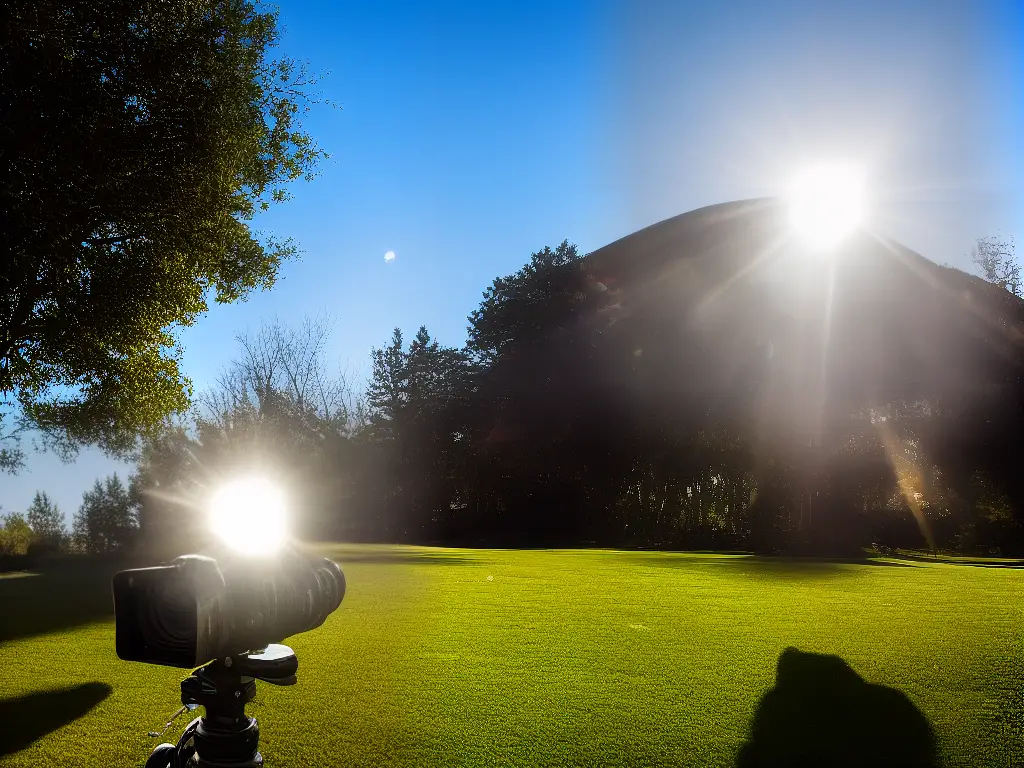
- Natural Light
- Direct sunlight: This type of light comes directly from the sun and can create harsh shadows, bright highlights, and deep contrast in your photos. Use direct sunlight sparingly, as it can result in overexposed images and loss of detail.
- Diffused sunlight: Cloudy days, shady locations, and light filtered through windows or curtains can create a soft, even light that is flattering for most subjects. Experiment with different degrees of diffused light to create the desired mood and atmosphere in your images.
- Artificial Light
- Incandescent/tungsten: This type of light produces warm, orange tones and is often seen in indoor settings with traditional light bulbs. Incandescent light can create a cozy atmosphere in your photos but be aware of the potential color balance issues when mixing light sources.
- Fluorescent: Fluorescent lighting typically casts a greenish tint on your photos, giving an unnatural appearance. Avoid using fluorescent lights if possible, or invest in a color correction filter to balance the light temperature.
- LED: LED lights are available in various color temperatures and can be used to create different lighting effects in your photos. Use LED panels to illuminate your subject evenly, or LED strips to create interesting highlights and accents.
Part 2: Metering Your Film Photography
- In-camera Metering Modes
- Evaluative/Matrix Metering: This mode uses multiple regions of the frame to calculate the correct exposure. It is best suited for scenes with even lighting and works well for most general photography scenarios.
- Center-weighted Metering: This mode bases its exposure reading primarily on the central portion of the frame, with some consideration given to the surrounding area. Use this mode for portraits or subjects located at the center of the frame.
- Spot Metering: This mode takes an exposure reading from a specific area of the frame, typically 1-5% of the total image area. This mode is ideal for high-contrast scenes, backlit subjects, or situations where precise control of exposure is required.
- Handheld Light Meter
A handheld light meter can be a valuable tool for film photographers, providing an accurate light reading of the scene. To use a handheld light meter:
- Set the ISO speed of your film on the meter.
- Point the light meter’s sensor towards the light source or the subject you want to photograph.
- Adjust the shutter speed and aperture settings on the meter until you achieve the correct exposure reading.
- Transfer the recommended settings to your film camera and take the shot.
- Using the Sunny 16 Rule
For situations where you don’t have access to a light meter, you can use the Sunny 16 rule to estimate exposure settings. On a sunny day:
- Set your aperture to f/16.
- Set your shutter speed to the reciprocal of your film’s ISO speed (for instance, if you’re using ISO 100 film, use a shutter speed of 1/100th of a second).
- Adjust your settings for different lighting conditions by opening up or stopping down the aperture while adjusting the shutter speed accordingly.
Understanding and controlling lighting is crucial for successful film photography. By learning the basics of natural and artificial light, mastering metering techniques, and practicing in different lighting scenarios, hobbyists and enthusiasts can bring their film photography skills to the next level.
Filters and accessories
Understanding the different types of lens filters and their effects on photographs
There are different types of lens filters, including UV filters which protect the camera lens from dust and scratches, polarizing filters which reduce glare and reflections from non-metallic surfaces, neutral density filters which help control the amount of light entering the camera, graduated ND filters which control the exposure levels between two parts of a scene, and color filters which add color to different shades and areas of the image. Each filter has a specific effect on the photographs and it’s essential to know when and how to use them to achieve the desired results.
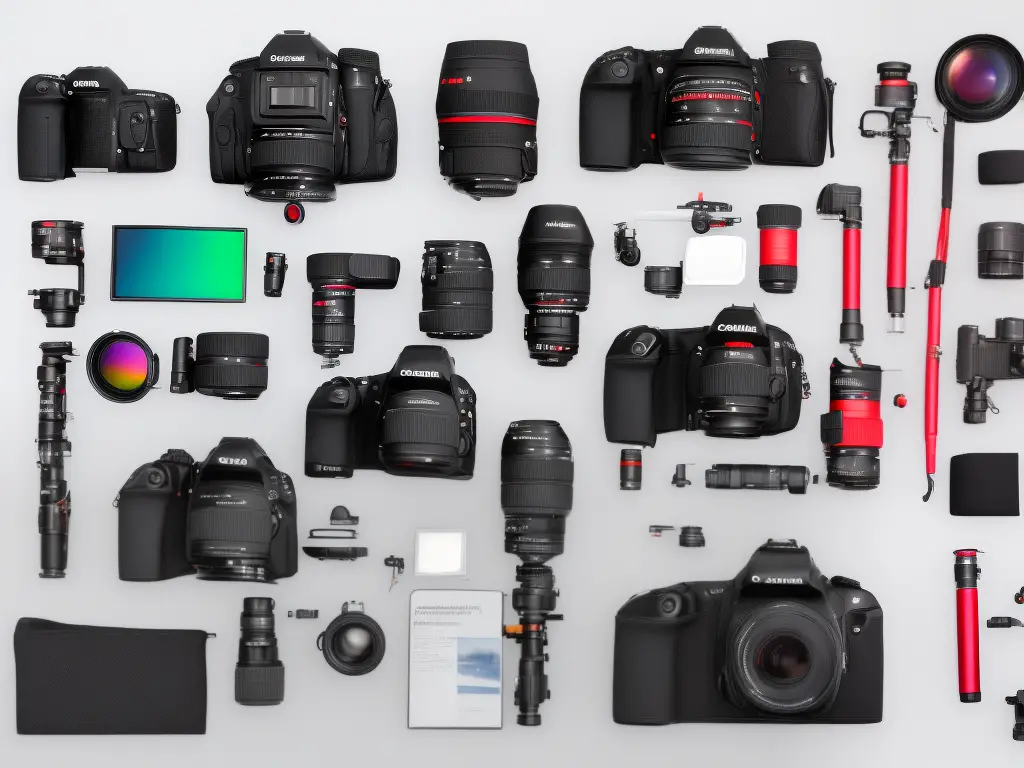
Essential photography accessories
In addition to filters, accessories like tripods and flash units are essential in film photography. Tripods provide steadiness and stability to avoid camera shake while shooting stationary subjects, while flash units add light to poorly-lit scenes or create dramatic lighting effects. It’s important to choose a tripod that suits your needs and to learn how to control flash power, direction, and diffusion to create natural-looking and balanced lighting.
Practical tips for utilizing filters and accessories in film photography
- Experiment with different filter combinations and observe how they affect the mood and colors in your photos.
- Know the features and limitations of your filters and accessories.
- Learn the fundamental film photography concepts like exposure, aperture, and shutter speed.
- Use appropriate filters and accessories for the situation.
- Explore post-processing techniques to enhance your film images.
Film development
As an enthusiast or hobbyist, it’s important to learn the basics of film photography, which can open up a whole new world of creative expression. In this guide, we will discuss basic film photography techniques and provide instructions on various film development processes, including black and white, color film chemistry, DIY, and professional lab development options.
Section 1: Basic Film Photography Techniques
- Camera Settings: Familiarize yourself with your film camera’s settings – aperture, shutter speed, and ISO. Understanding these settings will help you achieve proper exposure and take better photographs.
- Metering: Use a light meter or your camera’s built-in metering system to read the light in the scene and make proper exposure decisions.
- Manual Focus: Learn to use manual focus to achieve sharp and precise images.
- Composition: Understand various compositional techniques to create more aesthetically pleasing pictures.
- Experimentation: Experiment with different types of film, lighting, and shooting situations to find your unique style and preferences.
Section 2: Film Development
- Types of Film Development Processes:
- Black and White Film Development: This development process involves several stages, including pre-soaking, developing, stopping, fixing, and rinsing. You’ll need specific chemicals, such as developer, stop bath, and fixer.
- Color Film Development (C-41 and E-6): Color film development is a bit more complex than black and white. It requires different chemicals and temperature control. C-41 is the most common color film process, while E-6 is used for slide films.
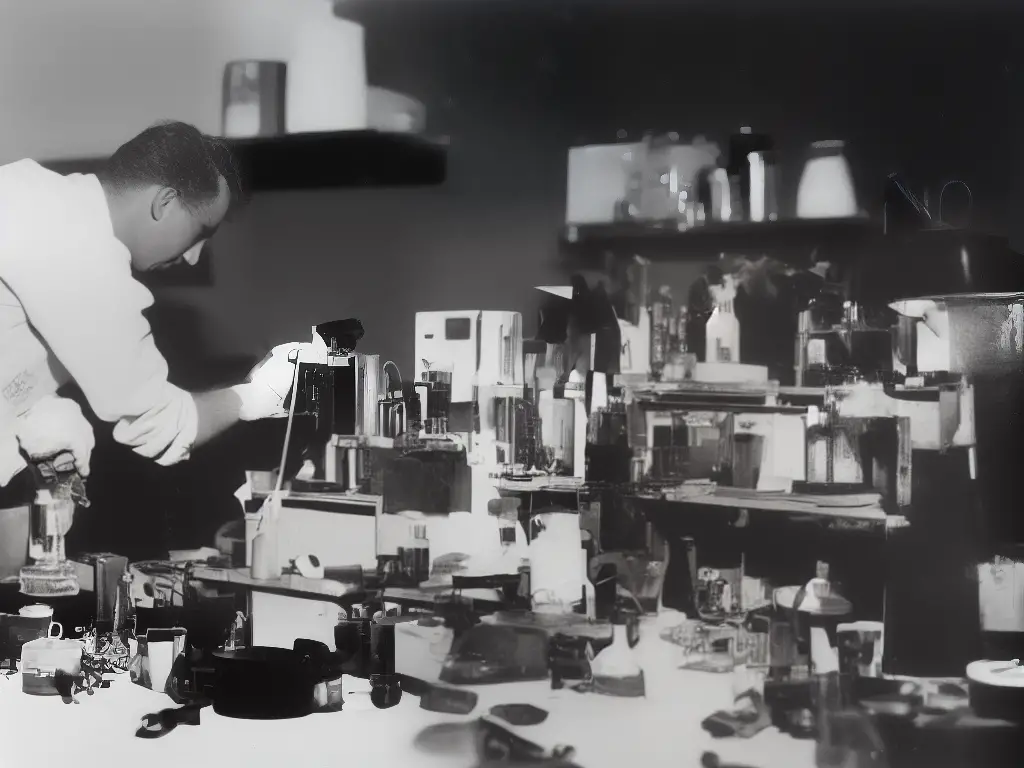
- DIY Film Development:
- Gather Supplies: You’ll need a developing tank, film reels, chemicals, a thermometer, measuring cups, a timer, and a darkroom or changing bag.
- Mixing Chemicals: Follow the specific instructions that come with your chemicals to mix the necessary solutions for developing your film.
- Loading Film into the Developing Tank: In complete darkness, open your film canister, remove the film, and carefully load it onto the film reel. Seal the developing tank properly.
- Developing Process: Follow the specific process and timing requirements for the type of film you are developing (black and white, C-41, or E-6).
- Rinse and Dry: Rinse the film thoroughly with water at the end of the development process, and hang it to dry.
- Professional Lab Development:
- Find a Reputable Lab: Research and identify a professional film lab in your area or online that processes the type of film you’re using.
- Ship or Drop Off Film: Carefully pack your film and ship it to the lab or drop it off in person.
- Receive Developed Film: The lab will send your developed negatives and/or prints to you when they are finished.
Developing a strong foundation in basic film photography techniques and understanding various film development processes will allow you to explore and enjoy the unique world of film photography. When you’re ready, you can try developing your film at home; or if you prefer, you can take your film to a professional lab for development. Either way, this guide will equip you with the necessary skills to start capturing beautiful moments on film.
Scanning and printing
Film photography is a fascinating and engaging hobby that combines the joy of capturing moments with the art of developing and printing your images. In this guide, we will focus on understanding the process of scanning film negatives and slides to create digital images, as well as learning about different types of printing techniques to create physical prints of your photographs. Mastering these skills will allow you to fully enjoy the process of film photography and create beautiful, tangible memories that can last a lifetime.
Scanning Film Negatives and Slides
- Choose the right scanner:
- Flatbed scanner: These scanners are designed for general use and can scan both documents and photos. Some flatbed scanners come with a transparency unit that allows them to scan negatives and slides.
- Dedicated film scanner: These scanners are specifically designed to scan film negatives and slides, providing a higher quality image and a better scanning experience.
- Prepare your negatives and slides:
- Clean your film negatives or slides using a soft, lint-free cloth to remove any dust or debris.
- Use gloves to handle your negatives and slides to protect them from fingerprints or oils from your skin.
- Set up your scanner:
- Install the necessary software on your computer.
- Configure the scanner settings, such as resolution, color depth, and file format.
- Scan your negatives and slides:
- Place your negative or slide in the scanner, following the scanner’s instructions.
- Preview the image before scanning, making any adjustments necessary to ensure the best possible outcome.
- Scan the image, saving it as a high-quality digital file on your computer.
- Edit your scanned images (optional):
- Use photo editing software, such as Adobe Photoshop or Lightroom, to adjust the color, exposure, or contrast of your scanned images.
- Consider applying filters or effects to enhance the aesthetics of your photographs.
Printing Techniques for Film Photography
- Traditional darkroom printing:
- Develop your film in a darkroom using chemicals and equipment designed for this purpose.
- Enlarge your negatives onto light-sensitive paper.
- Process the paper with the appropriate chemicals to create a physical print of your photograph.
- Digital printing:
- Edit and prepare your digital images for printing, ensuring they are the proper size and resolution.
- Choose a suitable printing method, such as inkjet or laser printing.
- Print your photographs onto high-quality photo paper.
- Specialty printing techniques:
- Giclée or fine art printing: This printing technique employs an inkjet process that uses high-quality pigment inks and archival papers, producing long-lasting, high-resolution prints.
- C-type or chromogenic printing: In this process, a digital image is exposed onto light-sensitive paper and then processed using traditional photographic chemicals, creating a high-quality, continuous-tone print.
- Alternative processes: Techniques such as cyanotype, platinum/palladium, or Van Dyke brown are historic printing processes that produce unique, artistic prints by using sunlight or ultraviolet light to expose the image onto specialized paper or other materials.
With a comprehensive understanding of film photography techniques and principles, you have the tools necessary to create remarkable photographs that will stand the test of time. Whether you are capturing everyday moments, breathtaking landscape scenery, or intimate portraits, film photography provides an unparalleled sense of depth, warmth, and nostalgia. Embrace the challenge, and let your creative vision unfold as you dive deeper into the world of analog photography.