
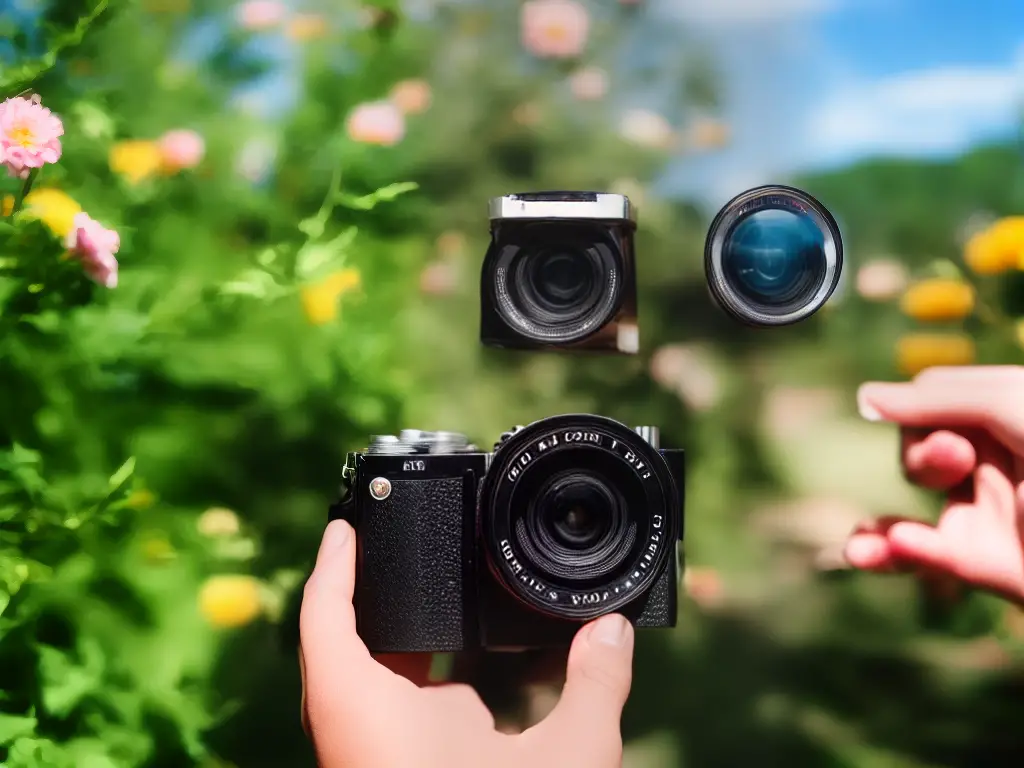
Film photography has experienced a resurgence in popularity in recent years, and many enthusiasts are discovering the joys of using point and shoot film cameras. These versatile devices offer a unique blend of simplicity and creativity, making them a perfect entry point for those who want to explore the world of analog photography. In this essay, we delve into the history, types, and main components of point and shoot film cameras, while also covering the fundamentals of film photography, film types and formats, camera settings, composition techniques, and everything you need to become skilled in this fascinating medium.
Introduction to Point and Shoot Film Cameras
Point and shoot film cameras have been a popular choice for photography enthusiasts and hobbyists alike throughout the years due to their simplicity and ease of use. These cameras first appeared during the mid-20th century, along with 35mm film, and became widely popular in the 1980s and 1990s. Unlike more complex camera systems such as single-lens reflex (SLR) or medium format cameras, point and shoot cameras were designed for users looking for a straightforward photographic experience, requiring minimal knowledge and expertise to operate.
There are several types of point and shoot film cameras, varying in features and functionality. They range from basic models with fixed focal length (no zoom) and little to no manual control, to more advanced models with autofocus, exposure settings, and built-in flash. A few examples of well-known point and shoot film cameras are the Canon SureShot series, the Olympus Stylus series, and the popular Kodak disposable cameras. Additionally, compact cameras with zoom lenses emerged as an evolution from the earlier fixed focal length models, offering increased versatility for users.
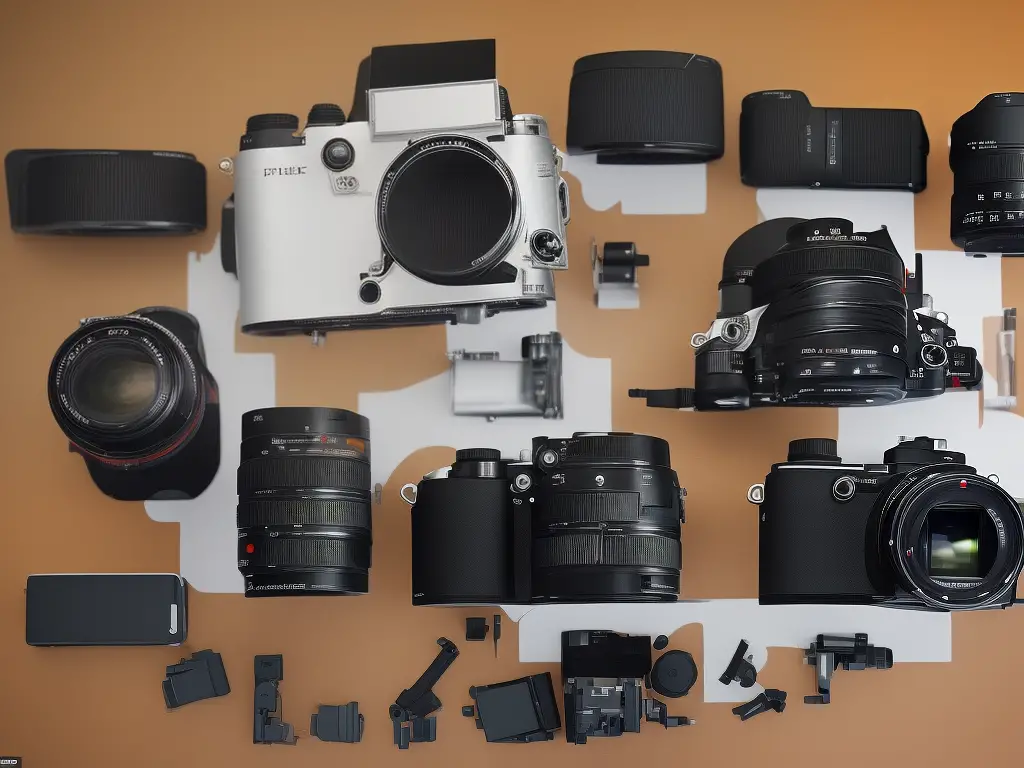
The main components of a point and shoot film camera typically include a simple viewfinder, an optical lens, a film compartment, a shutter release button, and a built-in flash in most cases. A key aspect of these cameras is their automatic or semi-automatic functionality – the camera often takes care of exposure, focus, and flash adjustments, leaving the user to simply compose the image and press the shutter button. This accessibility is one of the main reasons why point and shoot film cameras have remained a popular choice for casual photographers.
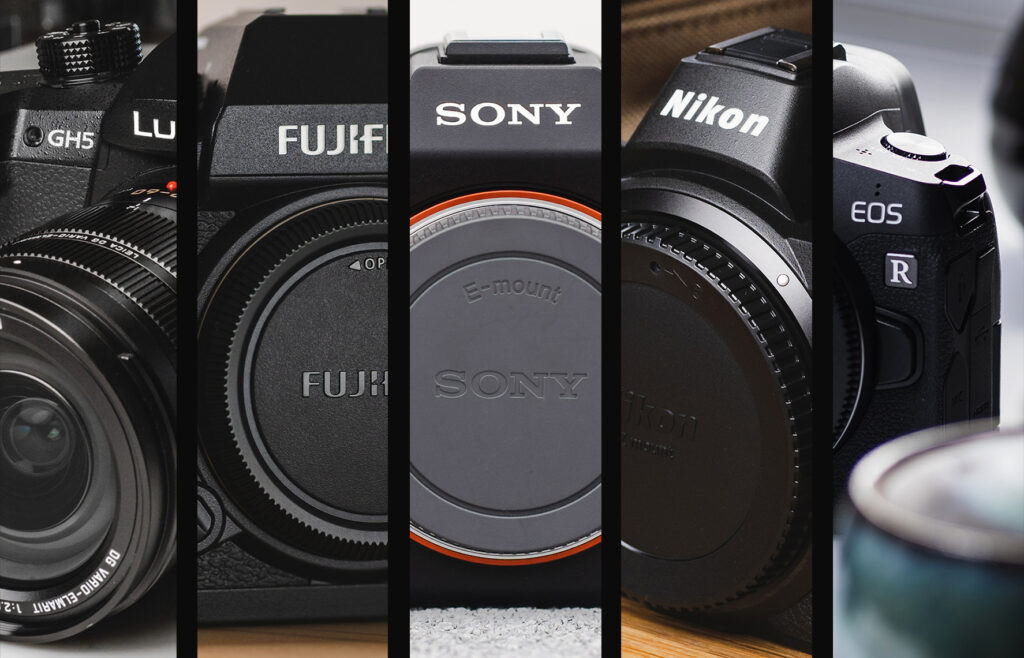
When comparing point and shoot film cameras to other types of cameras, there are several notable differences. SLR cameras offer more control over exposure settings and provide interchangeable lenses, giving users greater flexibility and control over their photography. Additionally, SLRs use a mirror and prism system, which allows the user to see the exact framing of the image through the viewfinder, as opposed to a separate viewfinder found in point and shoot cameras. Medium format cameras, on the other hand, use larger film sizes (typically 120 or 220 film) than the standard 35mm film used in point and shoot cameras. This allows for significantly higher image quality and detail, though at the cost of a larger, more cumbersome camera system.
In recent years, point and shoot film cameras have experienced a resurgence in popularity, partly due to a wider appreciation for analog photography and its inherent idiosyncrasies. Shooting with a point and shoot film camera can be a fun and rewarding experience, as it requires the photographer to focus more on composition and perspective rather than technical settings. The process of developing and printing photos from film adds another layer of excitement, as anticipation builds waiting to see the final results.

Fundamentals of Film Photography
For anyone interested in experiencing photography without worrying about complex equipment and settings, point and shoot film cameras are an excellent choice. One key aspect to consider when using these cameras is ISO, which refers to the sensitivity of the film to light. In point and shoot film cameras, the ISO is predetermined by the type of film you use. Lower ISO film (e.g., ISO 100) is less sensitive to light and will produce finer grain and better image quality in well-lit situations, while higher ISO film (e.g., ISO 800) is more sensitive to light, allowing for faster shutter speeds and better performance in low light, albeit with more significant grain.
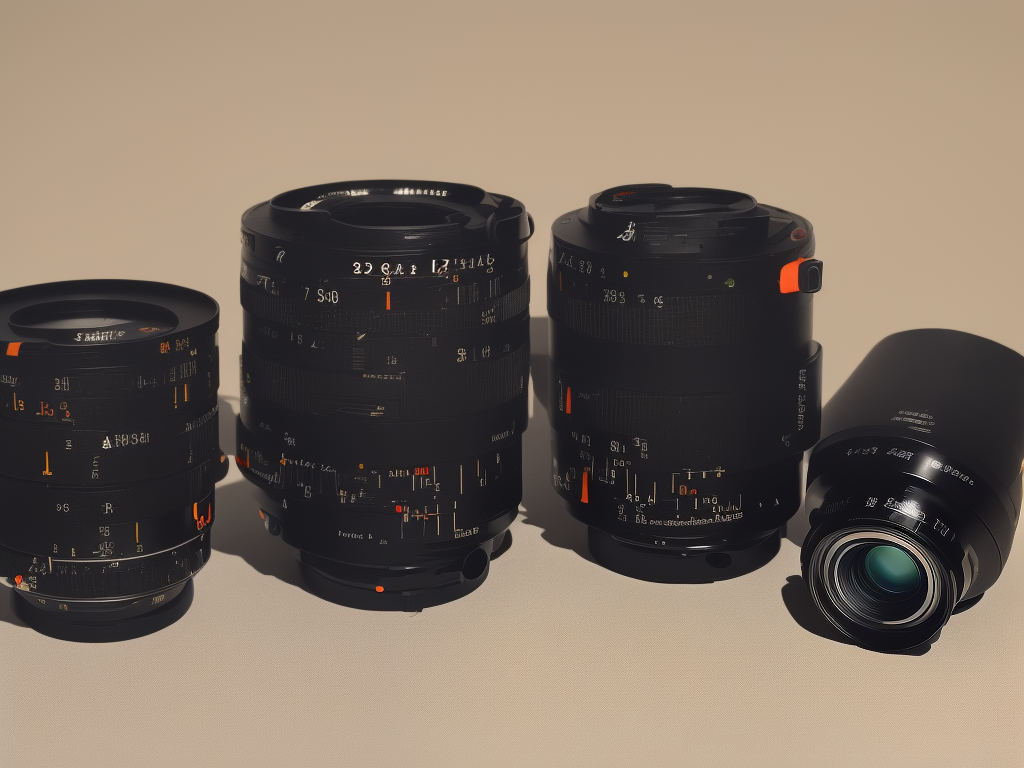
Another essential factor in film photography is aperture, which controls the amount of light entering the camera through the lens. Aperture is measured in f-stops (e.g., f/2.8, f/4, f/5.6). Smaller f-stop values correspond to larger apertures that allow more light in, while larger f-stop values indicate smaller apertures that let in less light. In point and shoot film cameras, the aperture is typically controlled by the camera, but some models offer manual aperture control. Understanding aperture is crucial because it also affects the depth of field, which is the range of sharpness in a photo. A smaller f-stop value creates a shallow depth of field, keeping the subject in focus while the background and foreground appear blurred. In contrast, a larger f-stop value results in a deeper depth of field, where more of the photo is in focus.
Shutter speed is also a fundamental element in film photography, as it dictates the amount of time the camera’s shutter is open and exposing the film to light. Shutter speeds are expressed in seconds or fractions of a second (e.g., 1/60, 1/125, 1/250). Faster shutter speeds allow for capturing fast-moving subjects or reducing camera shake, while slower speeds can introduce motion blur or capture more light in low-light situations. In point and shoot film cameras, the camera usually controls the shutter speed, but some models provide manual control.
Depth of field, as mentioned earlier, is another crucial aspect of film photography. It refers to the area of the scene that appears sharp and in focus. Depth of field is affected by the aperture setting, the focal length of the lens, and the distance between the camera and the subject. Point and shoot film cameras often have a fixed focal length or a limited zoom range, so adjusting the aperture and the physical distance between the camera and the subject become crucial in controlling the depth of field.
Delving into the world of point and shoot film cameras can be an exciting adventure for enthusiasts and hobbyists alike, as understanding the principles of ISO, aperture, shutter speed, and depth of field are all crucial to capturing well-exposed and beautifully composed shots. It is important to experiment with various film types and shooting conditions to develop confidence and gain a deeper intuition for your camera’s capabilities. Keep in mind that film photography does not provide instant results like its digital counterpart, encouraging more mindful and intentional choices, which can cultivate a greater appreciation for the art of photography.
Film Types and Formats
Moving forward, an essential aspect of working with point and shoot film cameras is exploring the diverse film types available, as they significantly influence your final photographic outcome. Color film, which is the most prevalent film type, captures images in an array of vivid hues. Some popular options include Fujifilm’s Superia series and Kodak’s Gold and Ektar 100 film varieties. Each of these color films boasts unique profiles with varying levels of saturation, contrast, and grain, depending on the brand and series you choose. Selecting the appropriate film type allows photographers to produce the desired aesthetic in their creative visions, further enhancing the connection and transition between the two core aspects of film photography.
Black and white film likely comes to mind when one imagines classic film photography. This film type presents images in grayscale, offering rich tonal variations and contrast that can emphasize emotion and mood. Renowned black and white films include the Ilford series (specifically HP5 and Delta), and the Kodak T-Max and Tri-X film varieties. These options can offer a timeless look or amplify the dramatic elements in certain environments – making them a favorite among photographers of various genres.
Slide film, also known as reversal or E6 film, is another option for point and shoot film cameras. This type of film directly produces a positive image instead of a negative, which allows for the final result to be viewed on a light table or projector. Slide films are lauded for their high color saturation, fine detail, and relatively low grain. Notable options in this category include the Fujifilm Velvia and Provia series, as well as the Kodak Ektachrome films. However, it is essential to consider that slide films often require more precise exposure control and can be more costly to develop.
Understanding various film formats will also enhance your photographic skills and adaptability with point and shoot film cameras. The 35mm format is the most common and versatile option, perfect for beginners and experts alike. This format’s popularity results from its affordability and widespread availability, with many point and shoot cameras specifically designed for 35mm film. Additionally, the 35mm format allows for a wide range of film types, including the color, black and white, and slide films previously discussed.
As an enthusiast or hobbyist looking to become skilled in using point and shoot film cameras, it’s important to explore various film formats, including the popular 35mm, 120 or medium format film, and instant film options such as Polaroid and Instax. Medium format film may require additional skill to use effectively, but it offers a larger negative, enabling photographers to capture stunning detail and achieve high image quality. On the other hand, instant film options provide limited creative control but appeal to many due to their distinct look and physicality of instant images.
Film Loading and Camera Settings
To further develop your skills, familiarize yourself with different types of film and learn the proper techniques for loading and unloading film in your point and shoot camera. To load the film, open the camera’s back door, insert the film canister into the appropriate slot and gently pull the film leader across the camera until it reaches the take-up spool. Ensure that the film sprocket holes are aligned with the camera’s sprocket teeth before closing the back door. While most point and shoot cameras automatically wind the film to the first frame, some older models may require you to manually advance the film using a thumbwheel or lever.
Adjusting camera settings is another crucial aspect of mastering point and shoot film cameras. Getting comfortable with your camera’s focus settings will enable you to create sharp images in many different situations. Most point and shoot film cameras have an autofocus system that you can rely on; nevertheless, it is essential to know how to focus manually for situations that might confuse the autofocus, such as shooting through glass or in low light conditions.
Experimenting with the flash settings is also necessary for achieving the desired photography results, especially in low light situations or when capturing fast-moving subjects. Point and shoot film cameras typically come with built-in flash units that can be set to automatic, fill-in, or red-eye reduction modes. Understanding the purpose and limitations of each of these modes will help you make appropriate lighting decisions and avoid unwanted flash artifacts in your images.
The self-timer feature on a point and shoot film camera is an excellent tool for taking group photos, self-portraits, or long exposures without introducing camera shake. Setting the self-timer usually involves pressing a dedicated button on the camera body and selecting the desired delay time, generally ranging from two to 10 seconds. Once set, the camera will take the photo after the selected period, allowing the photographer to join the frame or stabilize the camera on a tripod.
Learning the ins and outs of a point and shoot film camera can be a fun and rewarding hobby. Familiarizing yourself with the essential aspects of photography, such as loading film, adjusting camera settings, composition, exposure, and light metering, will allow you to fully unlock your camera’s potential. Regular practice will help you become a proficient and confident point and shoot film camera user, enabling you to better troubleshoot any issues and capture remarkable memories on film for years to come.
Composition Techniques
One way to ensure you take great photographs with a point and shoot film camera is by mastering composition techniques. A fundamental principle to consider is the rule of thirds, which can significantly improve the visual appeal of your images. Imagine dividing your frame into nine equal sections using two equally spaced horizontal and vertical lines. Placing your subject where these lines intersect creates a balanced, visually appealing image. This technique works especially well with a point and shoot film camera, as they often lack the advanced focusing features found in more modern digital cameras. As you continue refining this skill, you will directly influence the quality of photos you create with your point and shoot film camera.
Leading lines are another essential composition technique that can guide a viewer’s eye through an image. When taking a photograph with a point and shoot film camera, look for natural lines in your surroundings, such as roads, fences, or rivers. Using these leading lines in your composition directs the viewer’s attention towards your subject, adding depth and interest to your image. Keep in mind that since point and shoot film cameras often have a limited focal range, using leading lines effectively can make a significant difference in the success of your photograph.
Framing is yet another critical technique that can help create more compelling images with your point and shoot film camera. Framing involves using elements in your environment to create a ‘frame’ around your subject. This could include using objects like windows, archways, or trees to naturally encase your subject and guide the viewer’s eye towards it. By placing the subject within a frame, you can add context to your composition and create a sense of depth. This technique is particularly useful for point and shoot film cameras, as they often produce images with less depth than other types of cameras.
Experimenting with different angles and perspectives can greatly enhance the composition of your photographs when using a point and shoot film camera. Instead of taking all your shots from eye level, try exploring different viewpoints by crouching low or even climbing for a higher vantage point. This change in perspective can emphasize certain elements in the frame and make your image more engaging and unique. Point and shoot film cameras, while lacking in technical features compared to modern digital cameras, offer a certain level of freedom for experimentation as they are lightweight and portable.
Improving your photography skills, especially when using a point and shoot film camera, can be achieved by incorporating various composition techniques into your images. Understanding and applying principles such as the rule of thirds, leading lines, framing, and experimenting with angles and perspectives can significantly enhance the visual appeal of your photographs. By mastering these techniques, you will be able to express your creative vision and capture memorable moments, regardless of the limitations of the camera you are using.

Film Developing and Scanning
Once you have taken the photographs using the aforementioned techniques, the next vital step in mastering point and shoot film photography is understanding film development and scanning. By learning how to develop your own film at home or identifying a reputable lab for processing, you gain full control over image quality, tonality, and overall aesthetics. Each development method has its unique benefits; home development offers a more hands-on, intimate experience with your work, while lab processing ensures convenience and consistent results. Combining your newfound compositional skills with an effective film development process enables you to create visually engaging photographs with your point and shoot film camera.
To start developing your film at home, it’s crucial to research the process and gather the necessary tools and chemicals. Black and white film typically requires developer, fixer, and stop bath solutions, while color film needs a dedicated C-41 chemical kit. In addition to chemicals, investing in the proper equipment such as a development tank, changing bag, and accurate thermometer is crucial to achieving consistent results. The development process involves carefully following prescribed steps and timings, which vary depending on the film emulsion and desired outcome. Point and shoot film camera users can reap the benefits of home development, fine-tuning their process to suit their film and camera’s unique characteristics.
Scanning your film is the process of digitizing the developed negatives to edit and share them with others. A reliable film scanner is essential, with a range of options available on the market catering to various budgets and desired resolutions. Some scanners are specially designed for film, providing the necessary settings and guides to ensure optimal results. Scanning point and shoot film negatives can be a time-consuming process, as each frame must be carefully aligned, cleaned, and scanned at high resolution to preserve the detail and depth of the original image.
For those who do not want to venture into home development or scanning, professional labs can offer exceptional service and results. When selecting a lab, it’s important to consider their reputation, turnaround times, and the variety of services they offer, such as high-resolution scans, printing options, and TIFF file formats. Some labs even specialize in processing film from point and shoot cameras, ensuring that your images receive the specific attention and adjustments needed to bring out their best qualities. Providing specific directions to the lab regarding your desired look and tonality can significantly enhance the final output.
In conclusion, mastering the development, scanning processes, and image editing techniques are crucial to producing beautiful, high-quality photographs with point and shoot film cameras. Both home development and professional lab processing have their merits, with a combination of both methods allowing for flexibility and creative control.
Image Editing and Archiving
By investing time and effort into these areas, including image editing and archiving, you will ultimately expand your skillset and achieve a more refined and personalized photographic style. Proper editing techniques can enhance your scanned images, ensuring that they fully capture the essence and magic of your film photography experiences.
Adobe Lightroom and Photoshop are two popular tools for editing scanned images. Both programs offer a wide range of features and tools that can help you refine your images, from correcting color balance and exposure to removing dust and scratches.
One useful feature in both Lightroom and Photoshop is the ability to work with layers and local adjustments, allowing you to selectively edit areas of your image without affecting the overall picture. For example, you can apply a graduated filter to darken the sky in a landscape photo while leaving the foreground unaffected or use the spot removal tool to clean up any dust spots caused due to scanning. Another advantage of using these programs is the ability to create and apply pre-sets, which are a set of saved adjustments that can be applied to multiple images with a single click. This can be especially helpful when working with a series of similar images, such as those taken using a point and shoot film camera under consistent lighting conditions.
In addition to honing your editing skills, it is crucial to learn how to store and archive your film negatives and prints properly. Preserving your film photographs ensures that future generations can enjoy your work while also protecting your investment.
To begin, always handle your film negatives with clean hands or gloves, taking care to avoid touching the surface of the film. When storing your negatives, consider using acid-free archival sleeves, which not only protect the film from dirt and dust but also prevent any chemical deterioration due to the surrounding environment.
Furthermore, proper storage containers are essential for preserving the quality of your negatives and prints. Acid-free boxes, envelopes, or binders are a must, as they help prevent damage caused by humidity, light, and environmental pollutants. Temperature and humidity control is also crucial for long-term storage. Aim for a consistent temperature of around 65-70°F (18-21°C) and relative humidity of 30-40%, as fluctuations and higher levels can cause damage to your film and prints over time.
Finally, it is essential to develop a cataloging system that enables you to easily locate and access your negatives and prints. Consider labeling your archival sleeves or folders with details such as the date, location, and subject matter. Additionally, utilizing a digital catalog or database to track your film collection can be useful, especially if you are working with a large number of images. By dedicating time to properly edit, store, and archive your work, you will set the foundation for becoming skilled with point and shoot film cameras and continue creating beautiful images for years to come.

Projects and Practice
Once you have a solid organization system in place, actively engaging in various photography projects will be one of the most effective ways to further develop your skills with a point-and-shoot film camera. These projects will allow you to explore different techniques, subjects, and environments, honing your abilities in composing, focusing, and working with light. Through consistent practice and experimentation, you will find yourself growing more confident with your point and shoot film camera, enabling you to take your photography skills to new heights.
From street photography to still life, there are countless opportunities to challenge your creative skills and develop your own style. For instance, you can start a project by documenting the daily life in your city or hometown. This can involve capturing candid moments, interesting subjects, and unique locations around your area.
Another photography project to undertake could be exploring various themes or color schemes in your images. By focusing on specific elements or recurring motifs, you can create a cohesive photo series that tells a narrative or presents a particular ambiance.
Nature and landscape photography are additional projects that can help you enhance your point and shoot film camera skills. Whether you are exploring the sweeping vistas of a national park or the intricate details of flowers in your garden, these subjects offer ample opportunities to capture beautiful, timeless images.
Lastly, a photography project focusing on portraiture can be valuable in cultivating your ability to capture human emotion and natural expressions with your point and shoot film camera. This type of project offers an opportunity to work closely with your subjects and explore different techniques for lighting, posing, and choosing backgrounds.
As you practice capturing images that showcase individual personalities, you will continue to develop your own style, confidence, and understanding of the countless creative possibilities in film photography.
By mastering the elements of film photography and understanding the unique characteristics of point and shoot film cameras, you will be well on your way to creating stunning images that capture the essence of your subject in a format that has a timeless aesthetic appeal. As you progress in your journey, embrace the learning process and enjoy the hands-on nature of film photography – from loading your camera to developing your film. With practice and exploration, you will cultivate a deeper appreciation for the distinct artistry of analog photography and how point and shoot film cameras can help you tell powerful visual stories with each frame.
Originally posted 2023-05-22 23:31:23.
I seriously love your site.. Excellent colors & theme.
Did you create this website yourself? Please reply back as I’m wanting to create my
own personal website and want to learn where you got this
from or exactly what the theme is named. Thank you!
Saved as a favorite, I love your blog!